Scanning documents is one of those things that I am able to do pretty easily today. I have an all-in-one printer/scanner/copier thing that it able to do it. I have an app on my phone that can do decentish scanning. And in a real pinch, I have access to flatbed scanners. And yet, somehow, even after all of these years of scanning technologies (they’ve been around in some form for over 100 years), it still tends to be a hassle. My all-in-one requires me to navigate through five menus on the little touchscreen on the printer, and then takes around 5 seconds to scan. That’s not terrible for individual pages, but scanning something longer, like a book, would take forever. PhotoScan, Google’s official Android app for scanning, isn’t much faster. And then there’s the issue that not everything is a nice, flat document. I’m not keen on breaking a book’s spine just to get it to lie flat enough on a scanner to make the resulting scan really readable. And what about those times when you need to scan the front and back of something like an ID but really want one document, not two?
All of these problems have been brilliantly solved by CZUR, a Chinese company that took a truly innovative approach to all of these issues and developed the first scanner that I’ve ever used that is fast, easy, and almost always produces fantastic scans. They have done this through a combination of great hardware and software.
The Hardware
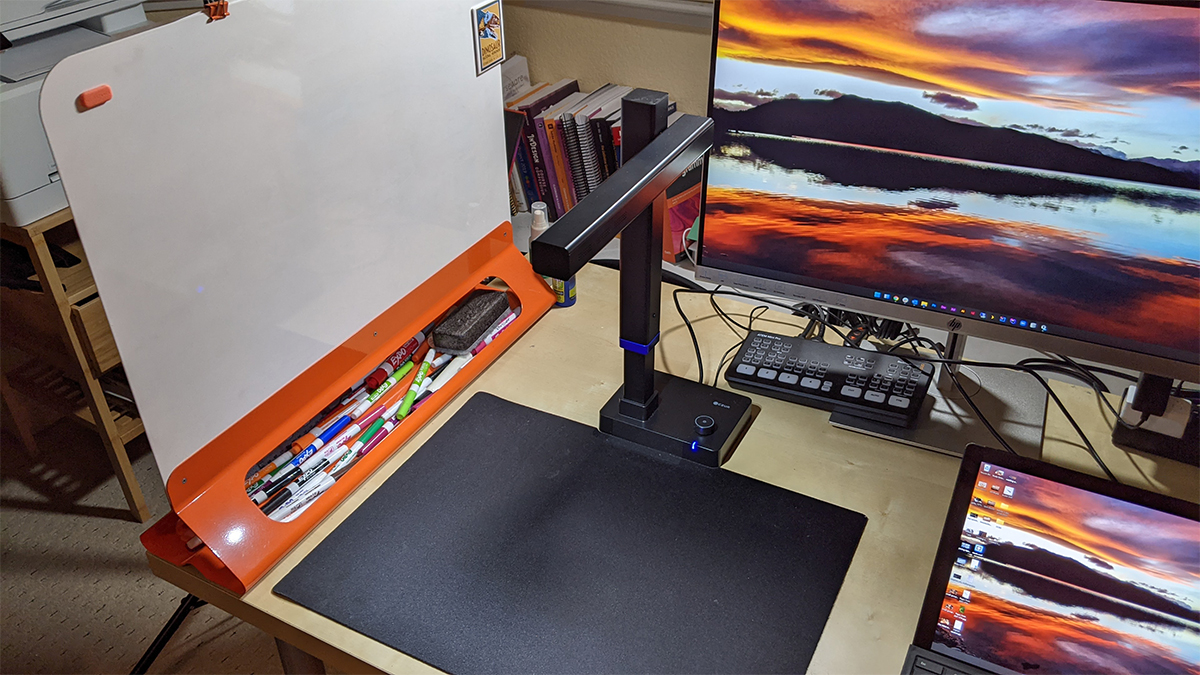
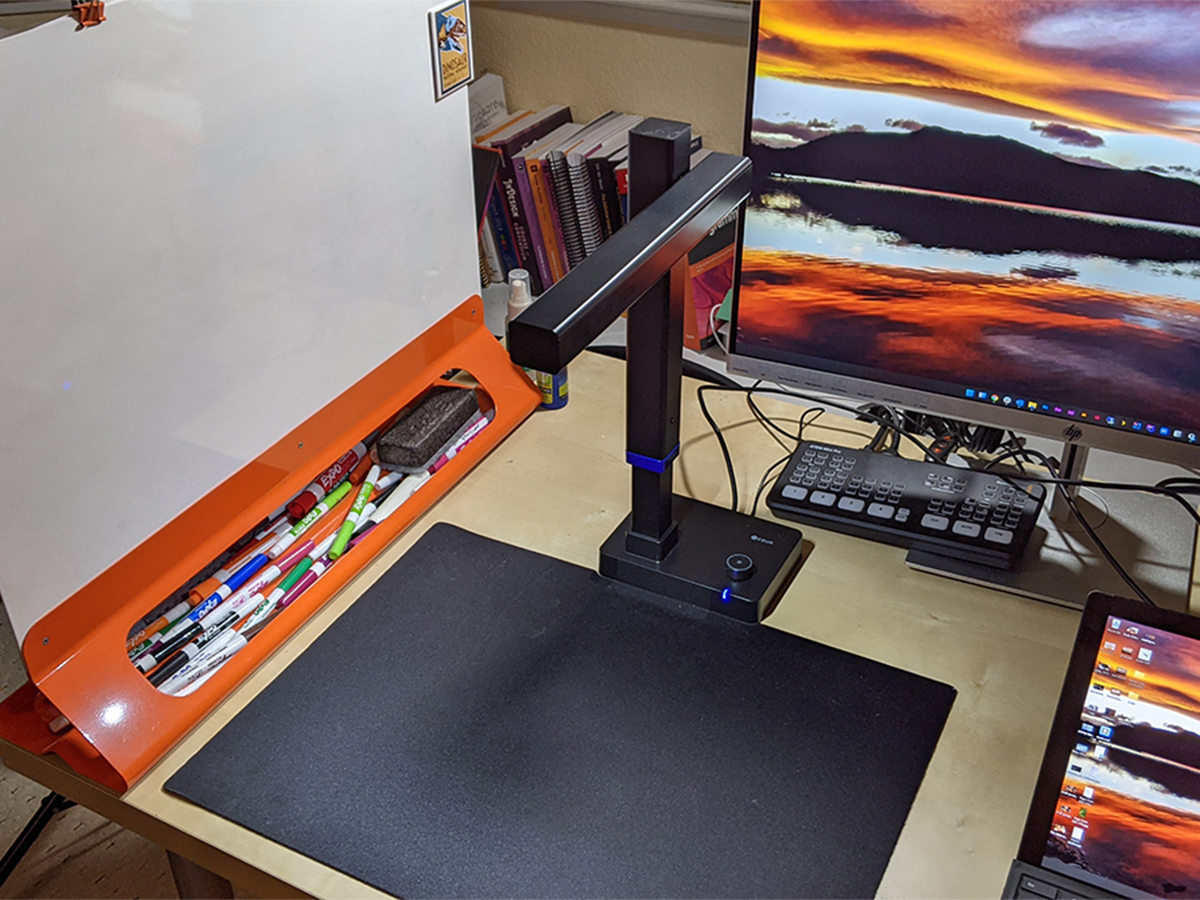
The company sent me a Shine Ultra, one of their higher-level book scanners. It solves the “breaking the spine” issue in the simplest way–the device uses a top-down 13 megapixel facing camera to do the scanning, so rather than placing the book on a bed and having to press down on it, you simply place it faceup under the camera. Not only does this avoid damaging the book’s spine, but it’s also nice to be able to still see the pages you’re scanning.
The arm with the camera, which swings out when you need to use it and back down to keep it out of the way when not in use, contains a very bright light to illuminate the surface below. There’s a button on the base–in face, the only button on the base–that allows you to control the brightness of the light or turn it off completely if it’s causing too much glare on whatever you’re scanning. The camera arm can be lowered or raised as needed to get a larger or smaller scanning area.

Book scanning is helped by the inclusion of two “finger cots”, small yellow pieces that let you press down on the edges of the book to help flatten it. Of course you could do that with your fingers, but these “cots” are designed to be effortlessly removed by the software, resulting in the appearance of a perfectly clean scan.
Of course, this raises another issue–if you’re holding the book open with both hands, how do you click on “scan” button in the software? And here again CZUR came up with a simple and elegant solution: included with the Shine Ultra is a foot pedal. So it’s a simple task to open the book, tap the pedal with your foot, move to the next page, tap the pedal, and so forth until you’re done. CZUR’s website claims that it’s possible to scan a 300 page book in less than 10 minutes. I didn’t actually test that out. but from my testing it seems like it would only require a few seconds per page, so that claim seems entirely plausible.
Another limitation of a traditional scanner is that you can only scan items up to the physical size of the scanner’s bed, so those who need to scan larger items have to devote more and more desk space to the scanner. And here again the Shine Ultra, well, shines. It’s footprint on the desk is a mere 6 inches by 4 inches, and yet its maximum scanning area is a massive 18.89×14.17 inches.
The Shine Ultra also includes a black mat, cloth on one side and neoprene on the other, to use as a back drop for scanning. It’s not required–I did some testing without it and things worked fine–but it’s still a nice addition.
The Software
Anyone who does scanning on a regular basis knows that a scanner is really only as good as its software. And I’m happy to say that the CZUR Shine software doesn’t bring down the excellent hardware at all.
When first launched in scanning mode (more on the other mode in a moment), you’re shown a relatively blank screen, but clicking the “Scan” button in the lower right corner takes you to the real scanning app. (If it were me, I’d probably start people in the scanning app, but that’s a minor issue.) This activates the scanner, which needs to be attached to the computer you’re using via a normal USB-A cable. Here, you can select your scanning mode.
Flat Paper


Your basic scanning of a document. The software doesn’t do a lot here, other than the all-important straightening, so you don’t need to worry about having scans that are crooked. Which is awesome.
Curved Book
This is probably the thing you’re buying the scanner for, and it’s excellent. You’ll see, superimposed over the image on your computer, a yellow dotted line that lets you center the book’s spine. Sometimes, a curved reference area also appears, but it seems somewhat inconsistent as to when it shows up and when it doesn’t. It’s appearance also doesn’t seem to have an impact on the quality of the result.
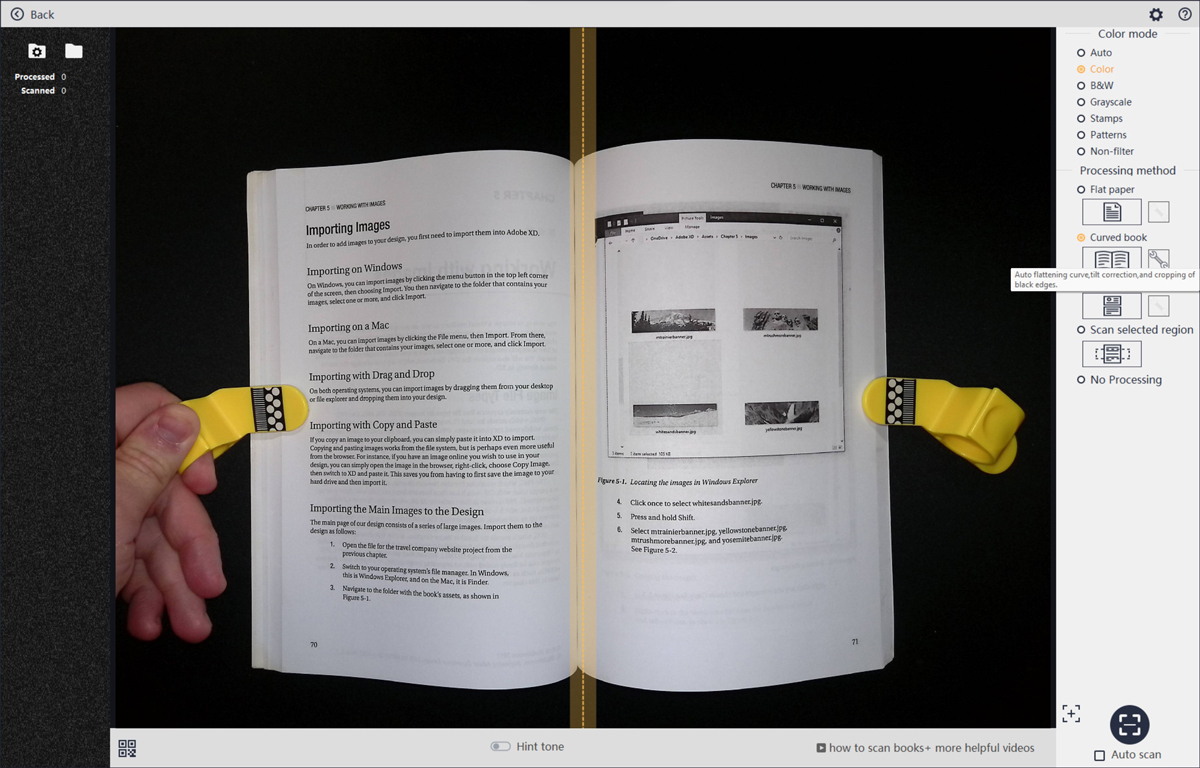
As mentioned above, you can use the finger cots to pull the book down and try to get it a bit flatter, but you don’t have to get all the way there. I have applied no more pressure than was necessary to keep the pages from trying to fly up, and it’s always worked well. In fact, I probably apply more pressure when reading a book than I have when scanning it. Pressing the scan button, or, more likely, the foot pedal begins the processing of the pages. But you don’t have to wait–simply going on to the next pages and letting the software process in the background works, and it yet another big advantage to this system over any other I’ve used.

Once processed, you’ll find that the vast majority of the time you have clean, straight, and most importantly flat images of each page. If you’re using the finger cots, they’ll be gone. Oh, here’s a truly fantastic bit: the software automatically splits up the pages into separate documents as you go. No more needing to open each page in another tool and split them up, or just live with forcing people to read two-page spreads.
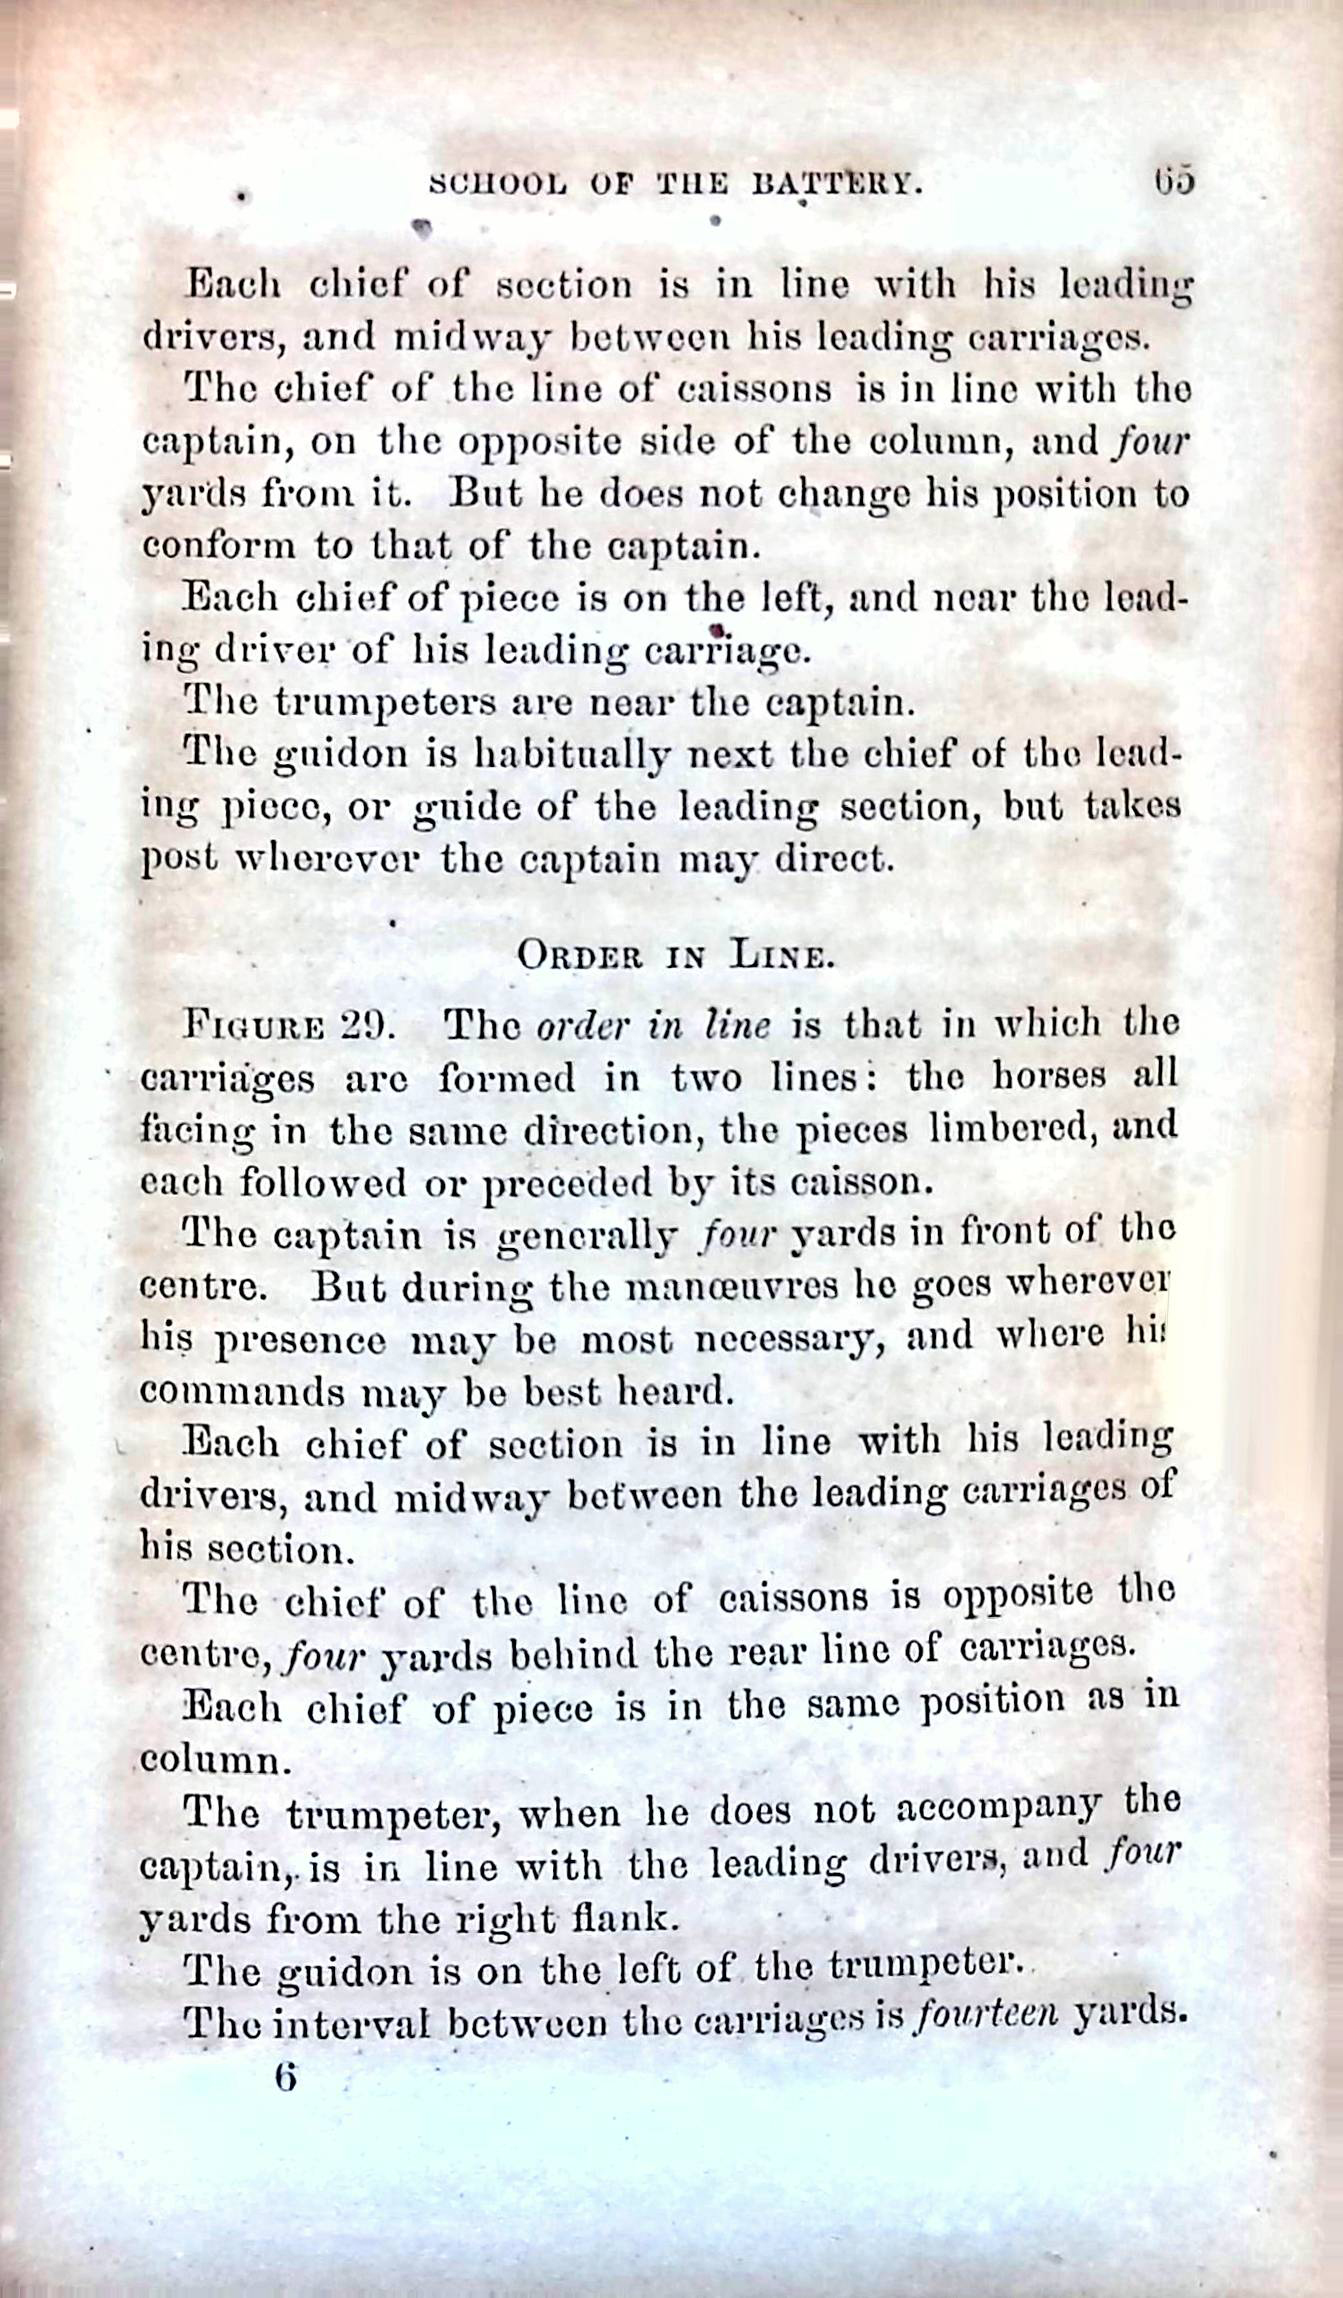
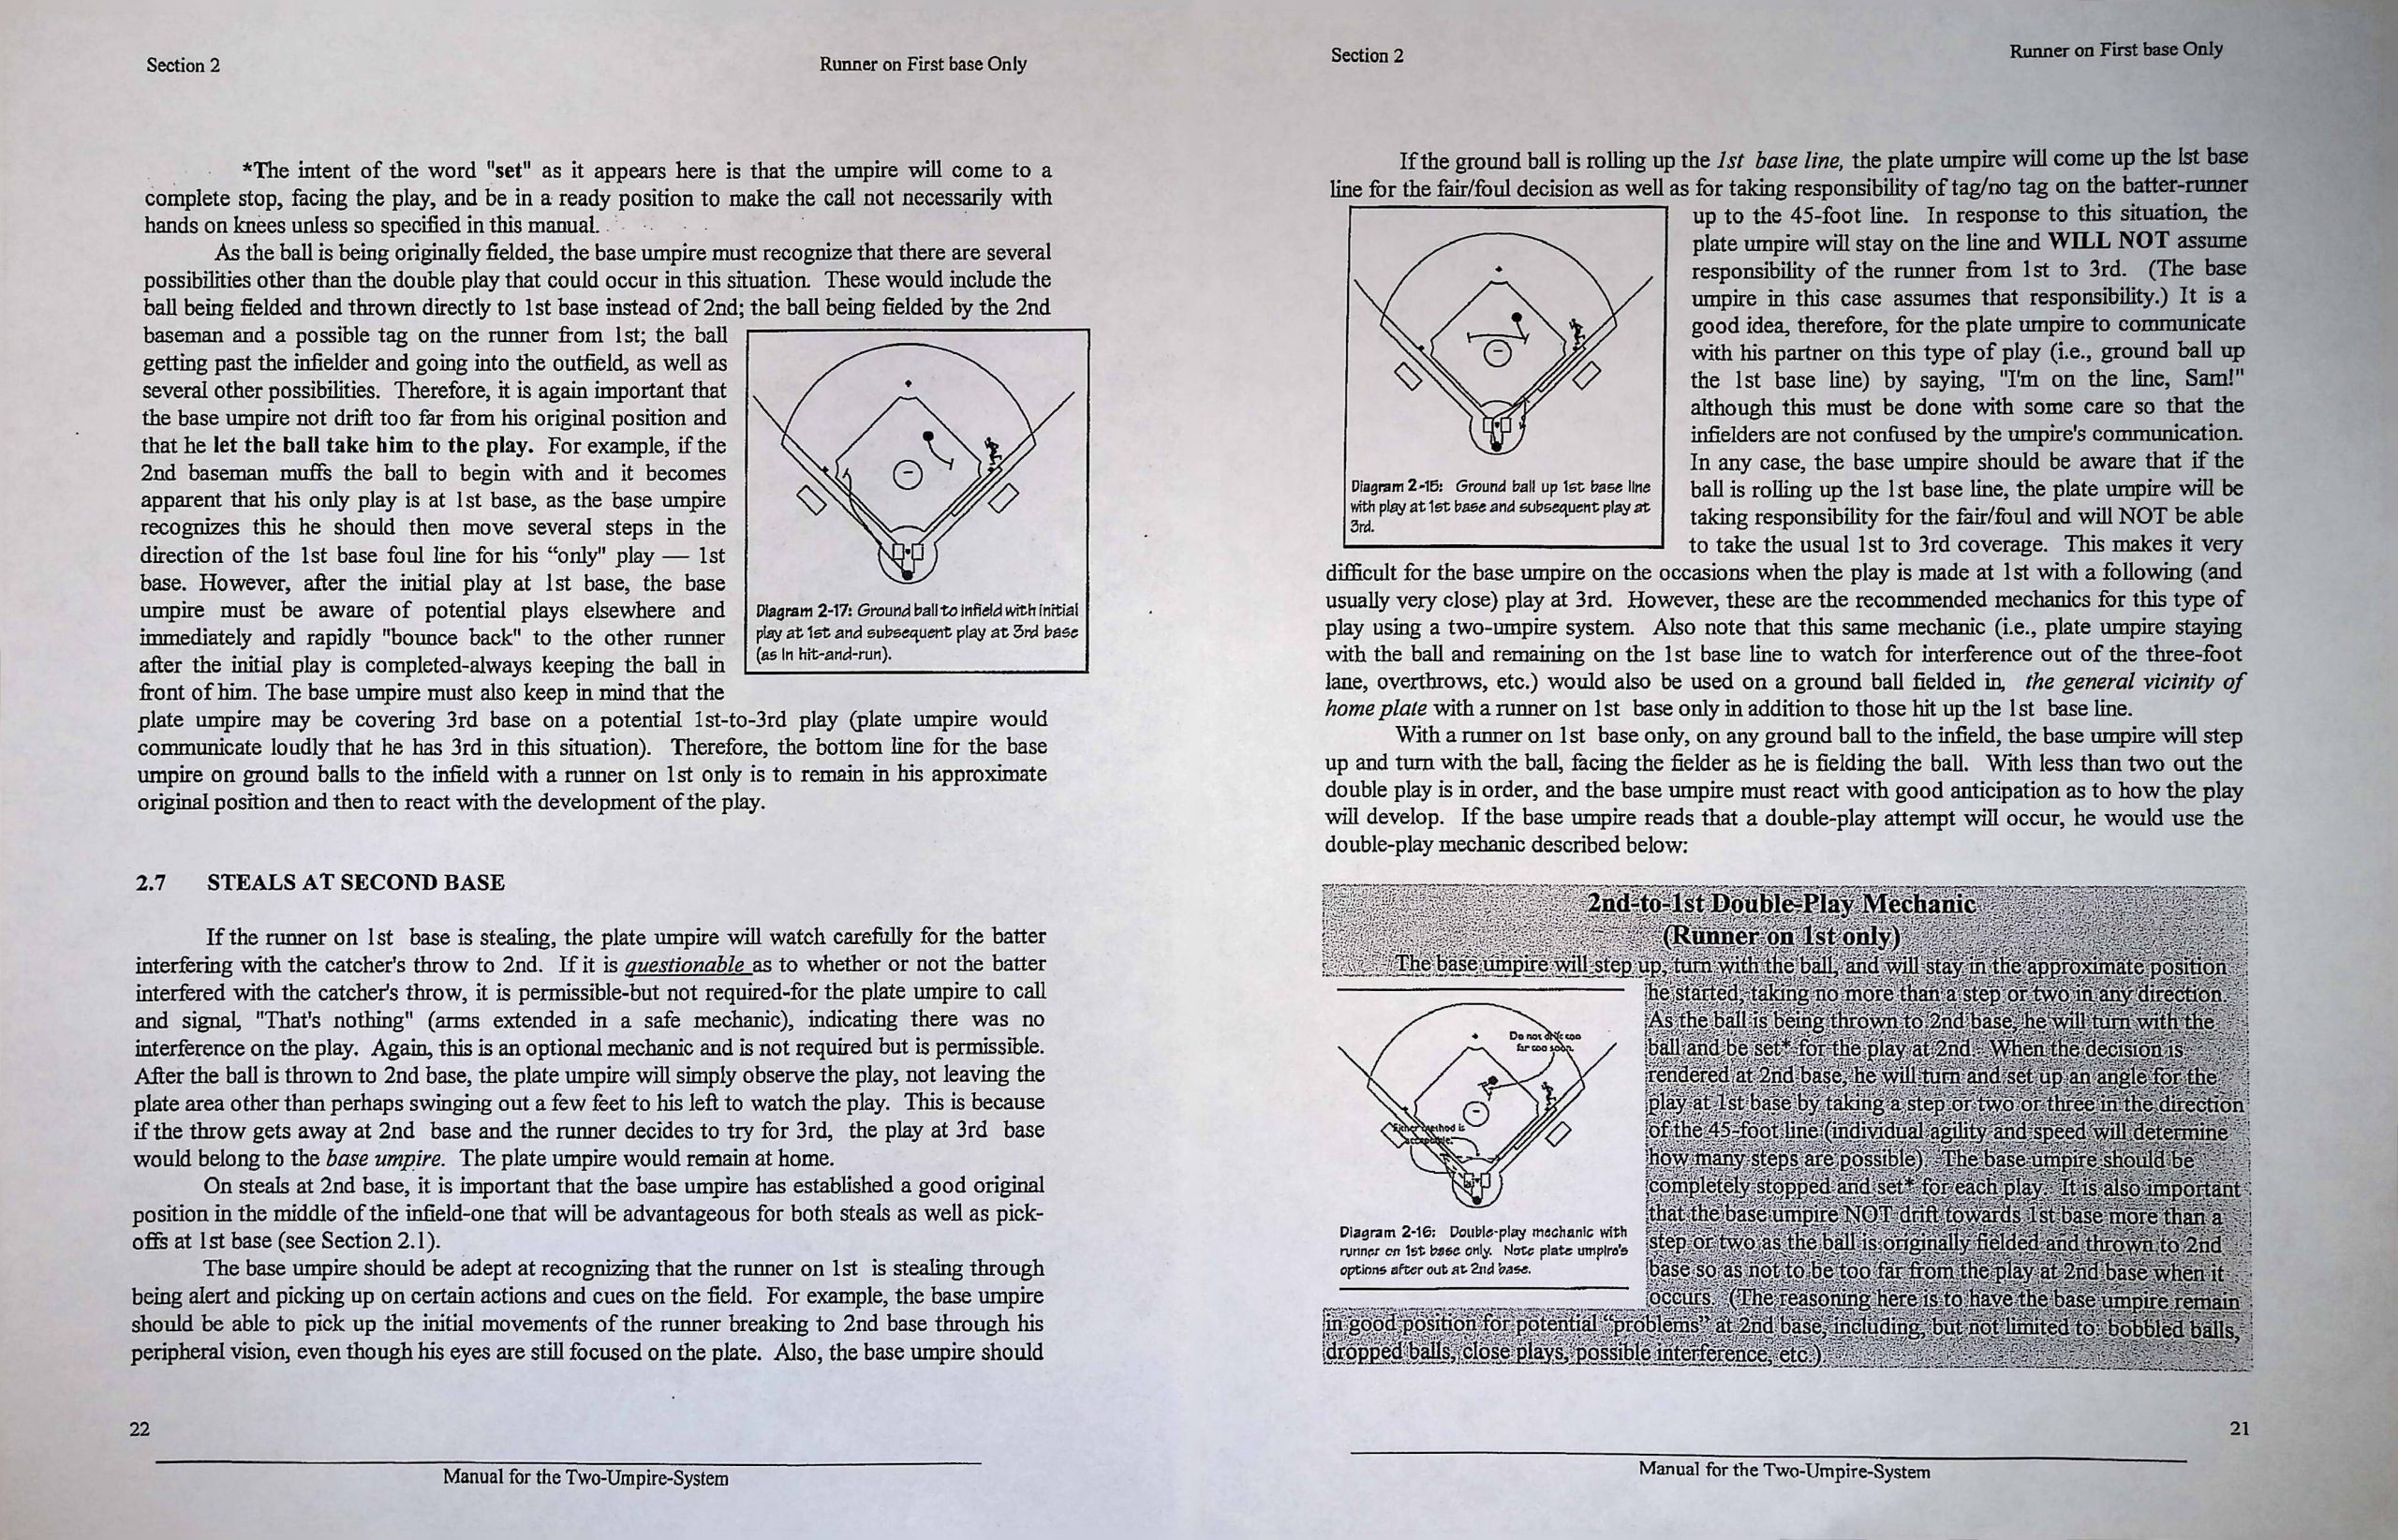
There are of course limitations to what the software can handle. The most obvious is the amount of curving, which of course is primarily a function of the thickness of the book. I tried this on my own most recent book, which is under 200 pages, and the scans came out beautifully. I also tried it on a copy of Mounted Artillery Drill, a book published in Charleston, South Carolina in 1863. It’s about 50% thicked than my book, and still scanned perfectly. But then I went way up the scale, trying to scan a few pages of the text book that I use in my web design class. It’s 800 pages and over an inch thick, and while the software did an admirable job of flattening the book, it wasn’t perfect. But I really want to note here that while there’s still some obvious curl in the scans, it’s still much, much better than anything I could get from my all-in-one or a flatbed at work.
Combine Sides


The next option, and again a really cool feature of the software, is the ability to take two shots of something and easily combine them into a single resulting image. I can’t count the number of times I’ve needed pictures of the front and back of our insurance card, or COVID vaccine card, or another ID, and been forced to take them as two separate images and then either accept submitting two documents or take the time to manually combine them in something like Photoshop. But those days are over. You simply switch to this mode, scan one side of the card, flip it, and scan the other side, and within a few seconds, you have a single document with both sides. My only wish is that there was a way to make the resulting document smaller–the only page size choices in the software are A4 and A3–but I’m happy to accept the wasted space on the scan for the convenience the feature provides.
Scan Selected Region
You can also choose the portion of the document you want to scan by placing it under the camera and then holding the Control key while dragging with your mouse. Unfortunately, this generally requires both hands, so it’s not practical to do on a document that has to be held open like a book. Still, it’s a nice feature to have.
No Processing
Finally, there’s a raw, “just take a picture of what’s there” mode, that I honestly haven’t figured out a use for.
Other Settings
The software has a set of color mode options, which can be seen in all of the screenshots of the interface above. The two interesting ones are Stamps and Patterns. The tooltip that appears on Stamps says that it “converts the background of the image to white and optimizes the colors of stamp markings; suitable for stamped official documents printed on white paper.” The tooltip for Patterns says, “Maximum preservation of watermarks and other markings with optimization to image color; suitable for documents that bear watermarks or stamps.” I tried both of these modes on one of my kid’s birth certificates, and I have to say that I was very impressed. I hope everyone reading this will understand why I’m not going to share a picture of those on this very public website, so you’ll just have to take my word for it when I tell you that it did a really great job.
Visual Presenter Mode

I can imagine that at some point in the development cycle, someone at CZUR said, “doesn’t our scanner look like a document camera?” and someone else said “yeah it does” and then someone else said “well why can’t it be both?” And so, I imagine, was the visual presenter mode born. Here, the Shine Ultra functions exactly like a document camera you might get from Elmo or IPEVO. (And it’s worth that I reviewed a portable document camera from IPEVO last year.) The Shine Ultra allows you to annotate, zoom, record, and do all of the other things any decent document camera lets you do. I don’t think anyone would really buy this device solely because of this ability, but if you did you probably wouldn’t be disappointed. Price-wise, it’s dramatically cheaper than an Elmo, but competitively priced with many other document cameras.
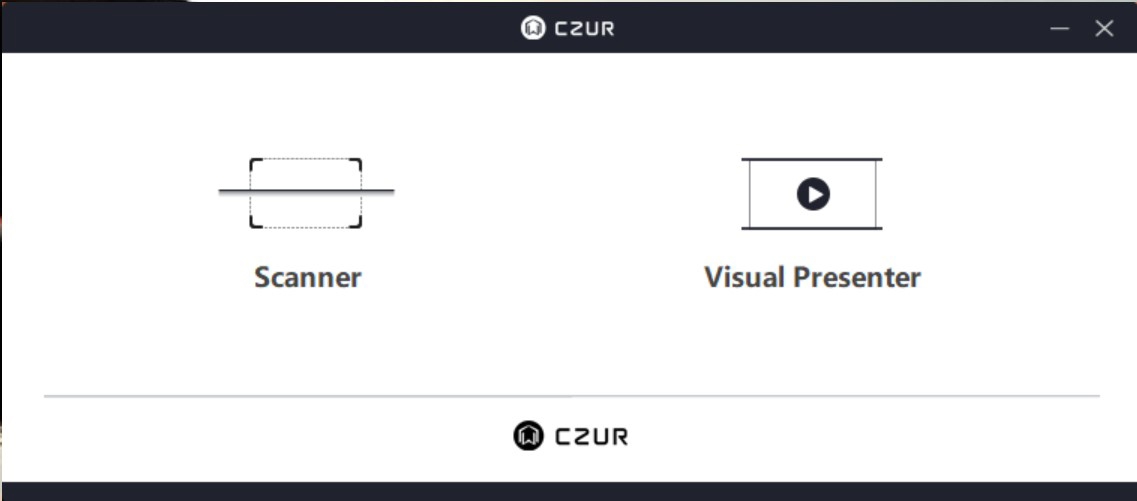
The one thing that I think it a missed opportunity for CZUR is that it isn’t possible to easily switch between visual presented and scanning modes. In fact, you really can’t switch at all–you have to choose the mode when you first launch the software, and then the only way to make the selection again is to exit out of the software altogether. I’ll admit there may be some highly technical reason why switching without exiting isn’t possible, but it’s too bad, because as a teacher, I would love to have the ability to be presenting a document to a class using the document camera mode, and then be able to quickly push a button to scan the document I’m talking about to share with the class. Yes, the presenter mode has a freeze button, and of course there are plenty of ways to grab a picture of that, but those all lack the ability to use all of the CZUR’s truly fantastic scanning capabilities I mentioned earlier. In fact, that feature would be so useful to me that I would recommend to the college I teach out that currently has an Elmo on my desk that it be replaced with an Shine Ultra.
Desk Lamp Mode
You won’t find this mentioned anywhere on CZUR’s website, but I have to share that the thing I use the Shine Ultra for the most is simply a desk lamp. When I’m teaching classes from home and I’m not on camera, the various lights I use to make me look good (or at least, better) on camera are too bright to be really comfortable for long periods. But the Shine Ultra camera’s light is perfect for very nicely lighting the area of my desk that I need for whatever book I’m referencing in my class. Obviously, there are a great many, and far cheaper, ways to get a desk lamp, but if I have the Shine Ultra sitting there anyway, it’s a convenient light that doesn’t take up any more space on my desk.
Final Thoughts
When I first heard about the Shine Ultra, I figured it might be a cool thing to check out. But honestly, I’ve been very surprised at just how powerful the device is and how many uses it truly has. Whether you need to do the thing it’s really designed for–scanning books–or just need a better solution to scanning in general than is provided by all-in-one devices or apps or the rest, the Shine Ultra is the way to go. It’s also cheaper than most of the higher-rated flatbed scanners out there. Whether you really need a scanner to quickly scan books, or just have the usual things people want scanners for these days, the CZUR Shine Ultra is definitely worth a look.
You can get the Shine Ultra at Amazon or directly from the CZUR website. (Note that as an affiliate I may earn with qualifying purchases.)

