Releasing globally on August 24th, the Train Station is to date the largest building in Lumibricks’ Town Life series. A modern building with Victorian design elements, this set goes well with other Town Life buildings like the Brick Art Gallery which I reviewed earlier this year. Let’s take a look!
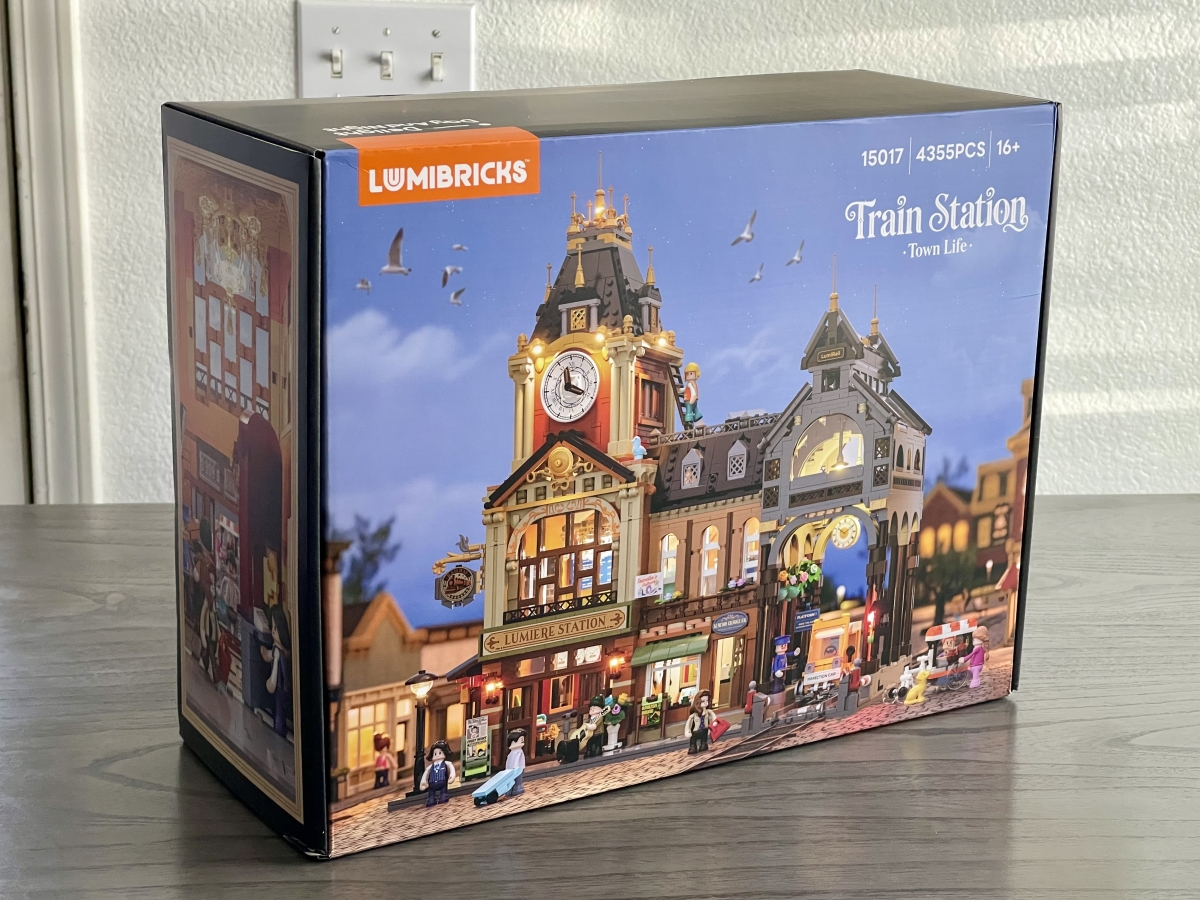
What Is the Lumibricks Train Station?
The Lumibricks Train Station contains a whopping 4,355 pieces, including 75 screen-printed elements. There are 20 LED lights, and 8 minifigures. When completed, the set is approximately 15″ wide, 10 inches deep, and 18 1/2 inches tall. The set retails for $199.99, and can be purchased directly from Lumibricks, or from the Lumibricks store on Amazon. It may show as “sold out” or “unavailable” prior to August 24th, which is its sale date.
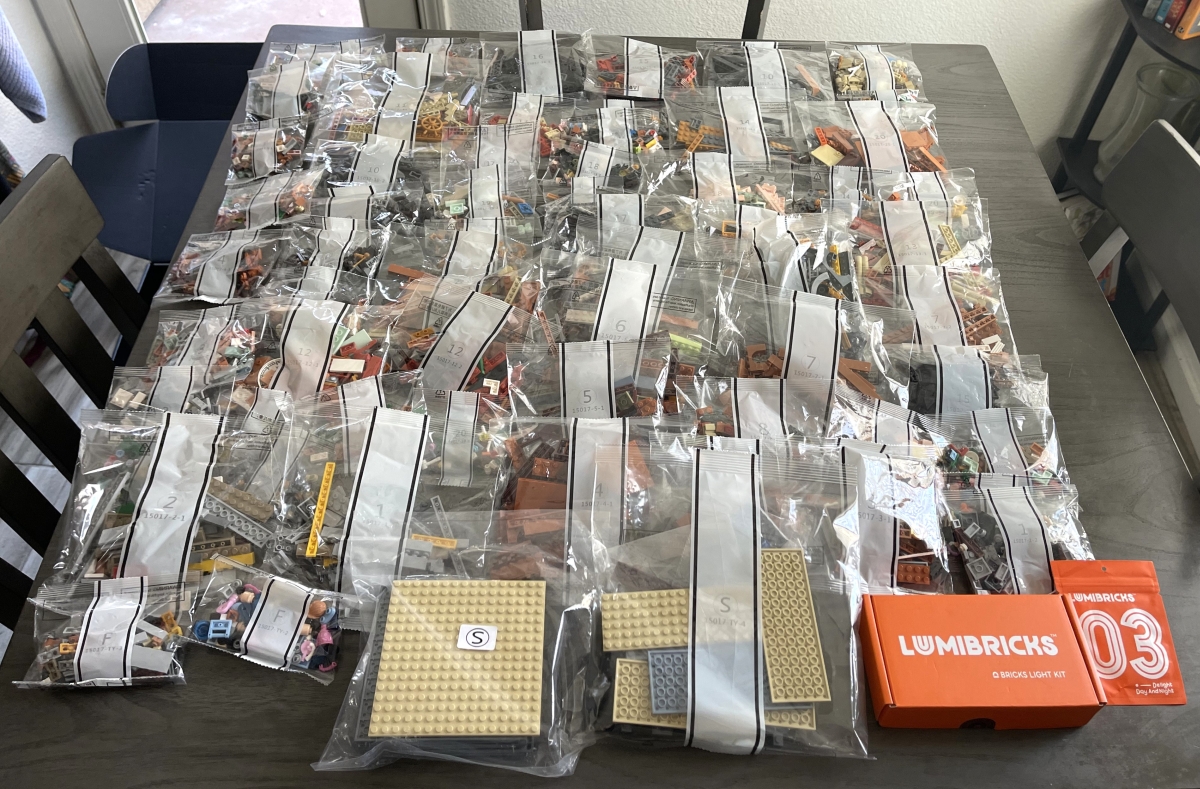
All those bricks are spread across 20 bags. If you’re looking at that picture above and thinking that there’s more than 20, you’re absolutely right: Lumibricks has multiple bags for each step of assembly, so you may have 3-4 bags for a numbered step, plus special pieces drawn from the “F” or “S” bags, as well as the lighting kit.
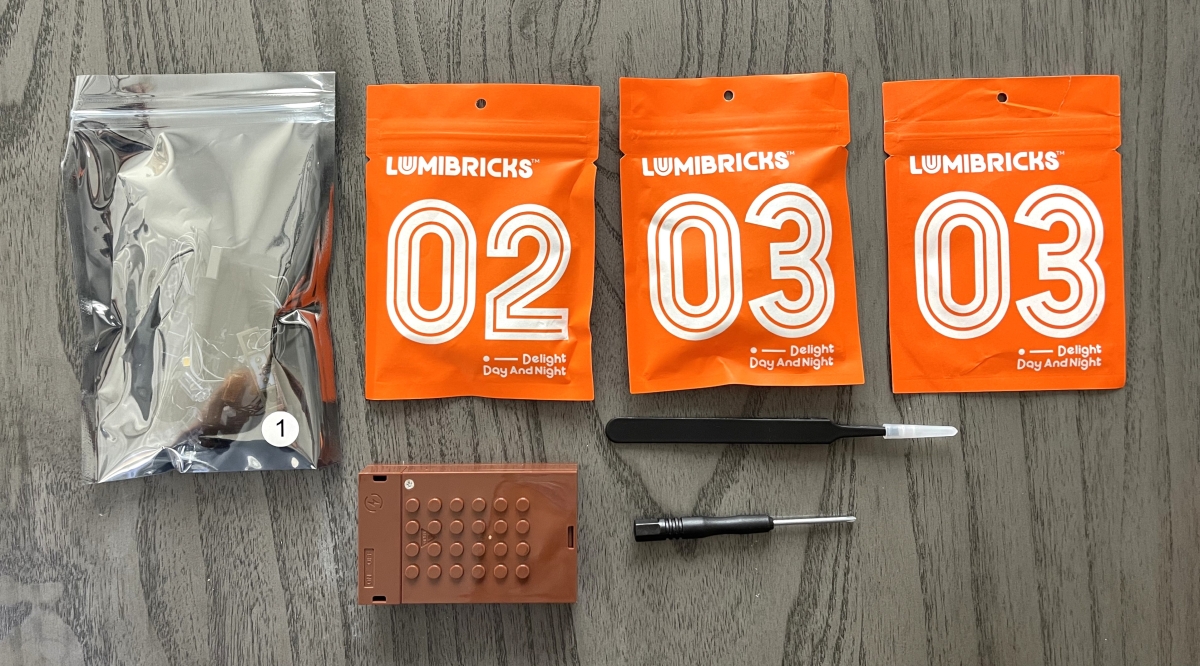
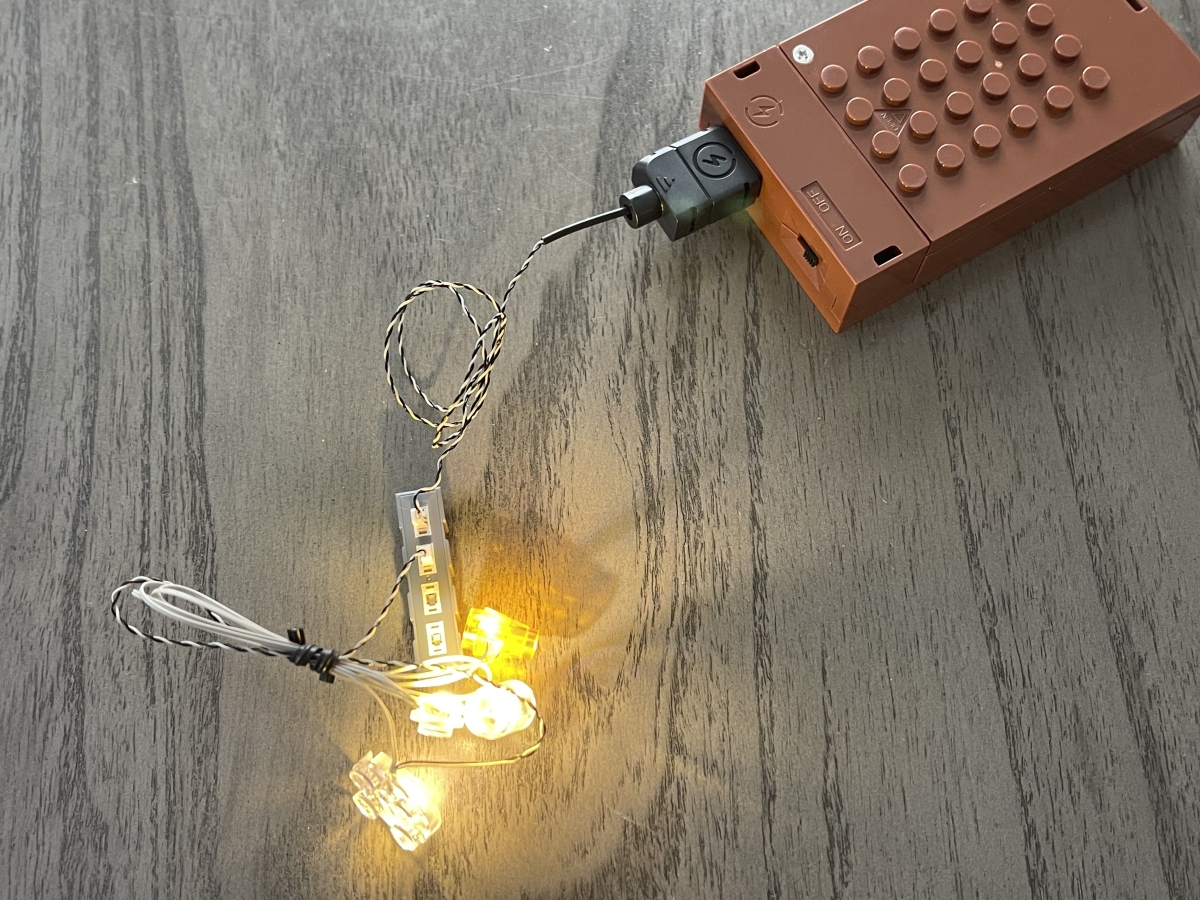
Speaking of the lighting kit, there are 3 bags of lights, in addition to the AA battery-run power supply, tweezers, and a small screwdriver. I received two of the “3” bags, but one those bags merely contained a duplicate of an element that you need two of for assembly.
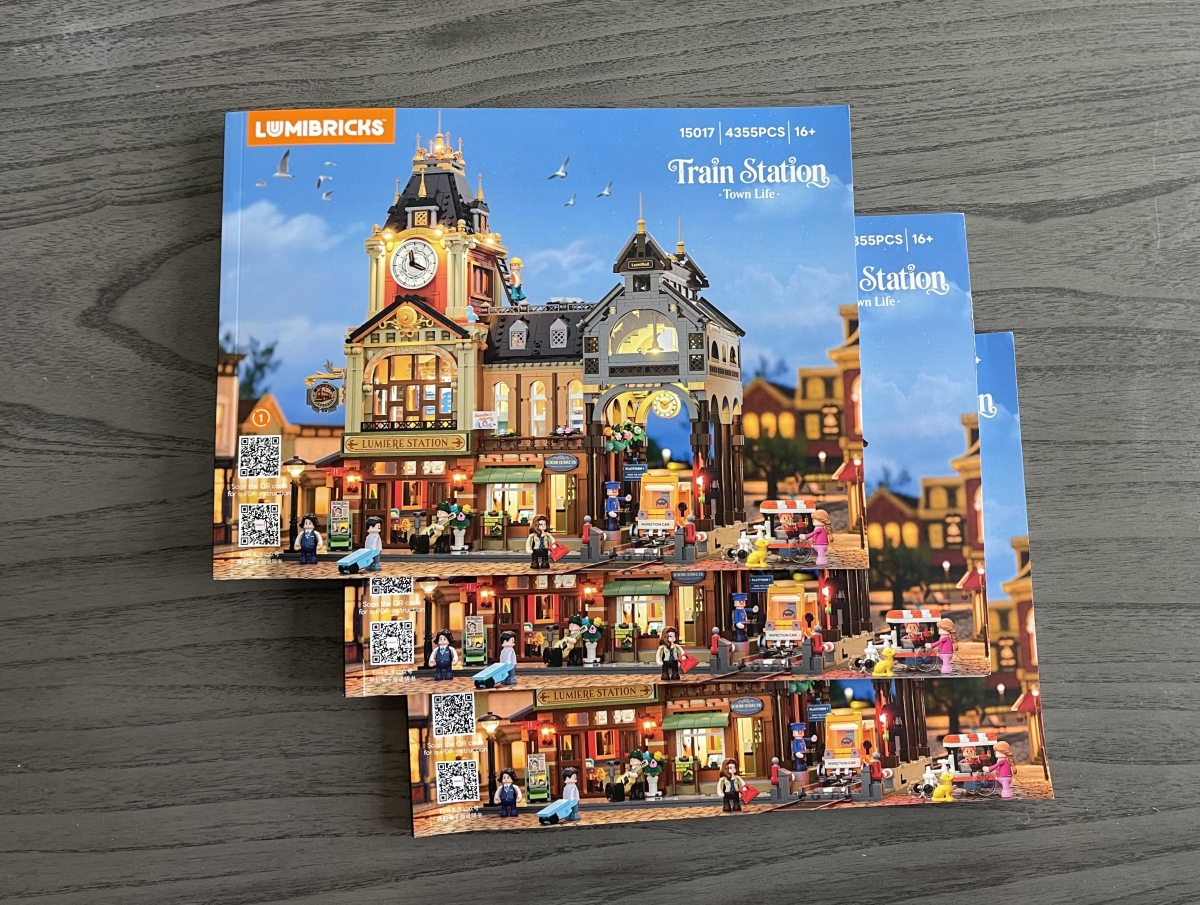
With a set this large, there’s no surprise there are three manuals included. The first manual has a few pages of information about the building itself.
Lumibricks suggests checking all the lights before assembly starts. This is very worthwhile as it would be very difficult to switch out a light that’s not working once the building is assembled.
The Lumibricks Train Station – The Minifigures
As previously mentioned, there are 8 different minifigures that come with the set. Unlike LEGO, all the minifigure pieces come in one bag, so you can assemble them all at once, or spread them out at your leisure.

One of the figures is a traveler, who comes with his own little piece of carry-on luggage that you build:

Assembling the Lumibricks Train Station
The first stage of assembly starts with the train tracks, then builds out into the rest of the station.
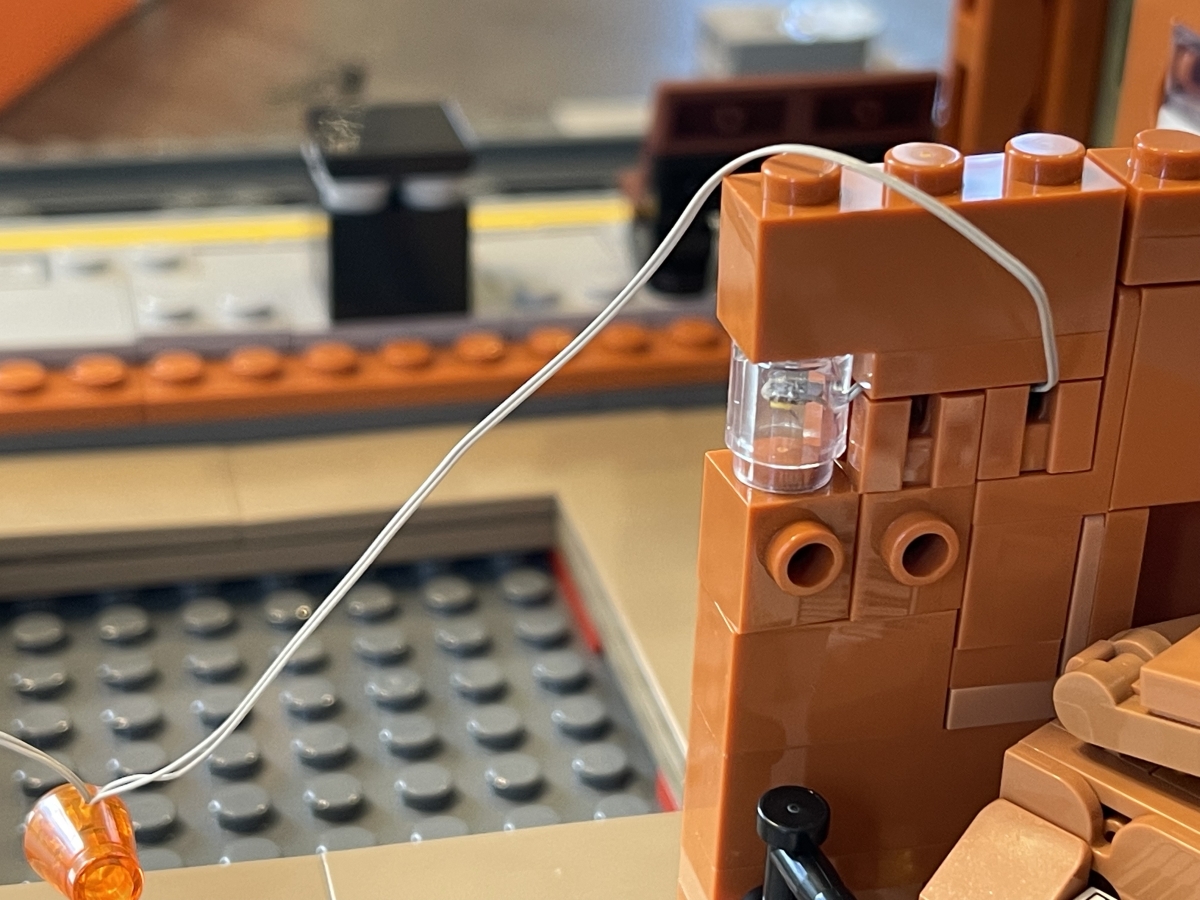
As you begin to assemble the Waiting Hall, you’ll start to add lights.
The Waiting Hall also has some memorable constructions, like this grand piano:

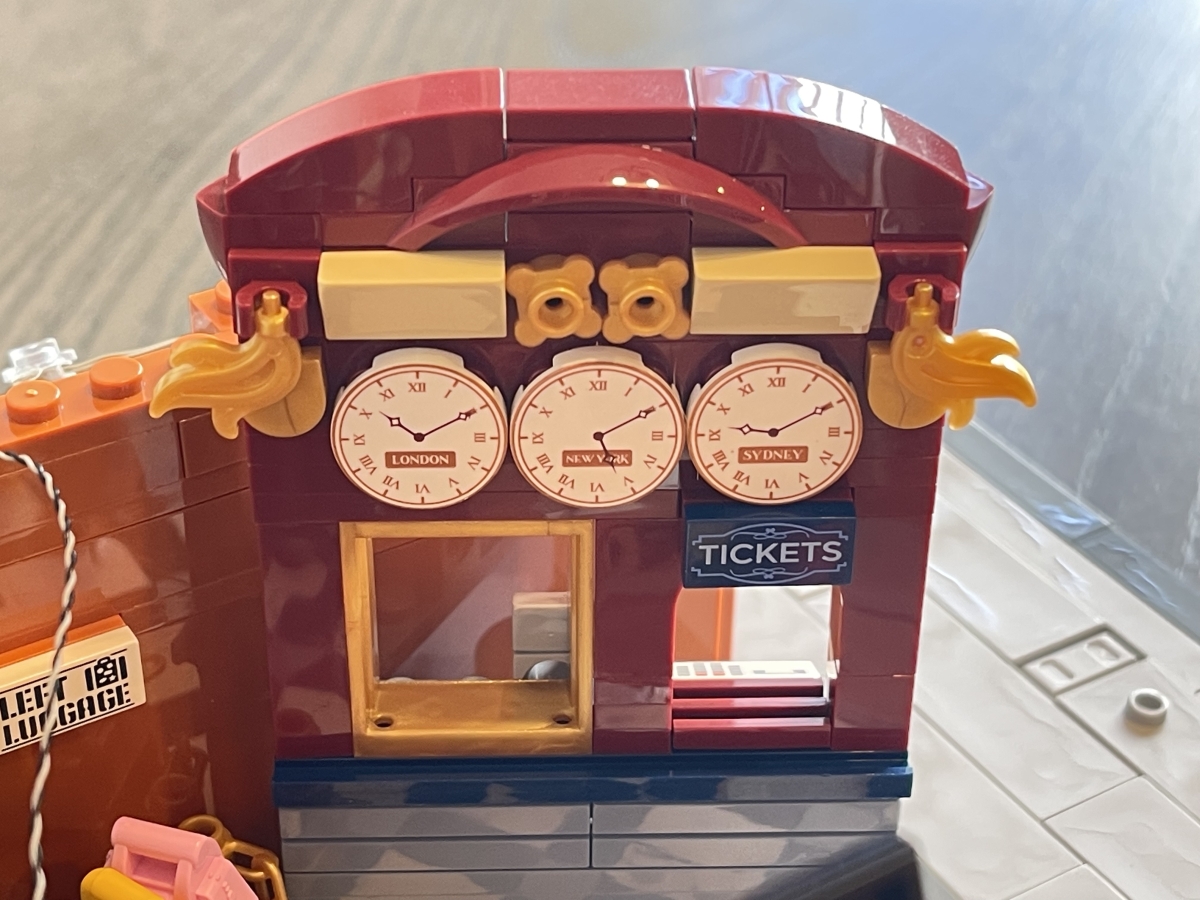
And the ticket booth:
At this point, you’re adding more and more to the structure of the station overall.
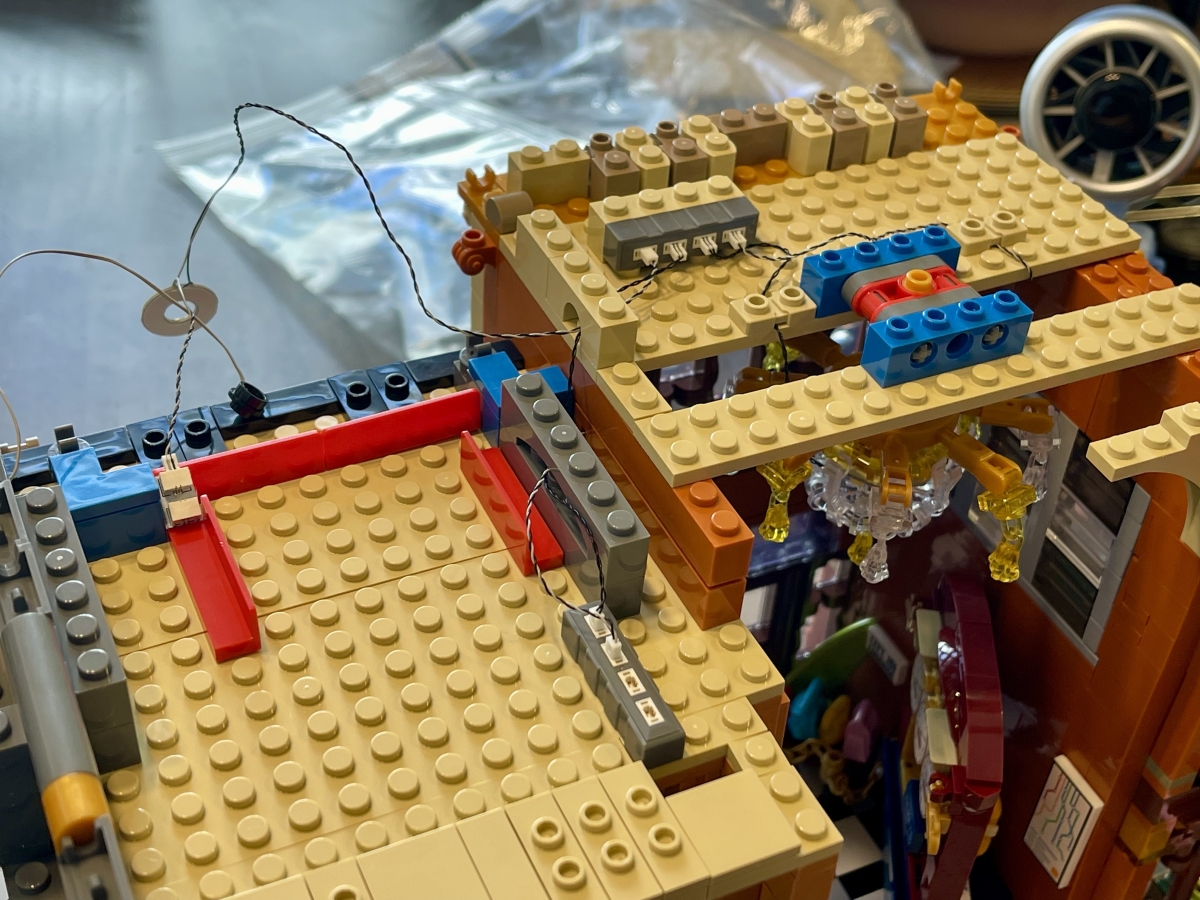
The wiring in the Train Station is among the most complex of the Lumibricks sets I’ve assembled. Not that it’s difficult, but you definitely want to pay close attention to the illustrations in the manual.
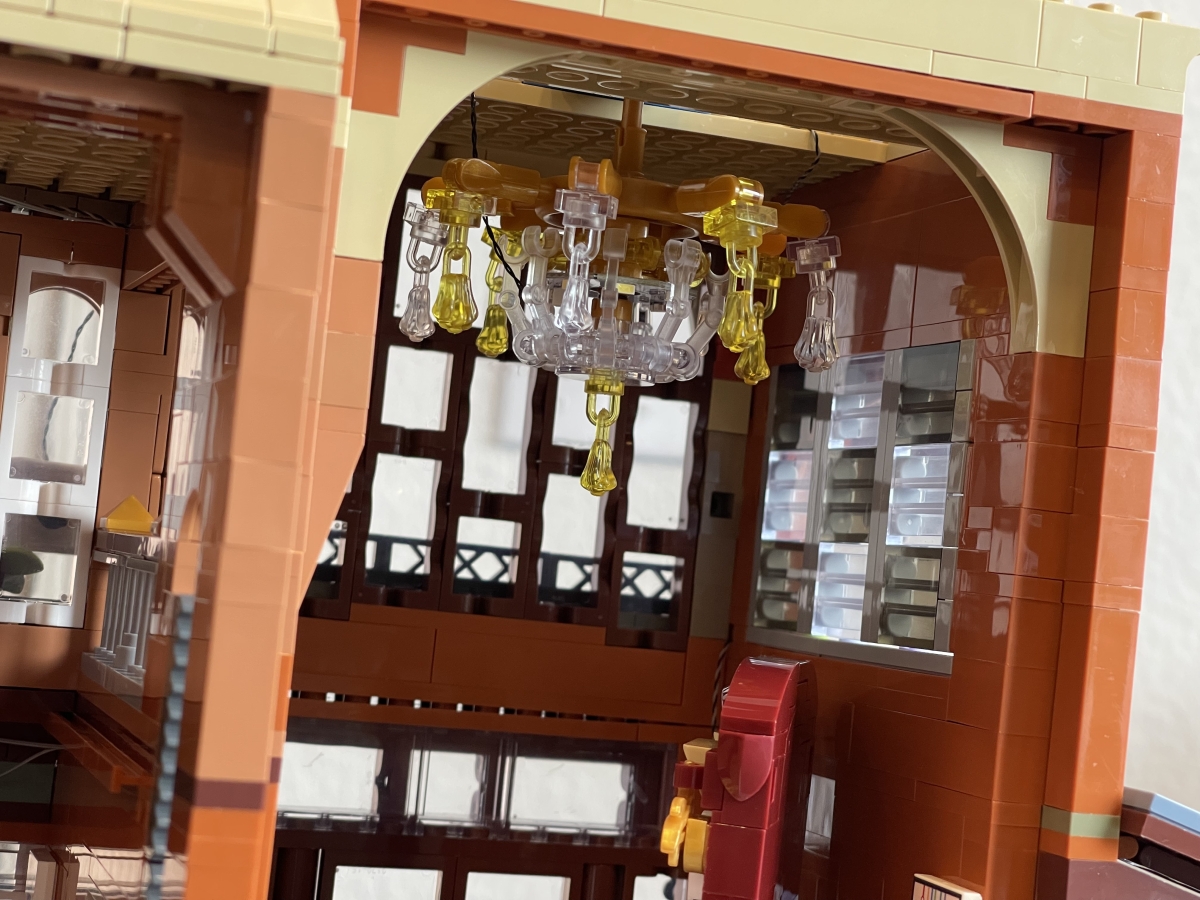
You’ll also assemble a chandelier for the ceiling of the Waiting Hall.
Next, you’ll start putting together the Clock Tower.
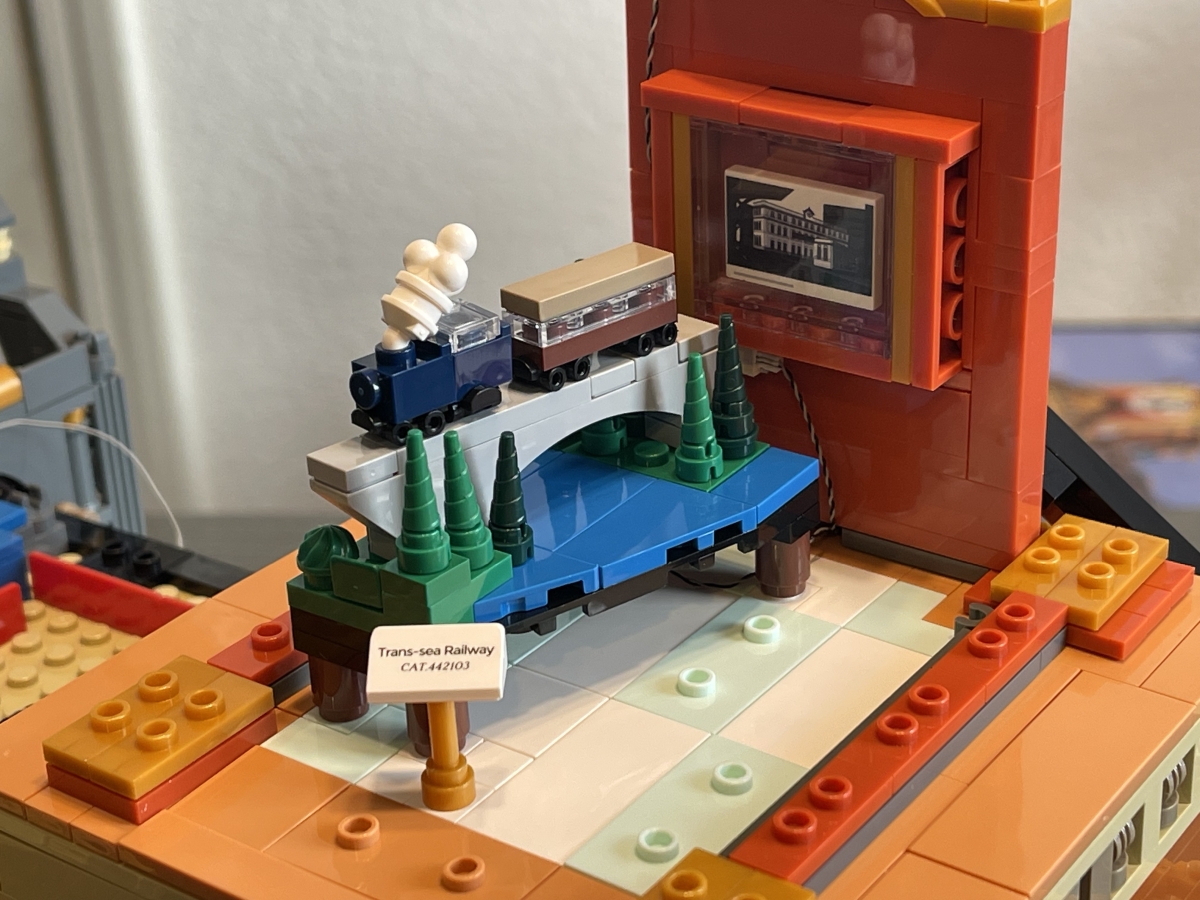
The clock tower has a couple of visitor displays on train travel. My favorite part of the entire set is this model railroad.
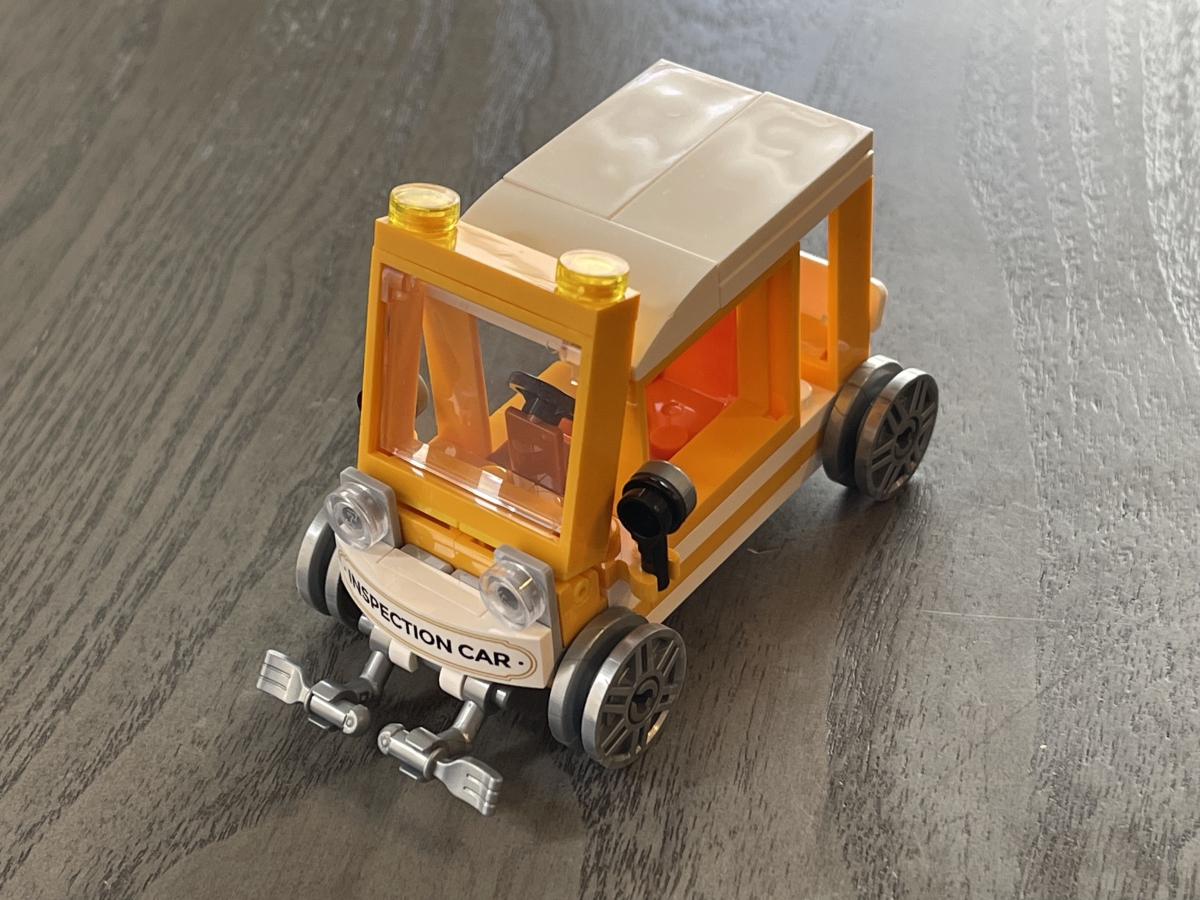
You’ll also build the track inspection car at this point. Sorry, the set doesn’t come with a full railroad locomotive- but you can get one separately, as well as additional track.
At this point, you’ll also be adding the power supply onto the roof of the middle of the building.
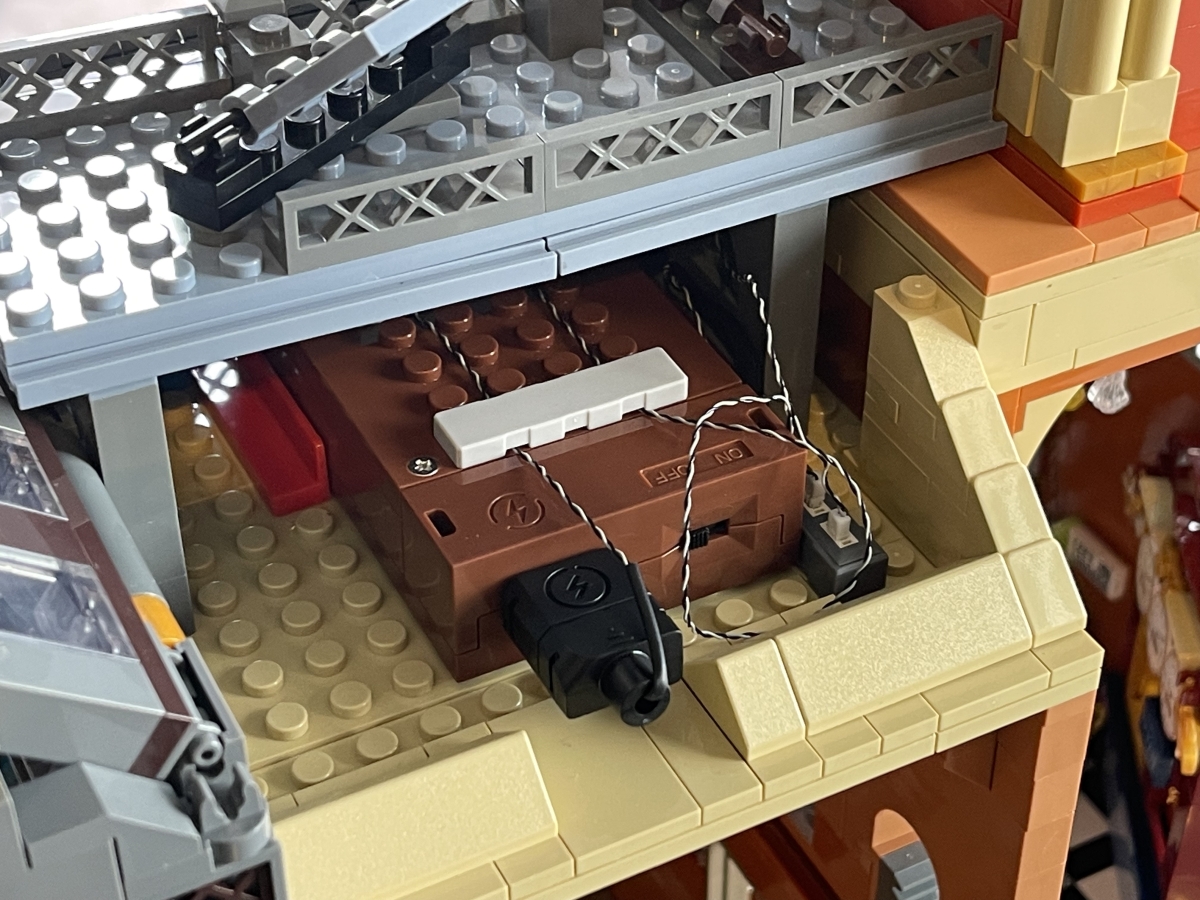
The power supply is concealed by an easily removable roof piece.
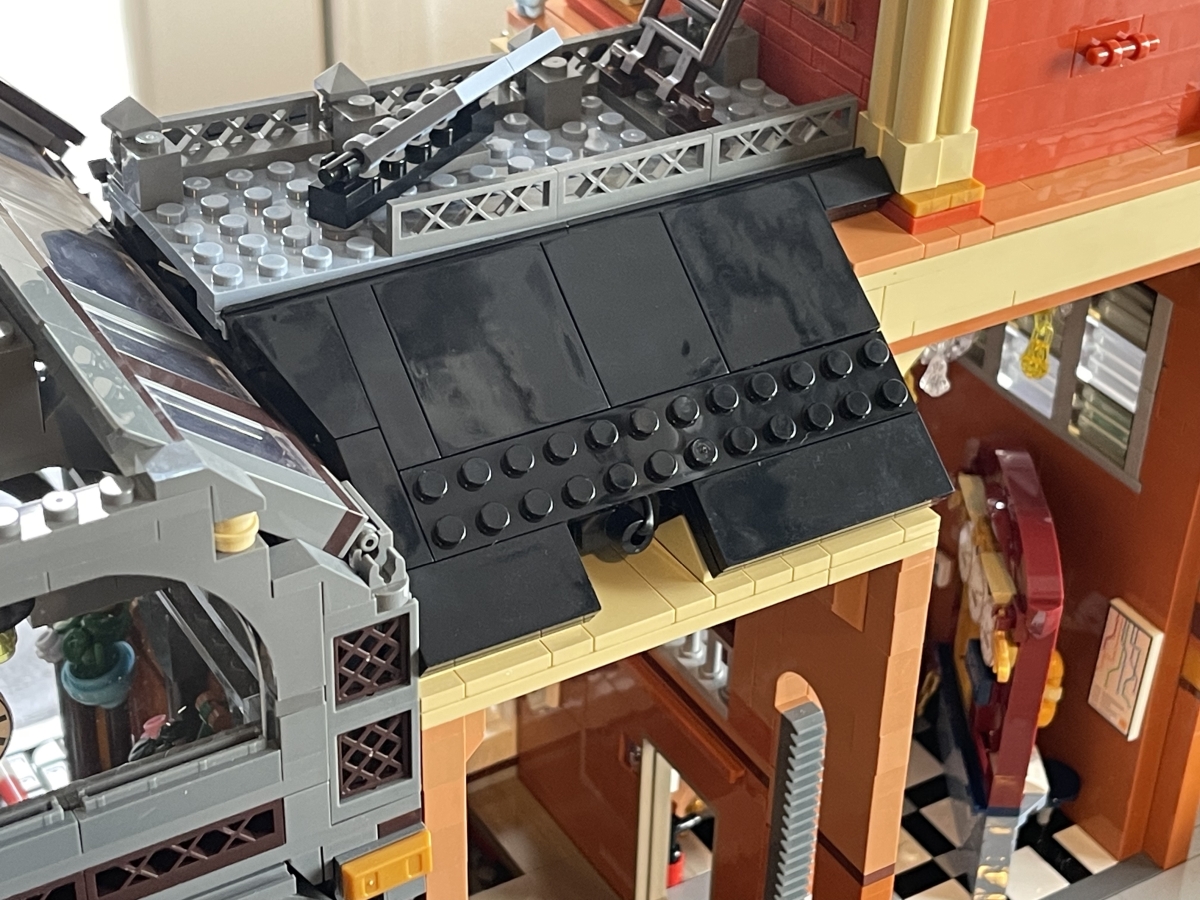
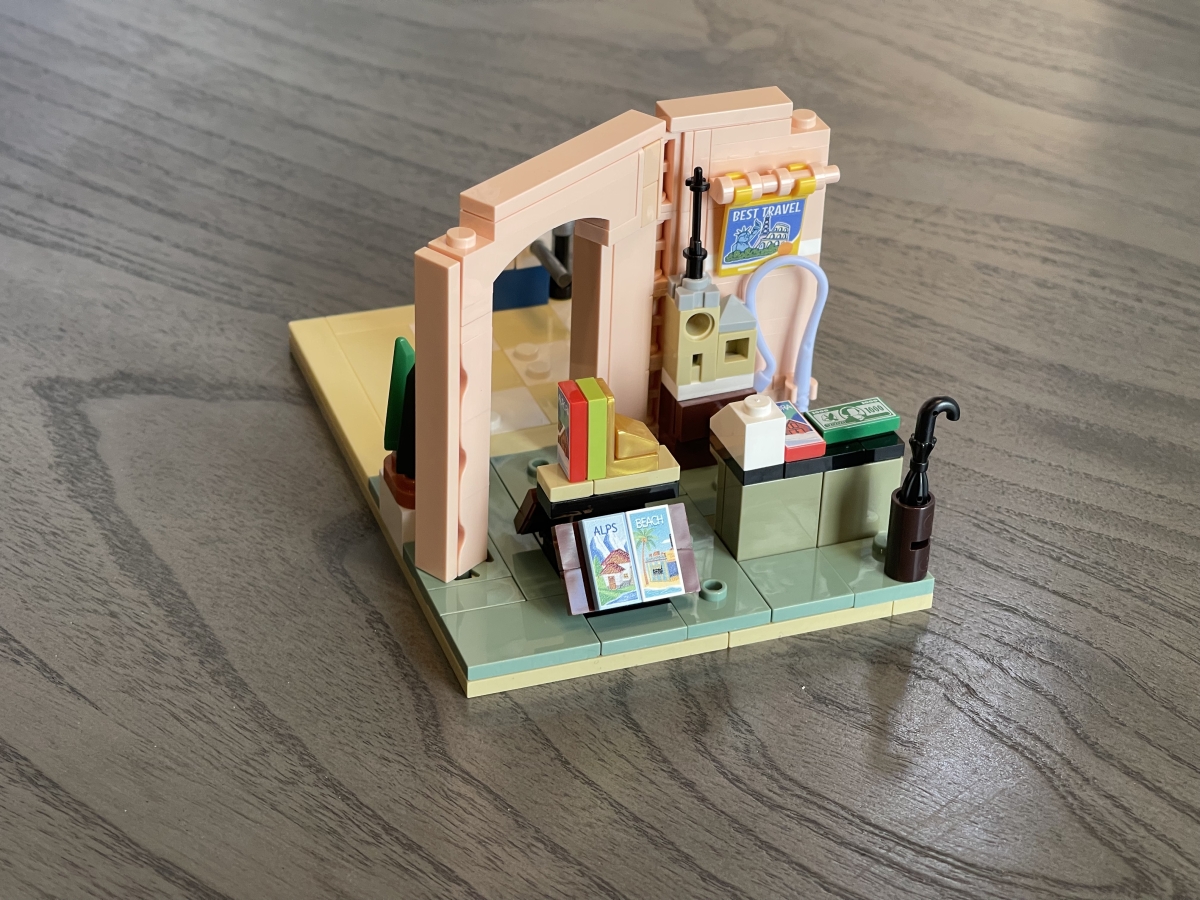
Next, you’ll continue working on the exterior, as well as building the Station Shop and Travel Agency. Both of those elements slide into the middle of the Train Station, and can be removed for play.
The Travel Agency also doubles as Passage. Here’s the Travel Agency part:
And on the other side of the arch is the Passage:
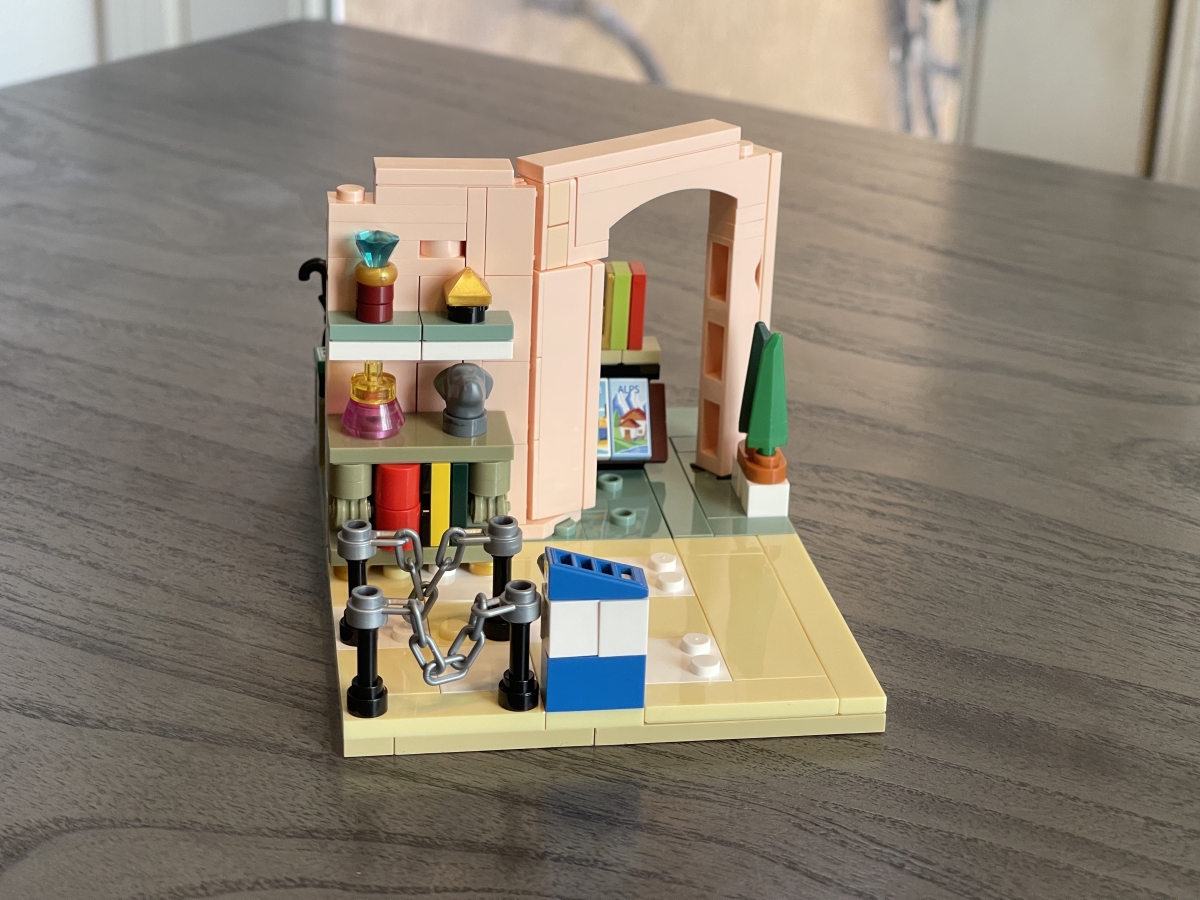
Below the Travel Agency is the Station Shop. Here’s a closer look:
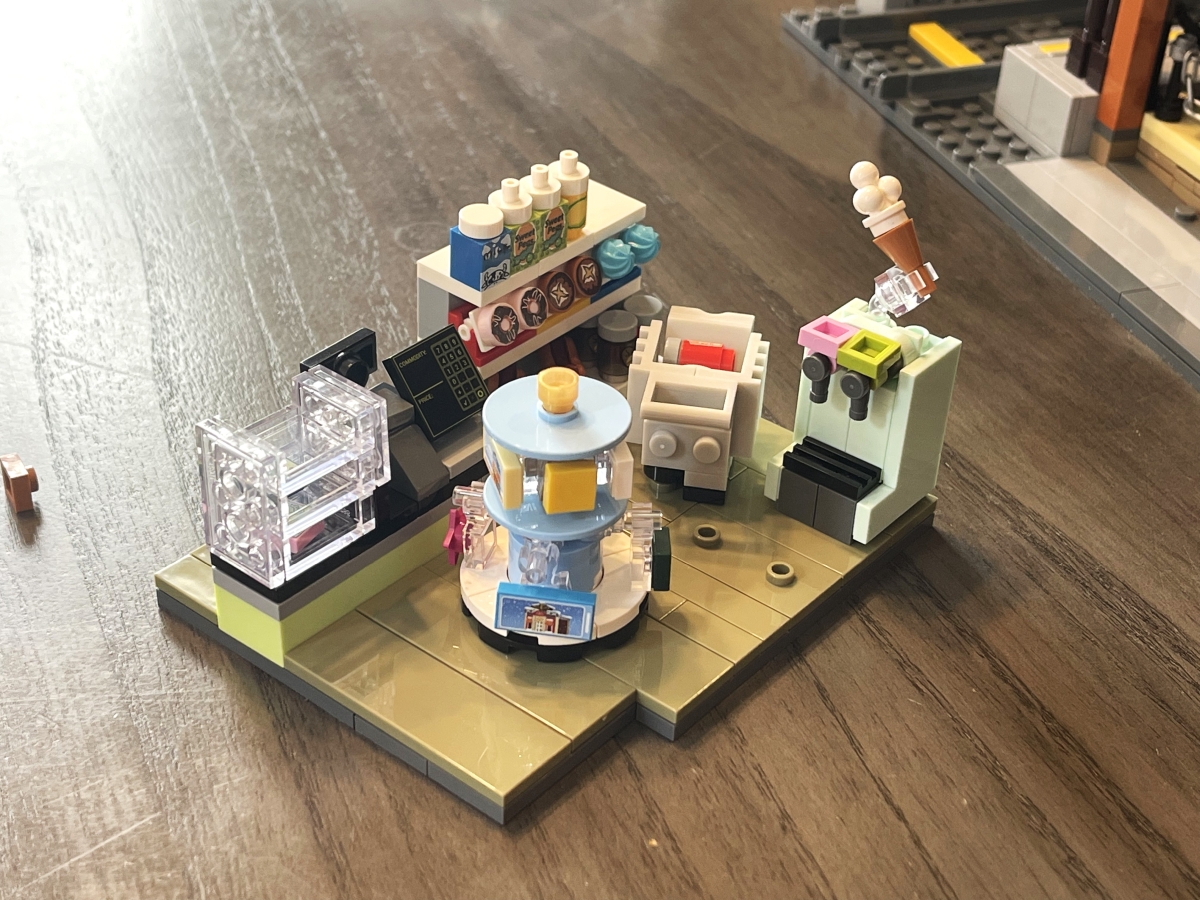
You will also build the back of that section of building, which is easily removable to access the shops:
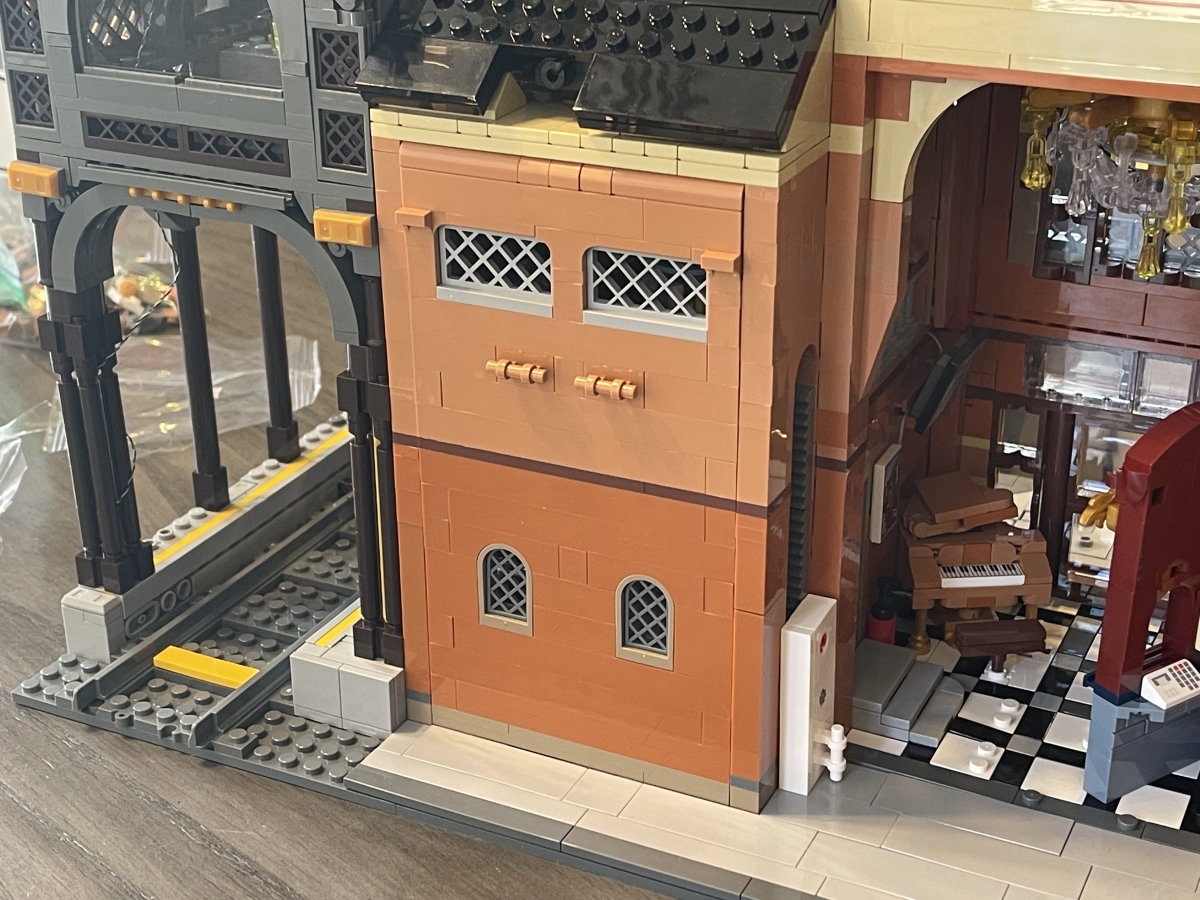
The final part of the assembly has you putting together the rear wall of the Waiting Hall.
Embedded into that other back wall is the restroom- Lumibricks definitely loves to include restrooms in their buildings! Here’s a look at that in mid-construction.
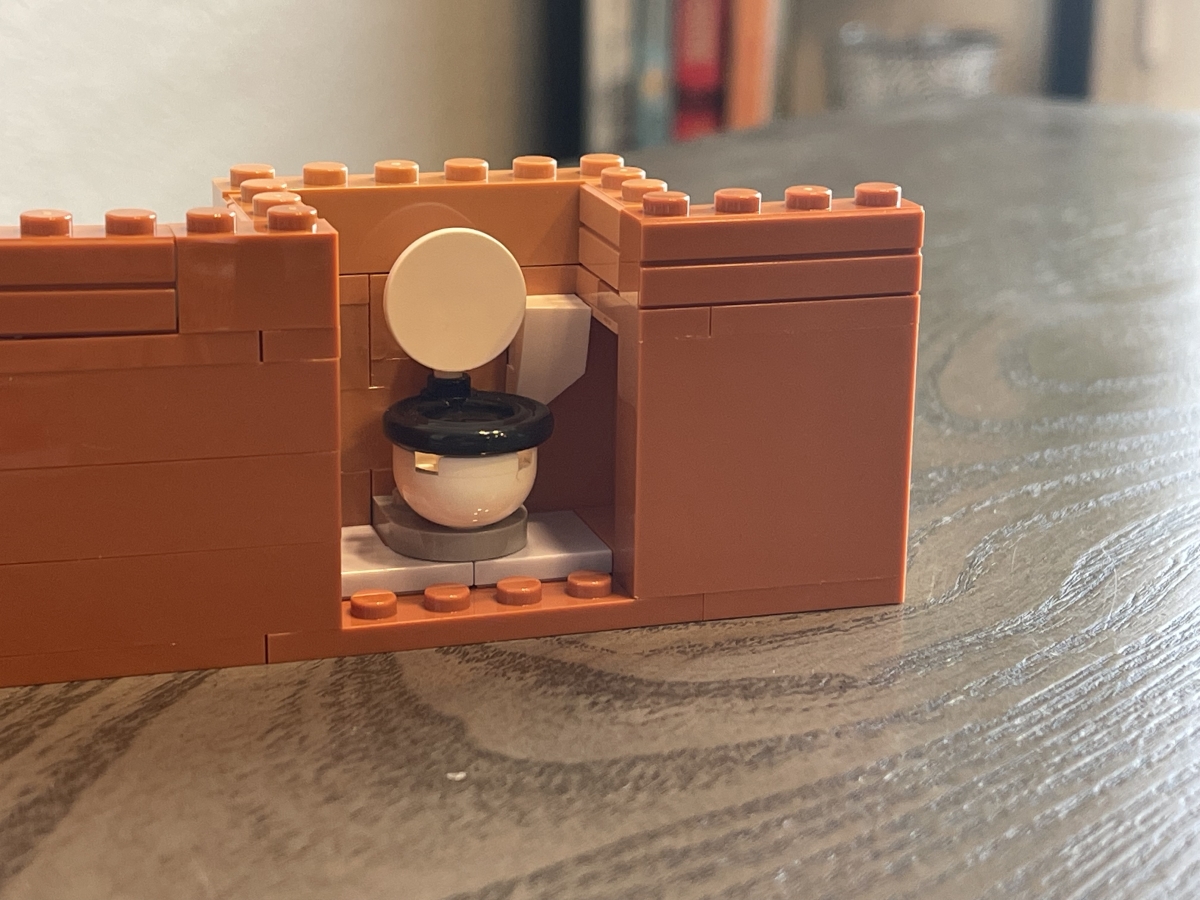
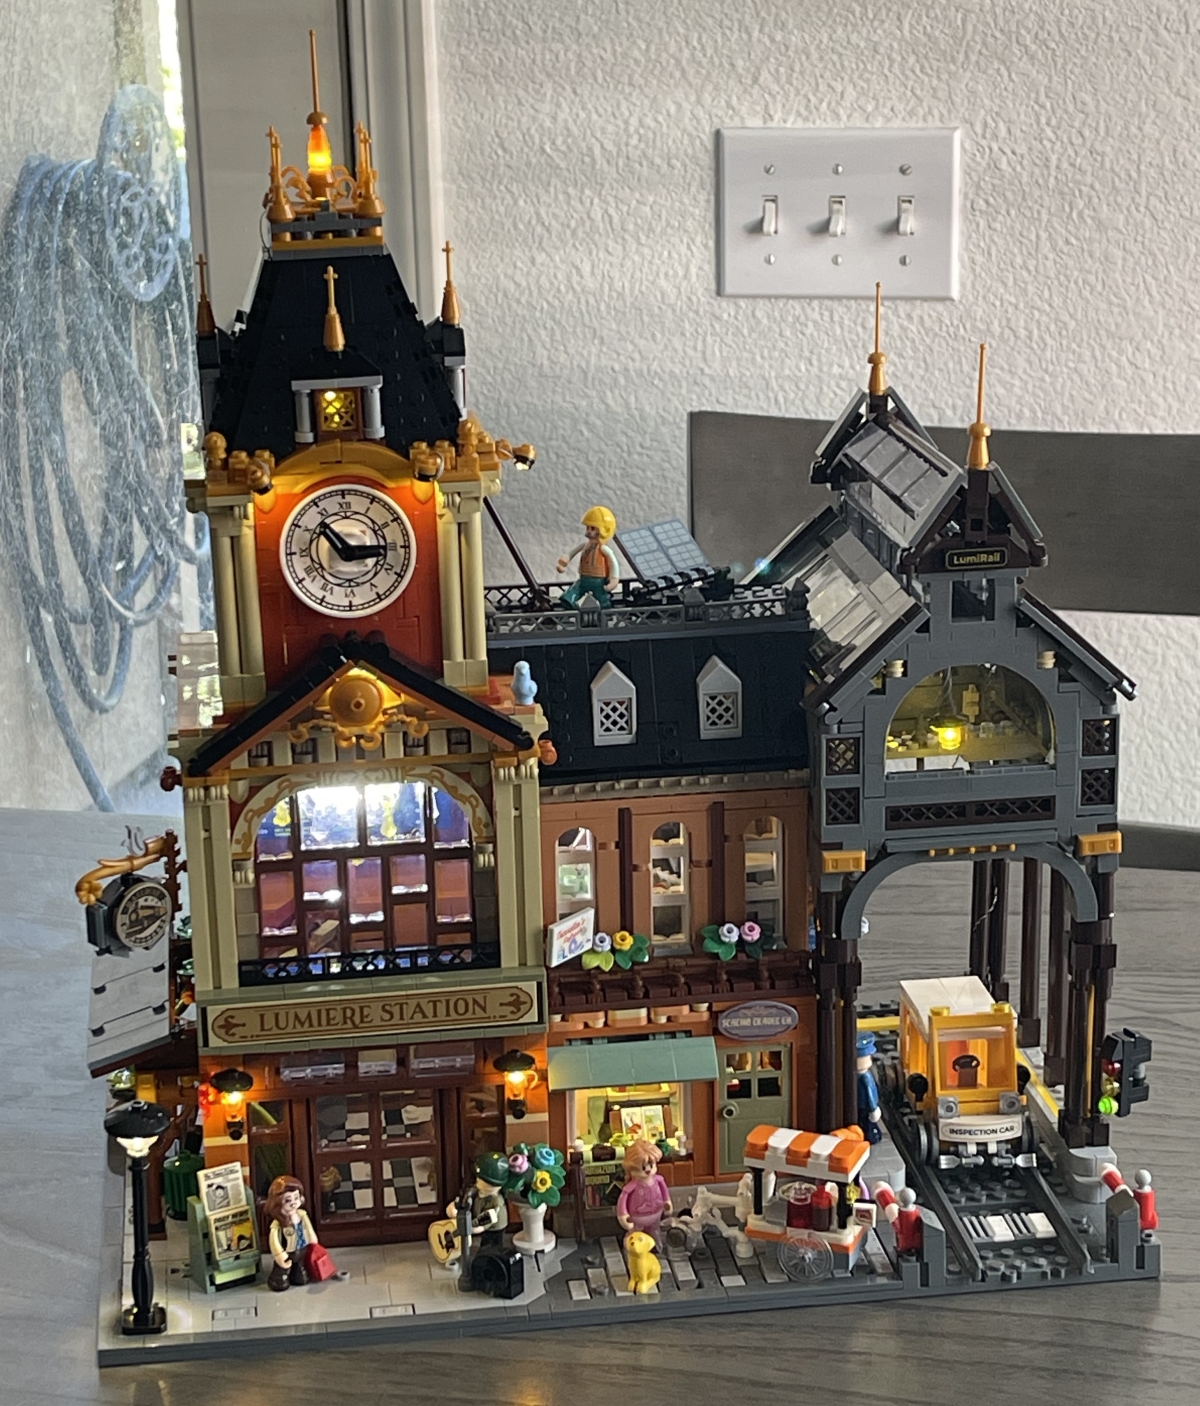
Once that other back wall is in place, you’re done! Here’s the completed Train Station:
Let’s Light It Up!
There’s nothing quite so striking as turning on a Lumibricks set in the dark, and the warm lighting of the Train Station is especially striking.
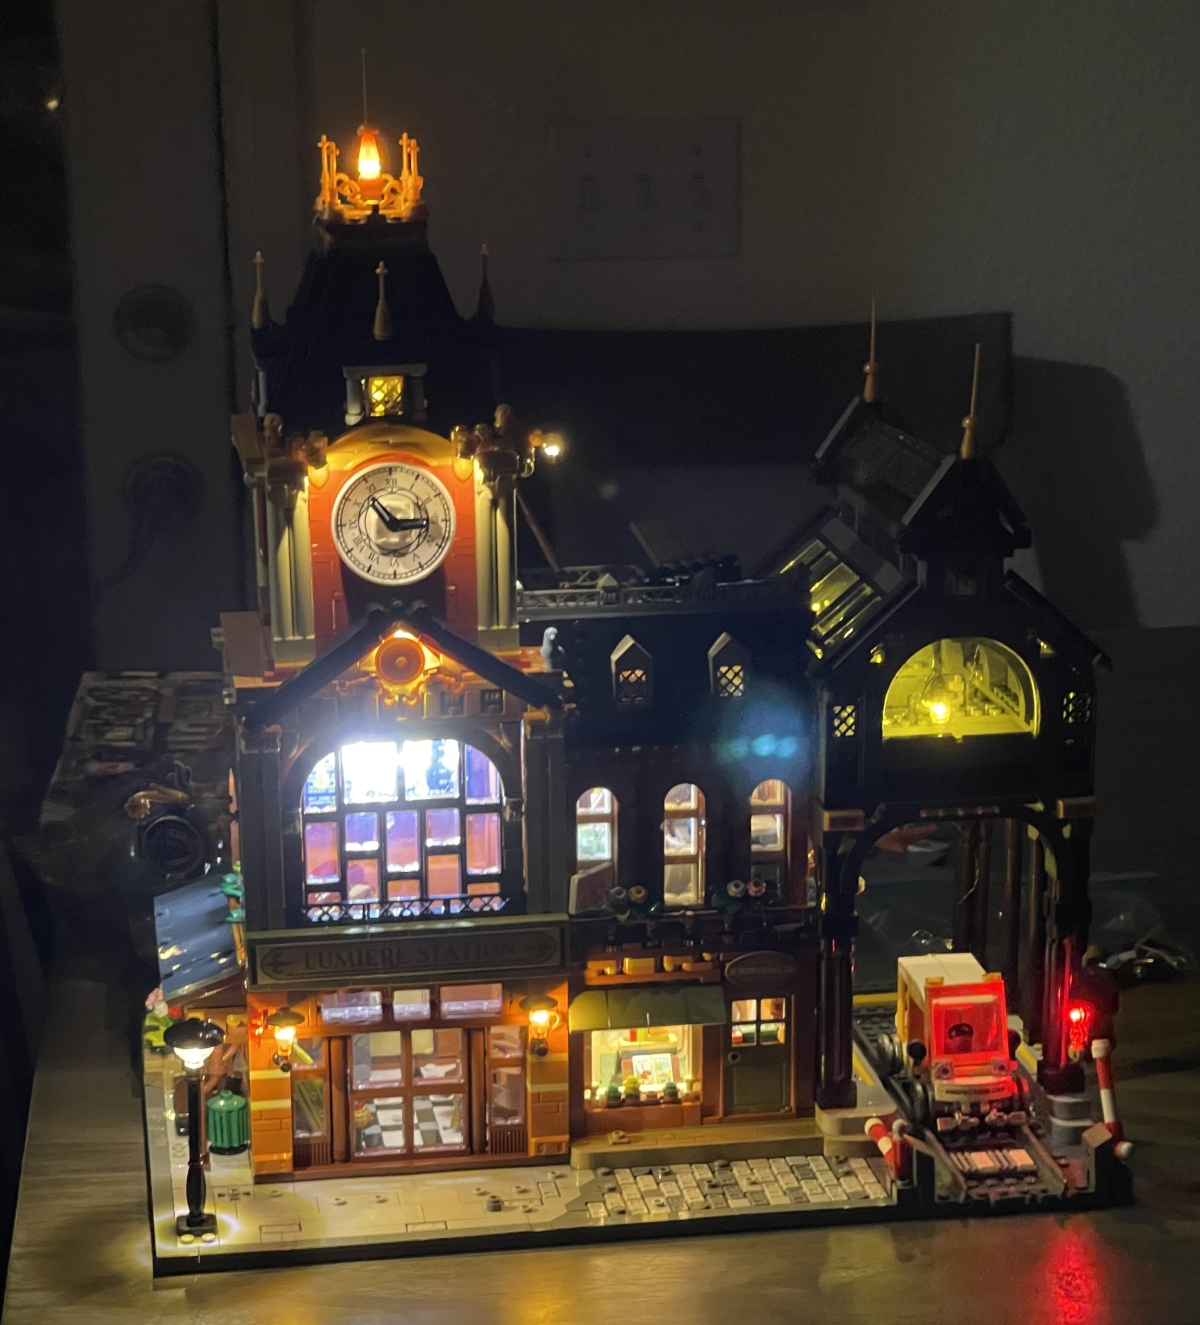
There’s a tiny switch on the side of the base that will allow you to change the track light between a blinking red to a solid green.
Here’s a closer look at the lights and some of the scenes I created.
The Lumibricks Train Station – Final Thoughts
The architecture in the Lumibricks Town Life series is very quaint and inviting, and the Train Station definitely continues that aesthetic. When Lumibricks first asked me if I wanted to review the set, I took one look at it and fell in love. It’s just a beautiful building, and would look great just by itself on your shelf, or as the central hub for a large Town Life collection.
I really enjoyed building the set, though Lumibricks isn’t kidding when they list an estimated 26 hour build time. Building a Lumibricks set usually takes a bit more time than other brick sets, mostly because of adding the lights, and this set is also one of the biggest of theirs that I’ve assembled. But there’s a lot of different and interesting building techniques that go into construction, so even though it will take a bit of time, it was never boring.
There was one minor issue that I ran into, but it should be just as easy for anyone else to deal with as it was for me. When constructing the gables on the roof over the platform, the instruction manual showed the construction and placement of only three of the four gables. But all you have to do is create an identical gable to the one in its opposite corner, and you’re good to go. You’re not missing any parts, it’s just that step in the instructions that was accidentally omitted.
Once again, Lumibricks has delivered with another fun set to build that’s beautiful to look at when completed. And that look is enhanced by the thoughtful lighting that really helps the set to come alive, especially in a dark or dim room. While it’s the most expensive of the Lumibricks sets I’ve reviewed, it’s a phenomenal value, especially when you compare it to similarly-sized sets from other brick building companies. The Train Station is another set from Lumibricks that I can wholeheartedly recommend.
For more information or to make a purchase, head to the Lumibricks website.
Lumibricks sent me this set for evaluation, but had no input into this review. As an affiliate, I may earn a small commission on qualified purchases.