
Chicken-Walker. Rust Bucket. Ewok Pancake. Whatever you call the Imperial AT-ST, that doesn’t change the fact that this unit can seriously mess up your day in Star Wars: Imperial Assault. It also doesn’t change the fact that the AT-ST has the most boring deco of all time. The gangly mechanized Imperial walker is battleship grey. That’s it. Honestly, once you assemble it, you could play it as-is in any campaign and no one would fault you for it.
The challenge, then is adding some pop to what’s potentially the least visually interesting unit in Imperial Assault. But then, as I found with Darth Vader, it’s the details that make or break a monochrome figure.
It’s a good thing, then that the AT-ST has such an amazing sculpt. It’s full of exposed joints and mechanical greebles that just beg to be teased out. I hit up the always helpful Sorastro’s Painting channel on YouTube for tips on getting the most out of this beastly mini.
First off, prime the AT-ST with whatever grey you have on hand, though darker shades are better than lighter shades in this instance. I chose Army Painter Uniform Grey spray primer.
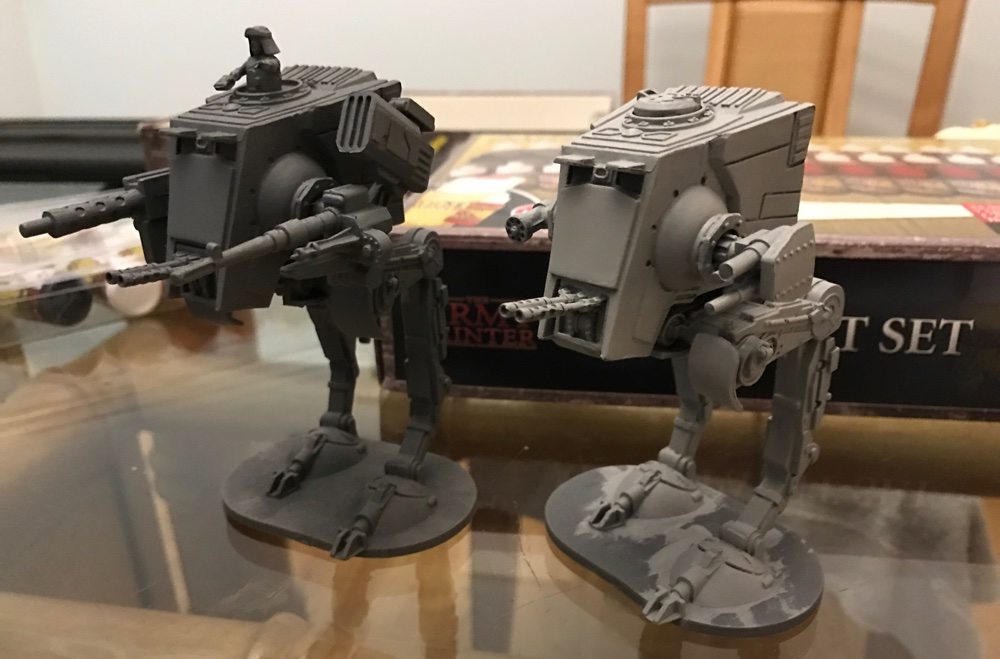
Once you have a base, it’s time to start building the AT-ST’s core color. Think of it as the factory paint. I chose a light Ash Grey and applied it with the biggest brush I could find. Just make sure you don’t slop so much on that you obscure the details. It can be easy to do when you’re applying the same color over such a large area, you start to lose focus. It’s hard to see the progression, even when you’re the one who’s painted it, so I put it next to my primed General Weiss AT-ST after the second coat of Ash Grey (more on that momentarily). You can see that the darker primer works in your favor here, the lighter paint makes all those recessed details pop.
At this point it’s best to let the miniature dry overnight. Even with quick-drying paint, that’s a lot of color you’ve just put on and you want to make sure it’s completely dry before you add another coat.
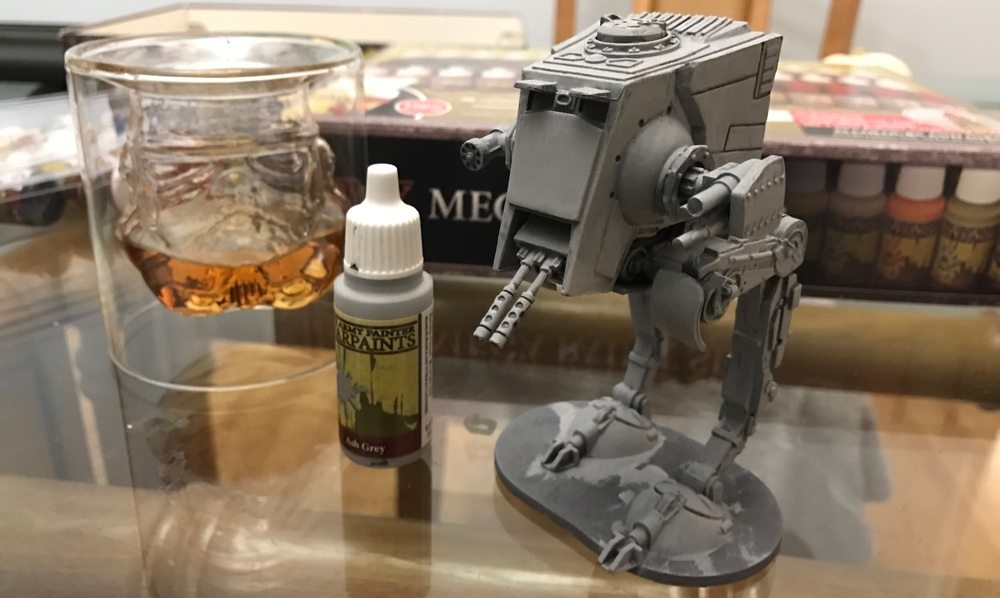
What’s that? Yes. Another coat. Yes, an adult beverage is probably your best friend for this step (though the Stormtrooper rocks glass is optional).
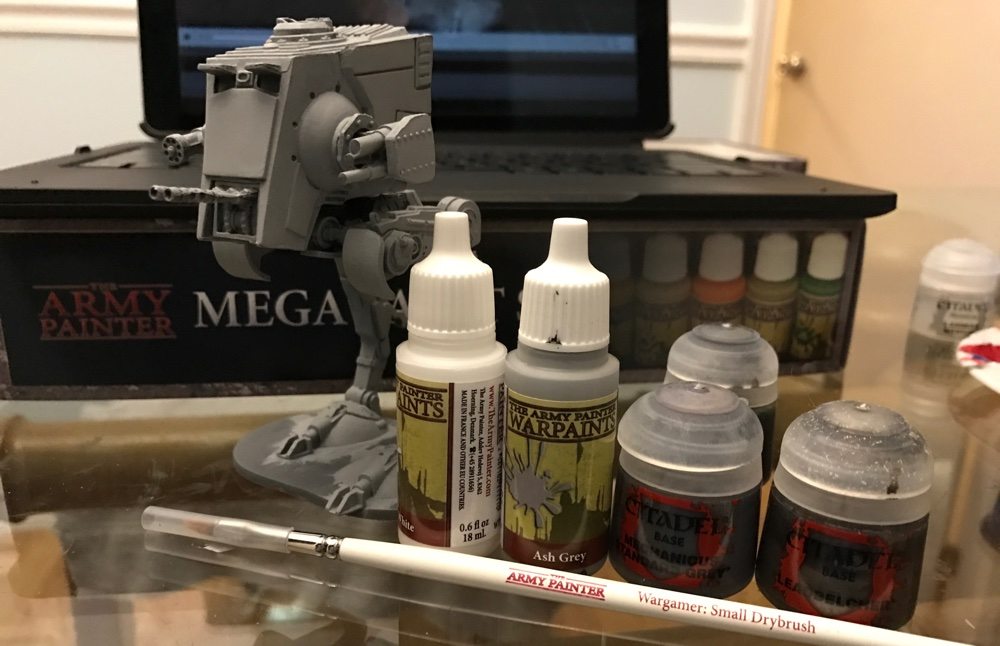
Finally, after all the Ash Grey madness, you get to apply some more Ash Grey. Wait! Don’t run away! This time we’re adding in a little white and dry-brushing the mini to bring out the raised details, the way the Ash Grey topcoat brought out all the dark details. Mix two parts Ash Grey with one part White, load up your brush, brush it against your palette to get most of the paint off, then hit all the high exposed areas – like the tops of the legs and cockpit. This is a good time to grab a metallic gun-metal paint for the forward guns and side turrets. I used Citadel Mechanicus Standard Grey, then followed up with a dry-brush of Leadbelcher to give them a weathered look.
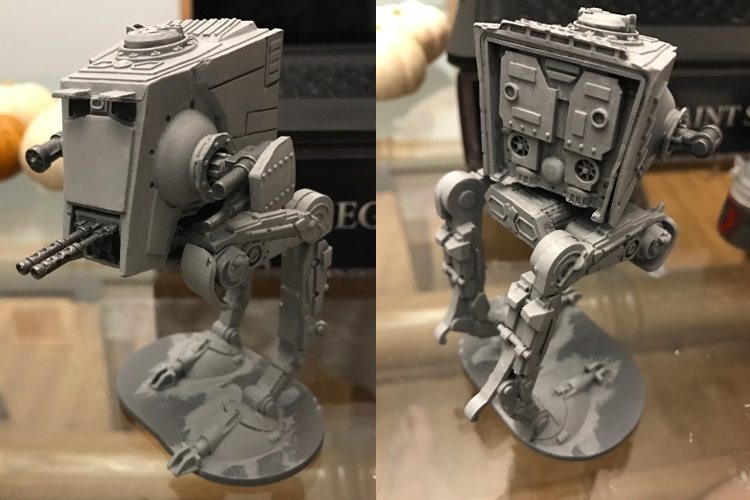
Once you’re happy with the detailing, set the AT-ST to the side to dry and take a picture of your unblemished work, because now you’re going to mess it all up.
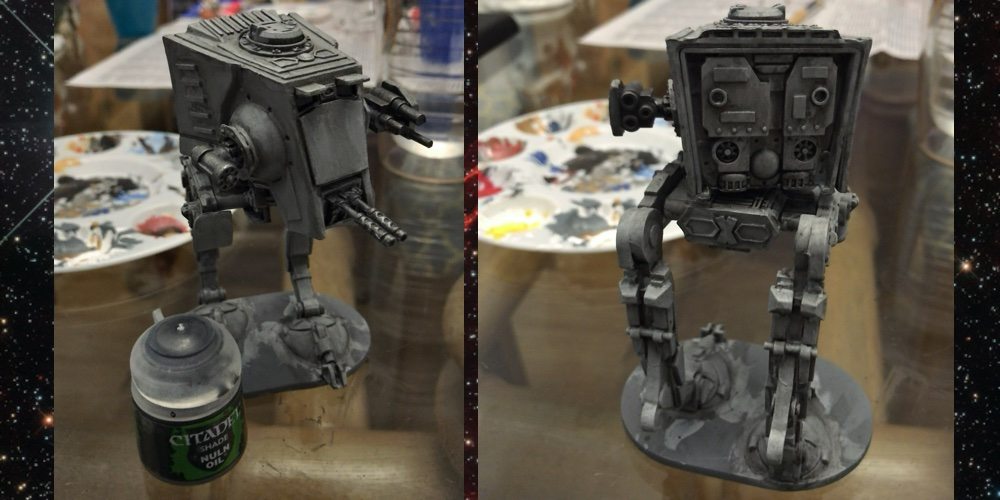
Grab a pot of Nuln Oil, a sizeable brush, and a sock (or other handy cotton cloth that you don’t mind destroying). Load up your brush with Nuln Oil and apply it to the AT-ST in long, downward strokes. Think about how your car looks after it hasn’t been washed for a few weeks and it rains – that’s the kind of grimy look we’re going for. After you complete each large section, wipe away, again using a downward motion, in the spots where the Nuln Oil has pooled too heavily, or just where you want more of the original color to bleed through. There’s no wrong way to do this, so add as much or as little as you want. The mini is too big for the Dip Method I’ve used with my other Imperial Assault figures, so this step is going to be key for giving the AT-ST that weathered, “real world” look.

Knowing that the AT-ST is a special model in the game, I wanted to do more with the base than just paint it black. I acquired an Army Painter Battlefields Basing Kit in one of the miniature supplies subscription kits I reviewed last year and it had everything I needed. I applied my Basing Glue, then the large “gravel,” followed by the smaller brown skree to fill in the gaps. Then I added a bit more glue and covered it with the grasses that came with the kit. I wanted to try out the transparent water gel that came in the same subscription box, so I covered one of the AT-ST’s feet like it was stepping in a puddle. It wasn’t quite the effect I was looking for once it dried clear (you’ll see in the next shot); but I liked it enough that I’ll try again with a later model.
Once that was all done, I let everything dry, added a little bit of white paint to the “ripples” in the puddle and sprayed it all with my Army Painter Anti-Shine Matt Varnish to protect it.

I’m happy with how the AT-ST turned out. The highlight and wash method worked wonderfully to draw out all that carefully sculpted detail (kudos to Fantasy Flight Gaming for the excellent model). I’m also happy that I was finally able to finish it (the keen-eyed among you may notice mini pumpkins in the background of some shots)! Now that the humidity has dropped off in Florida a bit, I have a small window to get some more Imperial Assault miniatures completed. I’ll have more soon!
Thanks as always to Army Painter for the paints and Polaroid for the awesome Foldable LED Light Box (that’s how I got such pretty final shots). If you’d like to see the other entries in my Imperial Assault painting series, you can find them here.


Great work! The weathering looks particularly effective. I bought a Mechanicus Standard Grey spray to do mine, but its rather fallen down the list. I think you’ve inspired me to dig it out and have a go!
Thanks, Robin!
I have been working on my Mice and Mystic minis, with Mansions of Madness up next, or maybe that Panzer IIIj that has been sitting in my closet waiting for me to finish building for about 15 years…