Yeah, “Into the Worldwound” doesn’t sound very pleasant, does it? That’s because it isn’t.
Welcome to the first adventure of Wrath of the Righteous, the third set in the Pathfinder Adventure Card Game. This first path is technically “Deck 0.” The base set includes Adventure Deck 1, but you can play this set of 5 scenarios before you even add the Deck 1 cards to the set. And why wouldn’t you? Completing this adventure lets you acquire some non-Basic cards for your deck, plus you’ll get a skill feat if you complete it, so you can enter Deck 1 (very slightly) leveled up.

Ahem: spoilers ahead.
The storyline in “Into the Worldwound” is getting things set up: your band of heroes is traveling to the Worldwound, which is basically the Hellmouth. Lots of bad things coming out of it, and we’re trying to close it up. The adventure consists of these five scenarios:
- The Godless Ones
- The Elven Entanglement
- The Wardstone Patrol
- The Traitor’s Lodge
- Vengeance at Sundered Crag
After playing through these first five, I have to say, Mike Selinker & Co. definitely upped the difficulty level, even from Skull & Shackles. There were two scenarios that we had to play more than once to succeed–one even took us three attempts. We did have some close calls where we eked out a win shortly before running out of time, and we had a couple of our characters come close to death. The FAQ does mention that if you’re finding this base set adventure a little too difficult, there are some changes you can make, like moving the Carrion Golems and some Demonic Horde barriers to Set 1. We didn’t, but I can attest to the fact that these are some of the worst cards to face in the base set.
Each adventure has its own servitor demon–if something causes you to encounter a servitor demon, you use the one specified by the adventure card. That way, things like the Demonic Horde barrier get more difficult as you progress through the adventure path. This adventure’s servitor demon is the Demonling.
“The Godless Ones” starts off with a traditional sort of scenario: track down the villain, close the other locations so she can’t get away, and defeat her. The villain in question is Sophini the demonologist, and her henchmen are a Blackfire Adept, a Ceustodaemon, and a bunch of Cultists of Baphomet. A special rule for this scenario is that when you acquire an ally, you may attempt an Intelligence or Knowledge 6 check to examine the top card of any location.
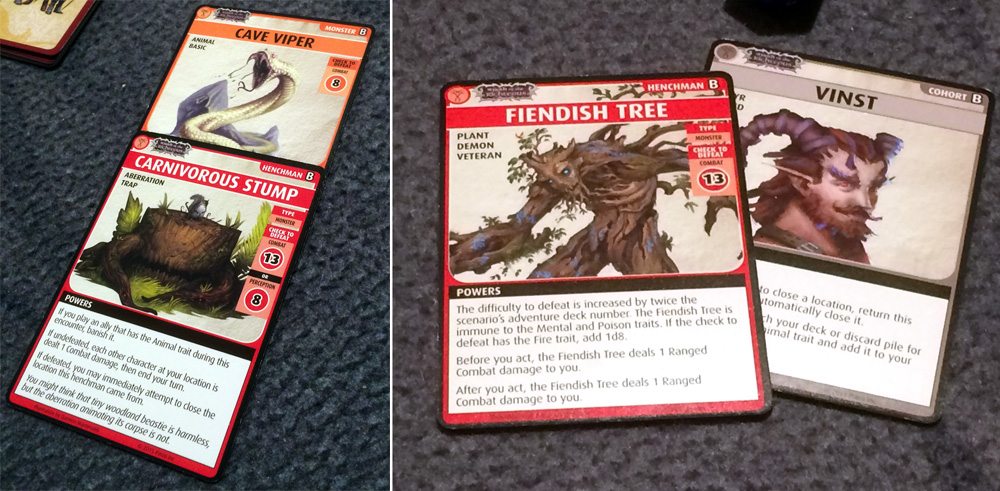
“The Elven Entanglement” has our heroes making their way through a forest that’s plagued by a toad demon. You get your first scenario Cohort, Cecilla the Uprooter–she’s an elf who helps fight enemies that can be evaded. I mentioned this scenario before–all animals are actually animated by the Carnivorous Stump henchman, so whenever you encounter any animal (Monster or Ally), instead you face off against the Carnivorous Stump.
There’s an option to get another Cohort, Vinst: on your first exploration, you may fight the Fiendish Tree henchman to rescue Vinst, who helps you close locations. But the Fiendish Tree is kind of a pain, because he deals damage to you both before and after the encounter, so bring a shield! The Tangle Trap henchmen in this scenario actually do not let you close locations when defeated, so it’s particularly difficult because you have to plow through a location entirely. (One of the FAQ fixes to make the scenario easier is to let you attempt to close after fighting a Tangle Trap–I recommend making that change.)

“The Wardstone Patrol” is the scenario that stymied us. We lost twice in a row, and finally succeeded on our third attempt. The story is that magic wardstones hold the hordes at bay, but they’re crumbling. In this scenario, you get the cohort Sir Ilivan, one of the defenders of the wardstones–he can boost your fight against an Outsider, and the villain and henchmen are all Outsiders. However, there are two caveats: first, in this whole set, Outsiders lose their “Outsider” trait at Abyssal locations, so Sir Ilivan is useless at those locations. The other is that in this scenario, if you use Sir Ilivan against a monster, you’ll have to look at the top card of the Blessings deck afterward. If it’s Corrupted, Sir Ilivan has fallen–you banish him and then summon a Corrupted Soldier henchman.

We just had a string of unfortunate encounters. One of the locations is the Family Tomb. To close it, you have to face the Wight henchman. On top of that, the Baleful Shadows barrier ended up in that location–and if you fail the check, you face the Wight. In one play, I encountered the Baleful Shadows twice, lost to the Wight both times. And then when it came time to close the location, I fought the Wight … and lost again.
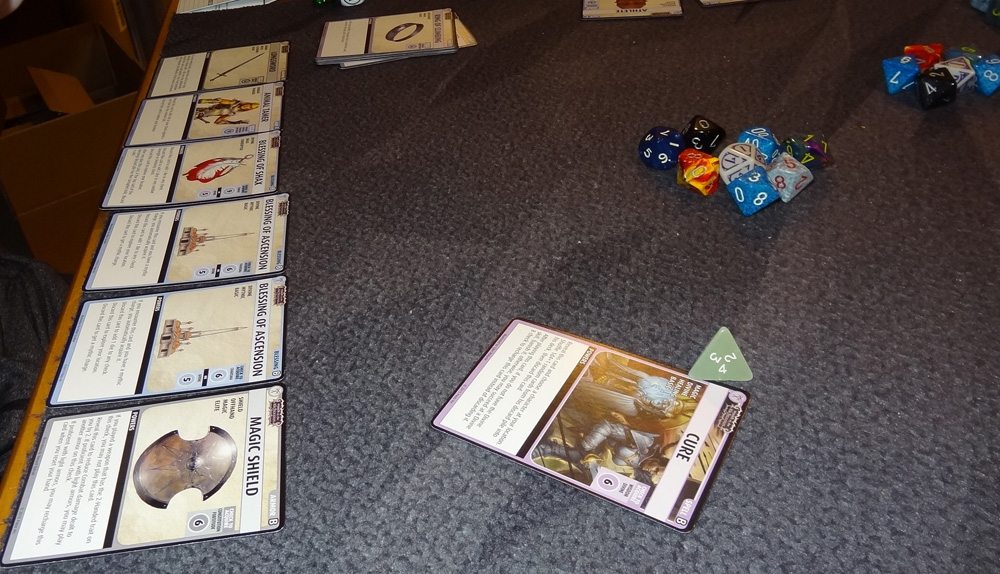
We almost lost Ekkie on one of these runs, too. Ekkie has the ability to draw a card whenever she discards a card. It helps her start her turn with a full hand if she wants to, but it runs her through her deck much more quickly. In the photo above, you’ll notice she has no cards in her deck. If she lost any cards at all and had to draw back up, she would have been dead. Fortunately, she got 5 cards back with a Cure spell just in time.
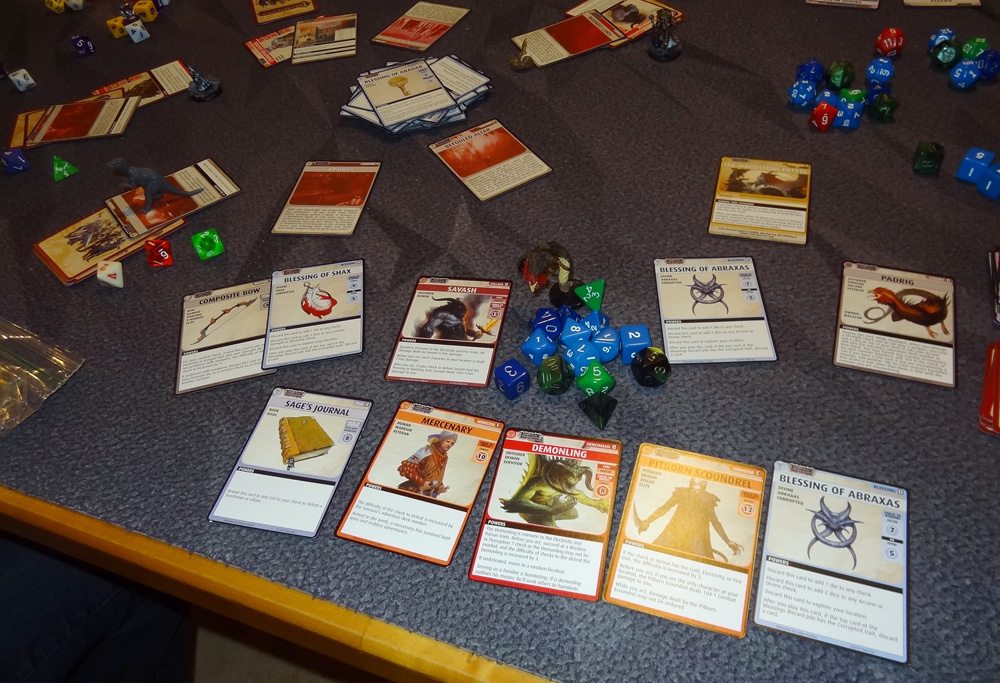
On our third attempt, we finally managed to win on the very last possible turn. We got a couple of the locations permanently closed, found out where Savash the villain was (thanks to Leryn’s scouting ability), and got set up to temporarily close locations. It fell to Balazar to fight Savash–I’d defeated a few monsters and had them in my hand, plus a blessing. Ekkie helped with her Composite Bow from another location, Enora used her Silver Raven Figurine to fly me her Sage’s Journal, and I got a few more blessings to help with the fight. In the end, I was able to roll 14 dice (on a Combat 13 check). We wanted to be sure to win this time.
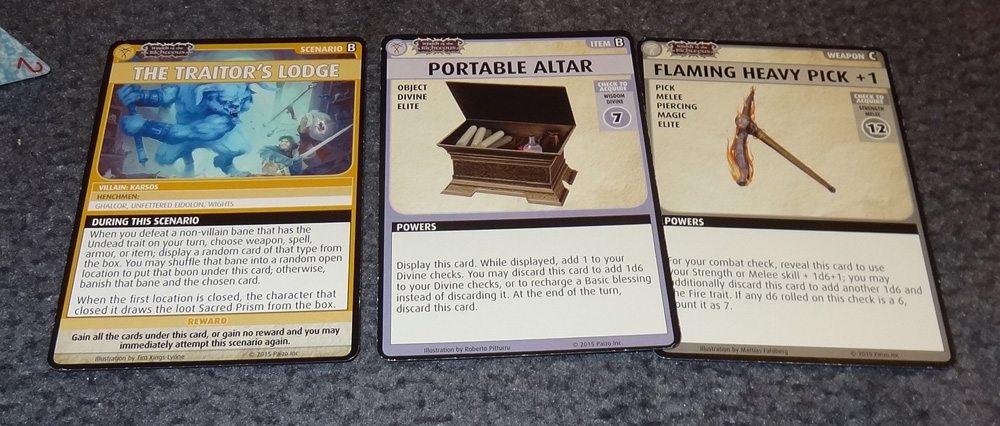
The fourth scenario, “The Traitor’s Lodge,” looked like it was going to be a loot run. We’re exploring Thurl’s abandoned labs guarded by Karsos, a ghostly minotaur. Each time you defeat an Undead bane, you can shuffle it back into a random open location to put a boon under the scenario card. At the end of the scenario, either you get everything under the card, or you ditch it and play the scenario again. (You can repeat scenarios, but you only earn the reward once.) Well, the fights were tough enough that we rarely wanted to shuffle the banes back in. The only things we thought were worth keeping were the Portable Altar and a Flaming Heavy Pick. But by the end of the scenario, we were pretty sure we didn’t want to try that again, so we took our meager winnings and left.

The final scenario is “Vengeance at Sundered Crag.” Thurl the summoner had experimented on eidolons, and now they’re taking it out other summoners. Meanwhile, Tancred Desimire the conjurer is raising an army of demons. This scenario starts with one fewer locations, and you get all three Cohorts, too. That’s great, right? No, not really.
When you corner and defeat Thurl and Inhaz, the villain, a new location comes into play: the Watchtower, with Tancred Desimire shuffled in. You only win the scenario if you corner and defeat him. So basically even though there’s one fewer location to explore at first, you have to track down and defeat two villains. No wonder it took us twice.

The henchmen in this scenario are Unfettered Eidolons. The nice thing is that summoners (like Balazar) get an extra d8 when fighting them. The nasty thing about them is that if they’re undefeated, all summoners take 1d4 damage. So I really didn’t want anyone else to encounter the Eidolons if I could help it, because I was good at fighting them and I’d get hurt if they lost.
The biggest difficulty in this scenario is simply running out of time before we could get to Tancred. The first time we played, we did manage to find and defeat Thurl and Inhaz, but with too few turns left to go after Tancred. The second time around, we were fortunate and were able to close some locations more quickly, getting to the Watchtower in time.

A couple things we learned while playing this adventure:
Leryn’s ability to reveal the top card of a location is really useful. We use it as much as possible, and it has saved our skin on a number of occasions, like when we turned up a villain and were able to set up to encounter it rather than just blundering into it.
Enora can live on the edge really well. Besides being pretty good at recharging her spells anyway, she has a power that lets her recharge a random spell from her discard pile every time she plays a spell. So DeeAnn has been pretty bold, charging into an encounter even when she only has a few cards left in her deck–or sometimes none at all. So far, she hasn’t died yet.
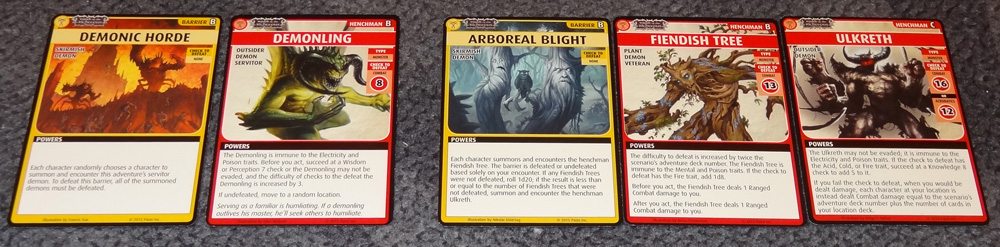
The Demonic Horde barrier is terrible. There are a few barriers that we’ve come to dread. Demonic Horde makes every character pick a random character to fight and encounter a servitor demon. So that means when we run into this barrier, there are five fights, and it’s likely that somebody’s going to be fighting multiple demons. And you don’t defeat the barrier unless all of the demons are defeated. Adowyn’s ability to evade summoned monsters doesn’t really help as much in this case. The Arboreal Blight barrier, on the other hand, makes everyone summon a Fiendish Tree. Fortunately, the barrier itself is easier to defeat, but there’s also a chance that you might have to summon an even nastier henchman if not enough people defeated their trees.