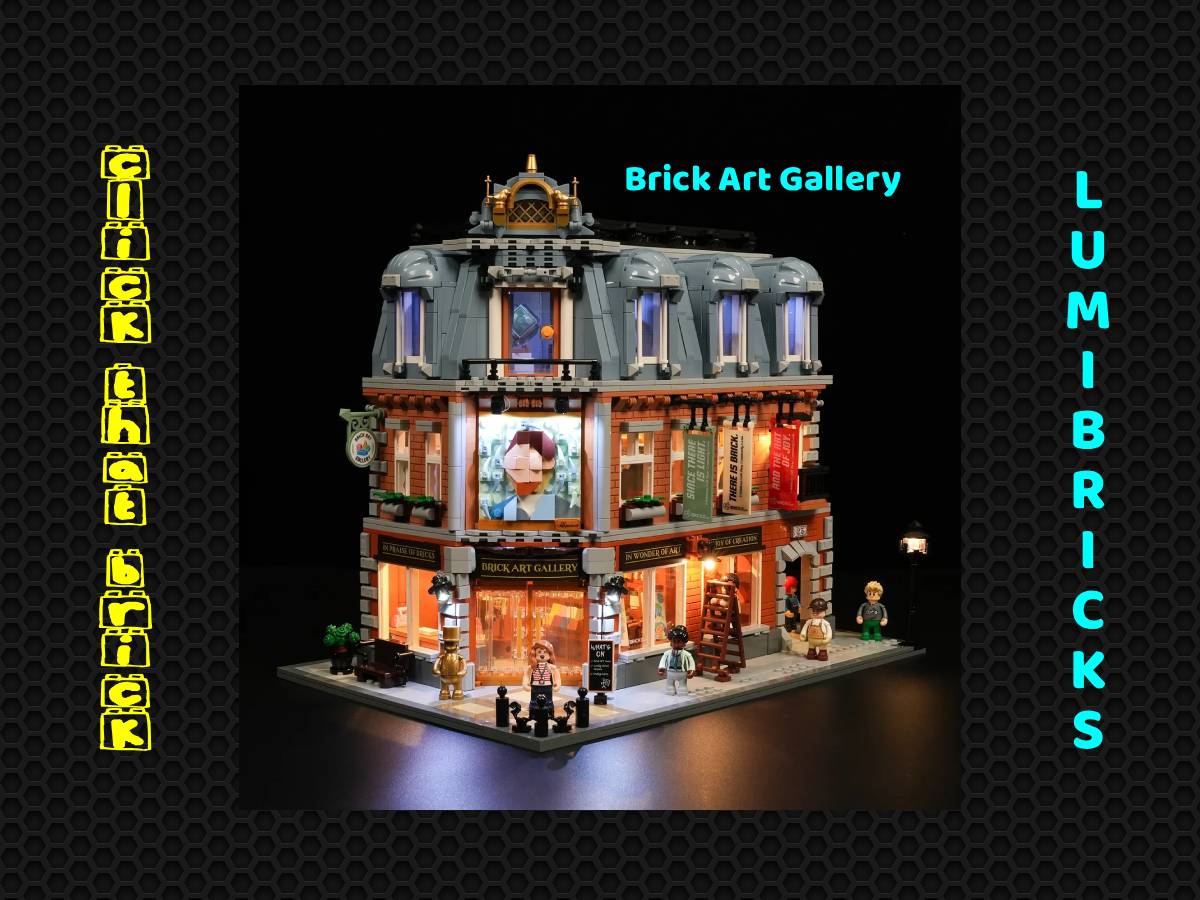
While I’ve been building a variety of different LEGO sets for many years, I had yet to try any buildable sets from other companies. And while there are many producing LEGO-compatible sets out there, one of the ones that stood out to me was LUMIBRICKS. Not only were the designs of their sets very appealing, but LUMIBRICK’s products all have one distinctive feature that set them apart from all the rest, including LEGO: their sets all feature multiple lighting elements.
LUMIBRICKS was kind enough to send me out a couple of their sets for review. I just finished building the first of these sets, the Brick Art Gallery.
What Is the LUMIBRICKS Brick Art Gallery?
Brick Art Gallery is a 3,400-piece LUMIBRICKS set that comes with 8 figures and 22 lights. When completed, it measures 15.2″ wide, by 10″ deep, by 13.8″ high. The set retails for $179.99, and can be purchased directly from LUMIBRICKS, or from their store on Amazon.
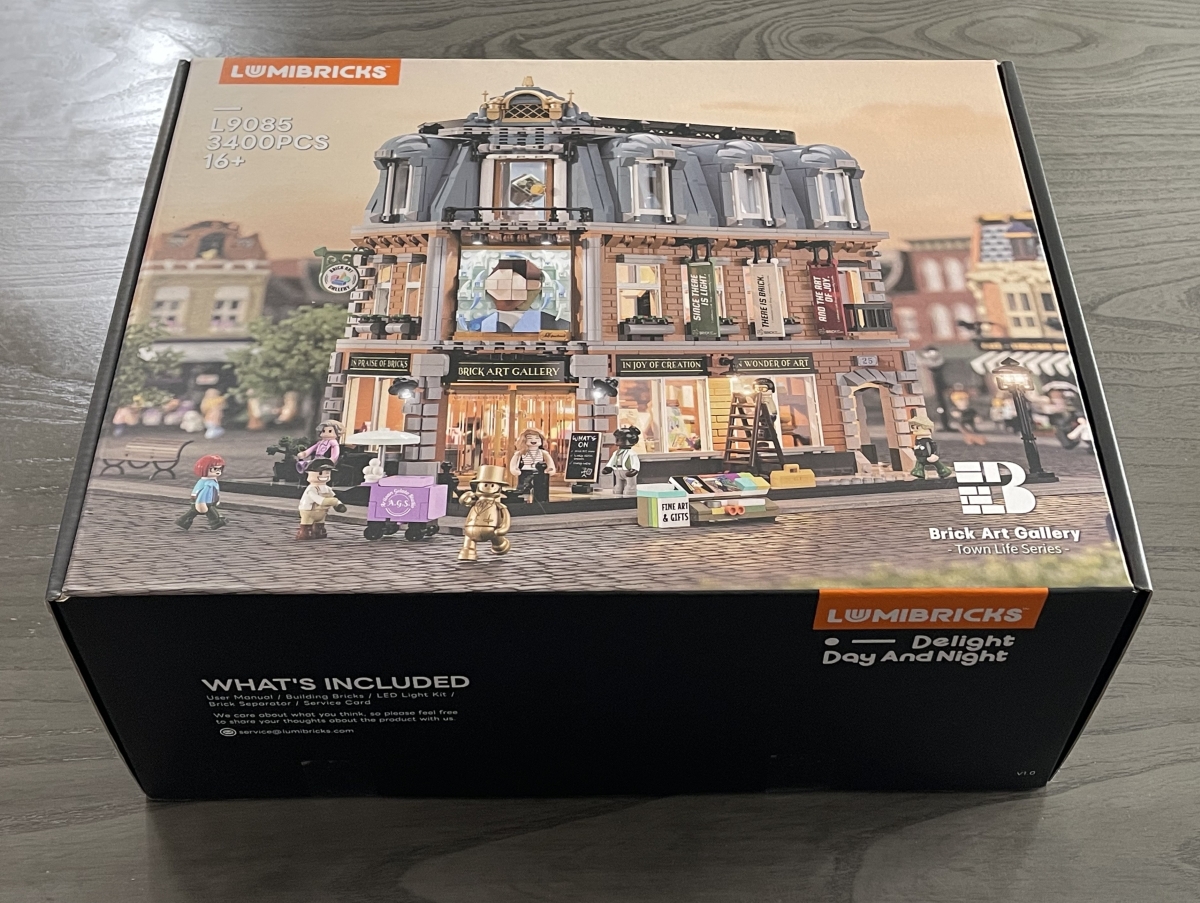
Included in the box are 17 bricks bags, 3 instruction manuals, and a box containing the 22 LED lights and tools for assembly. Excitingly, there are NO stickers to be found in the set- instead, 62 of the 3400 bricks are screen-printed!

The box was surprisingly heavy, especially compared to a similarly-sized LEGO set. I realized while unpacking the box that the heft comes from the three large instruction books.

While the majority of the assembly instructions use only visuals and numbers, the first of the instruction manuals goes into details on the set and how to work with the lighting elements. These instructions are also presented in multiple languages, including English.
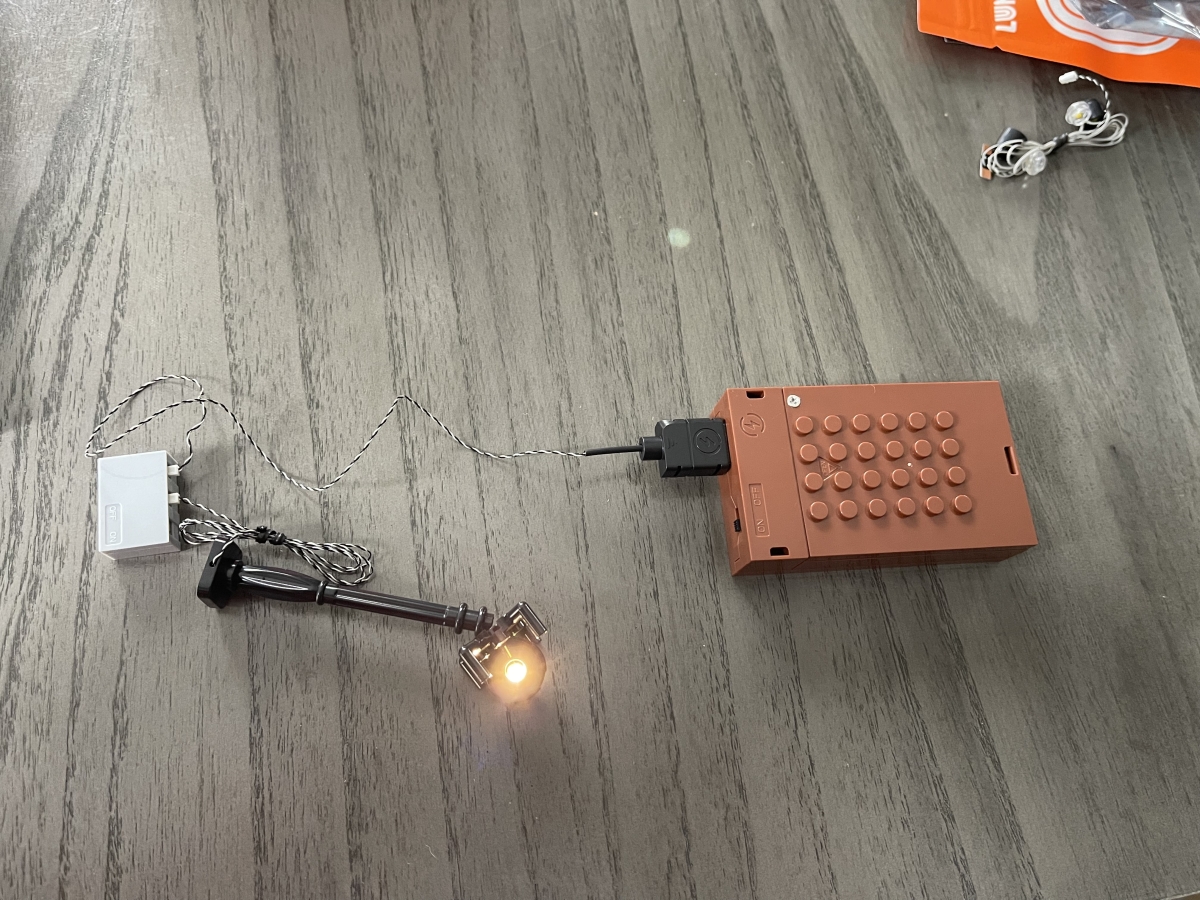
A separate, smaller box contains all the lighting elements, as well as some tweezers and a small Phillip’s screwdriver:

The first instruction manual shows all of the lighting components that can be found inside:

The instruction manual directs you to check out all of the lighting elements before doing any assembly. This makes a lot of sense; after all, if you had a defective LED, it would be much easier to replace it prior to assembling the set. I should mention that all of my lighting elements worked just fine.
LUMIBRICKS Brick Art Gallery – The Figures
There are 8 unique figures included in the Brick Art Gallery set. As opposed to LEGO sets where they spread out the minifigures across the build, with the LUMIBRICKS Brick Art Gallery, you start with assembling all the figures.

The silhouette of the LUMIBRICKS figures is very distinctive. Thanks to the printing on these figures, there’s a lot of diversity between the characters.
Assembling the LUMIBRICKS Brick Art Gallery
Brick Art Gallery – Ground Floor
Here’s a look at the completed assembly of the ground floor, with the lighting on:
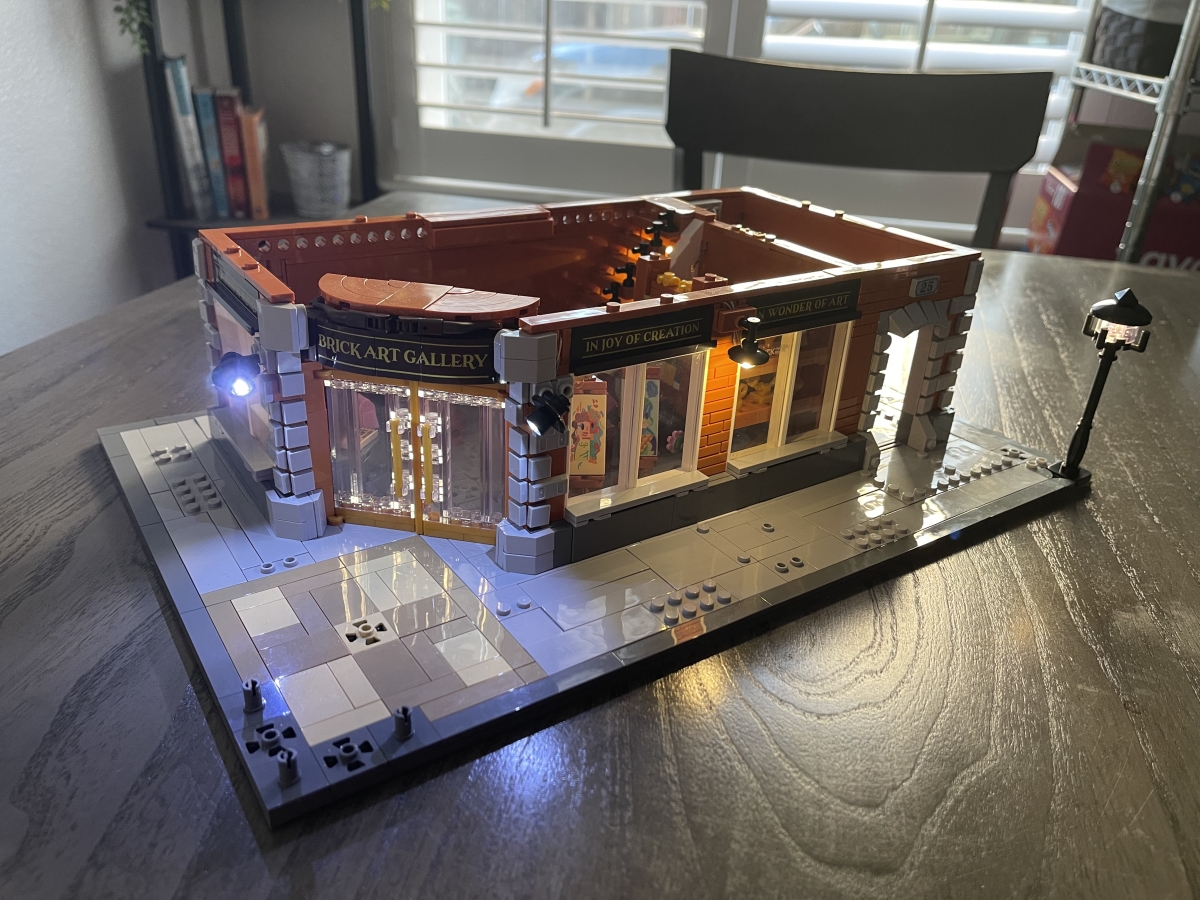
Working with the lighting elements is pretty simple. In addition to the lights themselves, there are some specialty bricks that help to guide the wires through the set, as well as keep them fairly tidy:

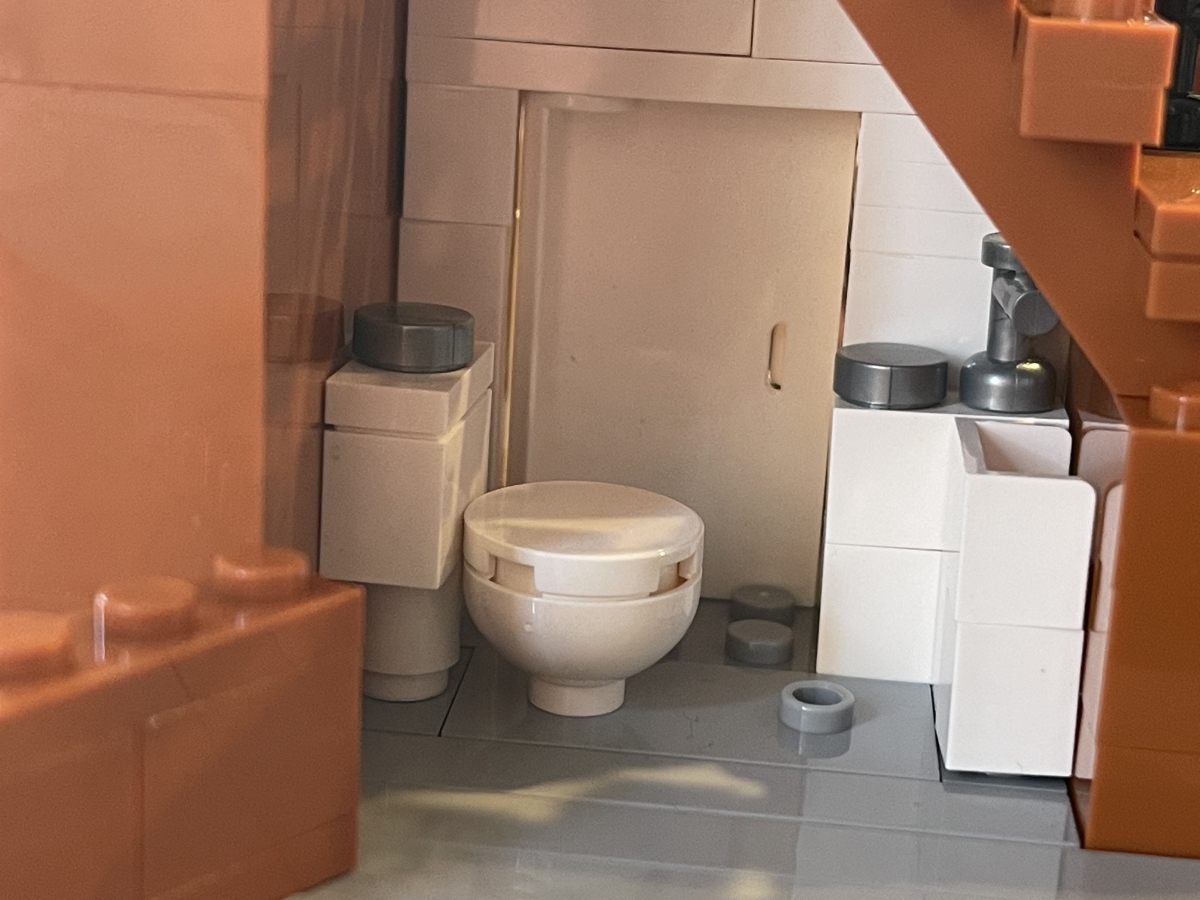
Here’s a look at a few of the details you’ll find on the first floor of the gallerly:
And there’s an additional side room that patrons of the gallery will appreciate for sure:
Brick Art Gallery – Second Floor
One of the sections of the second floor slides out, so that you can more closely examine the artwork there, and have easier access for placing figures:
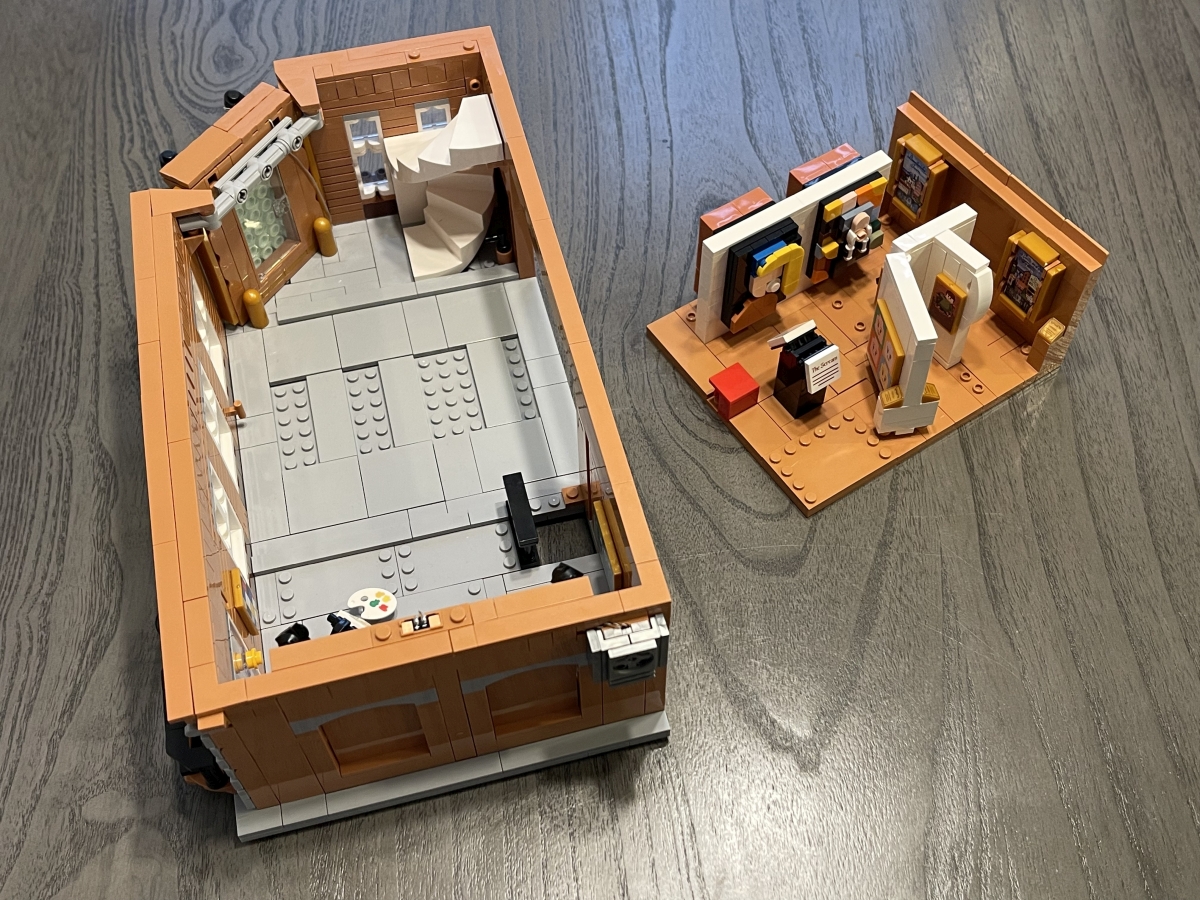
And here’s a look at some of the second floor displays:
The Brick Art Gallery set so far:
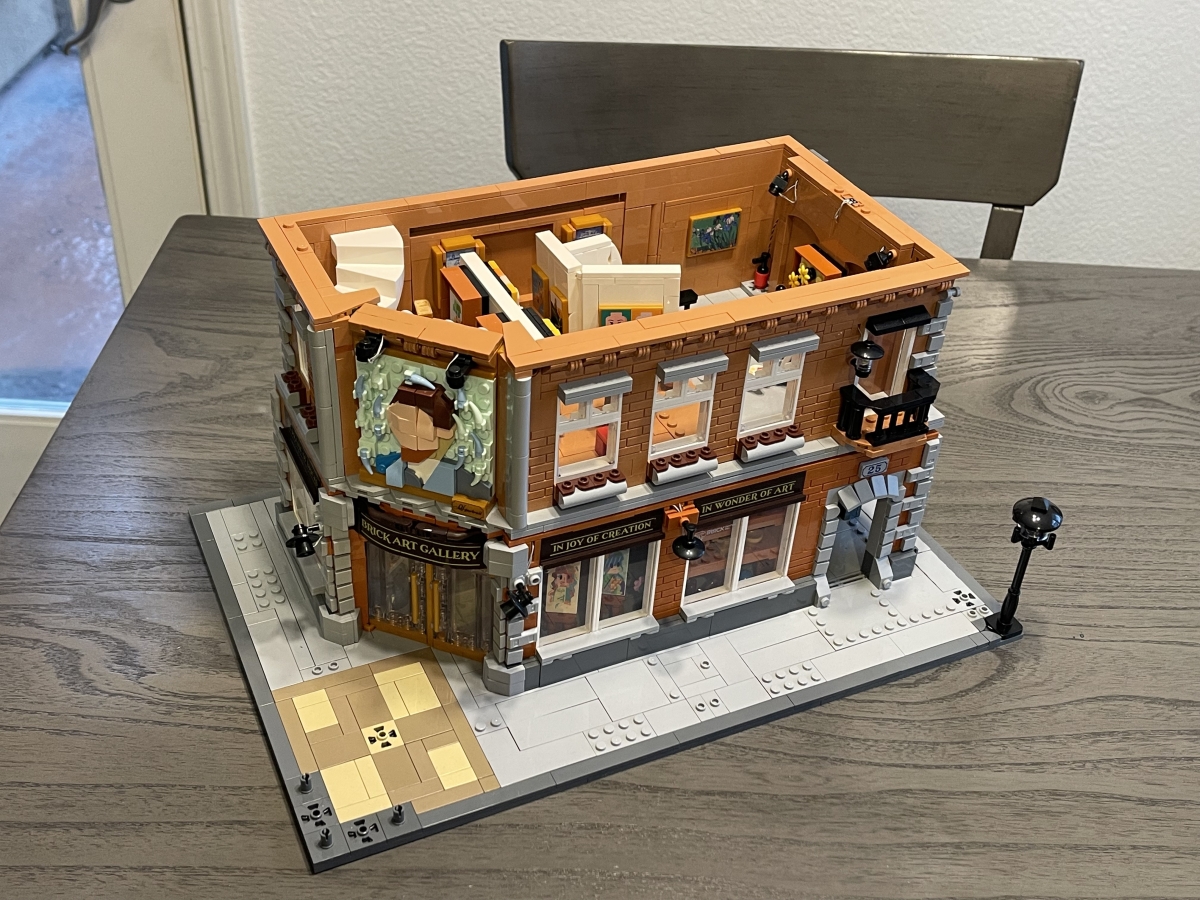
Brick Art Gallery – Third Floor and Roof
Here is the Art Gallery with the third floor and roof in place:
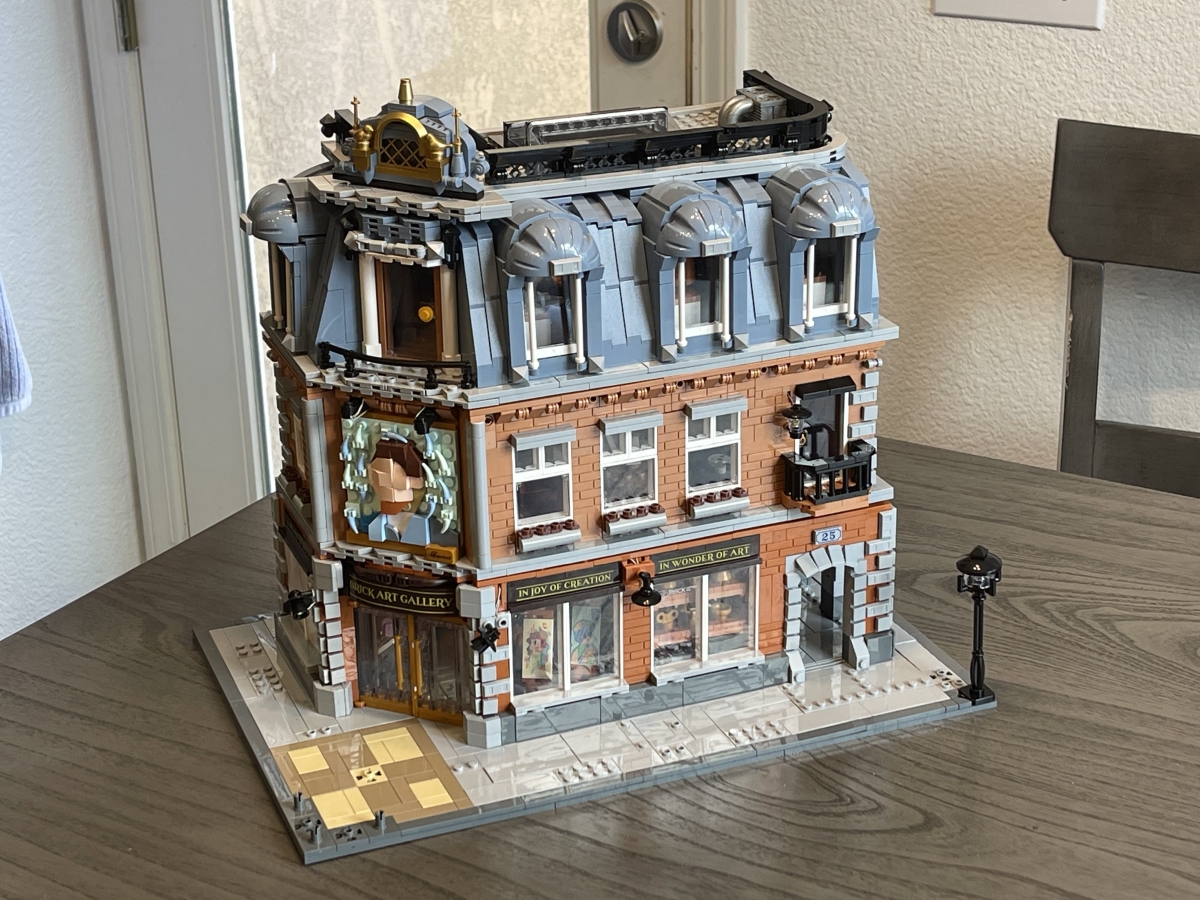
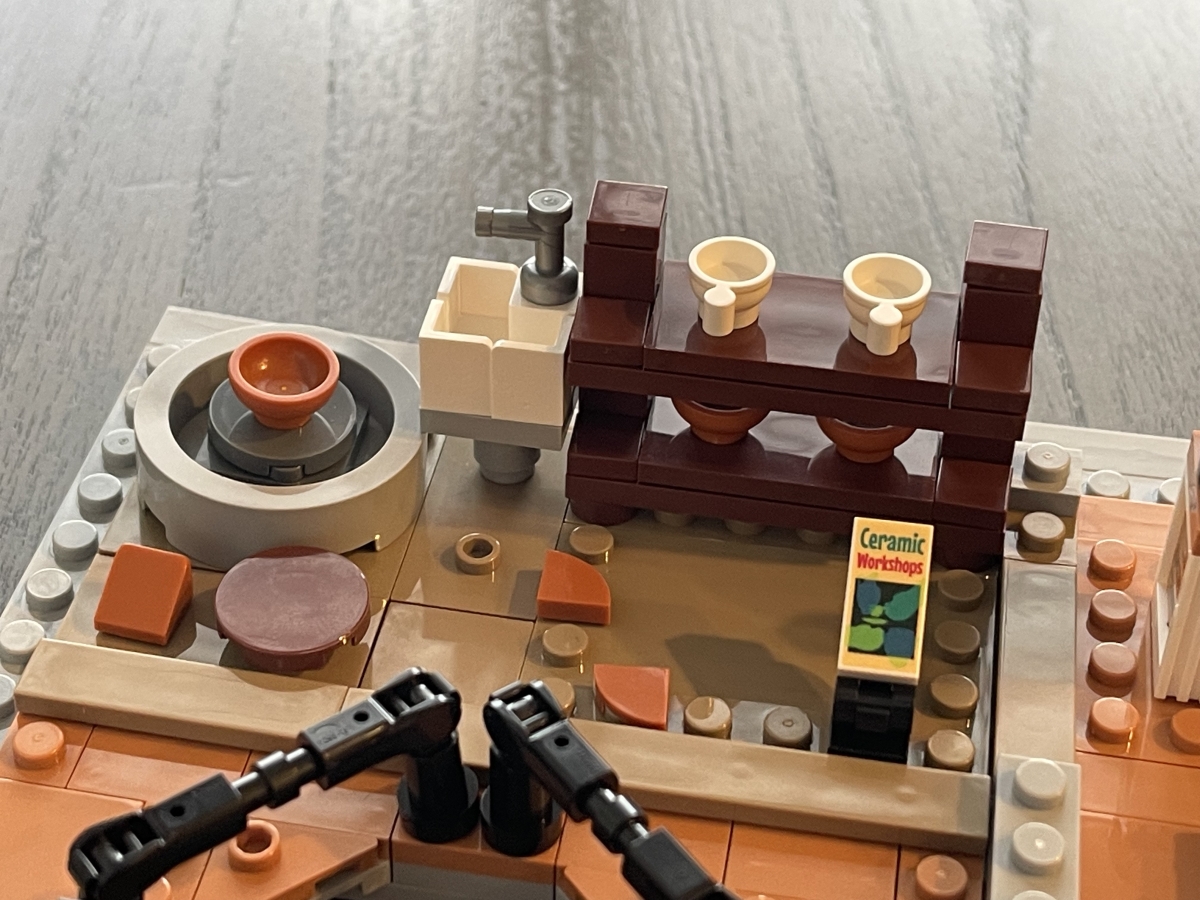
The upper level has two primary art displays, as well as a central balcony overlooking the second floor. This is the ceramics display:
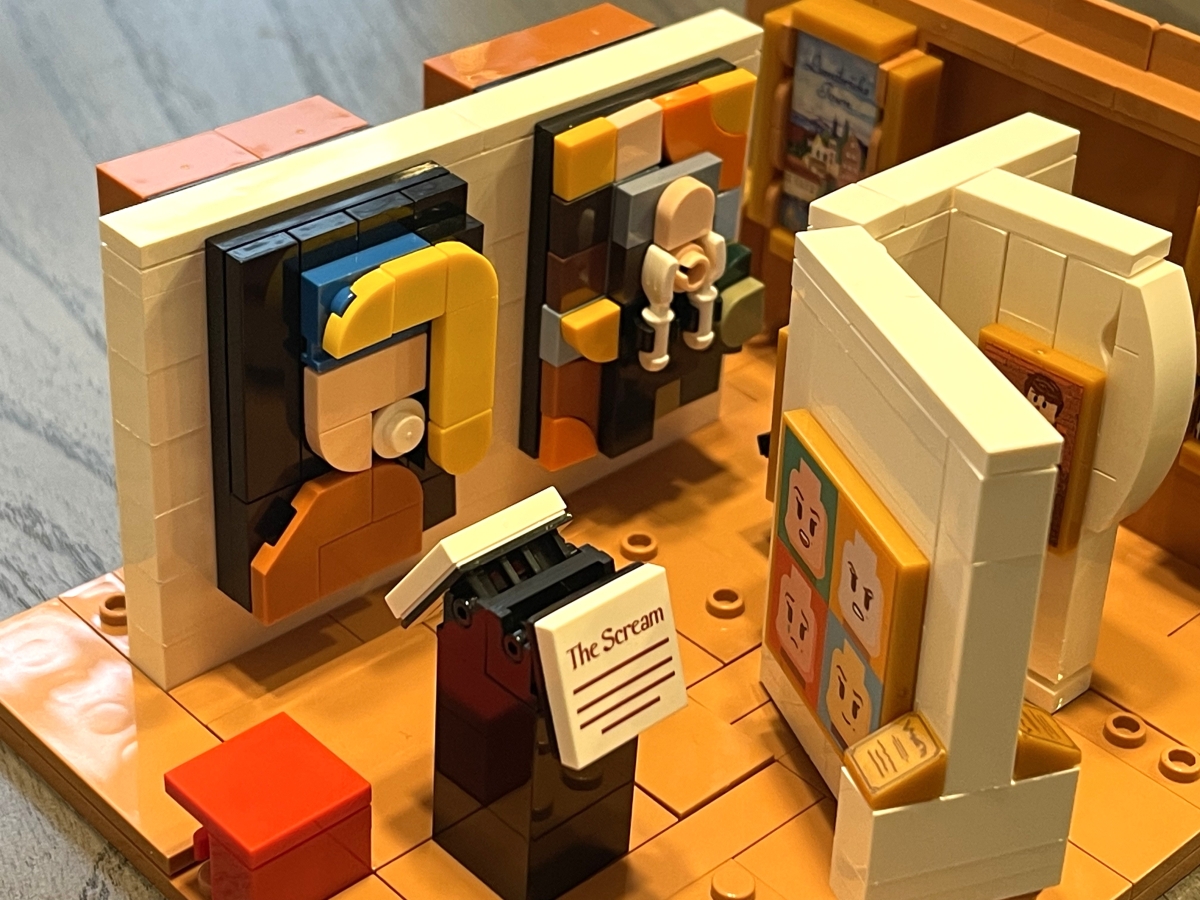
And here is part of the Dadaism display:

The final bag consists of the signage, plants, and assorted “atmosphere” for the building.
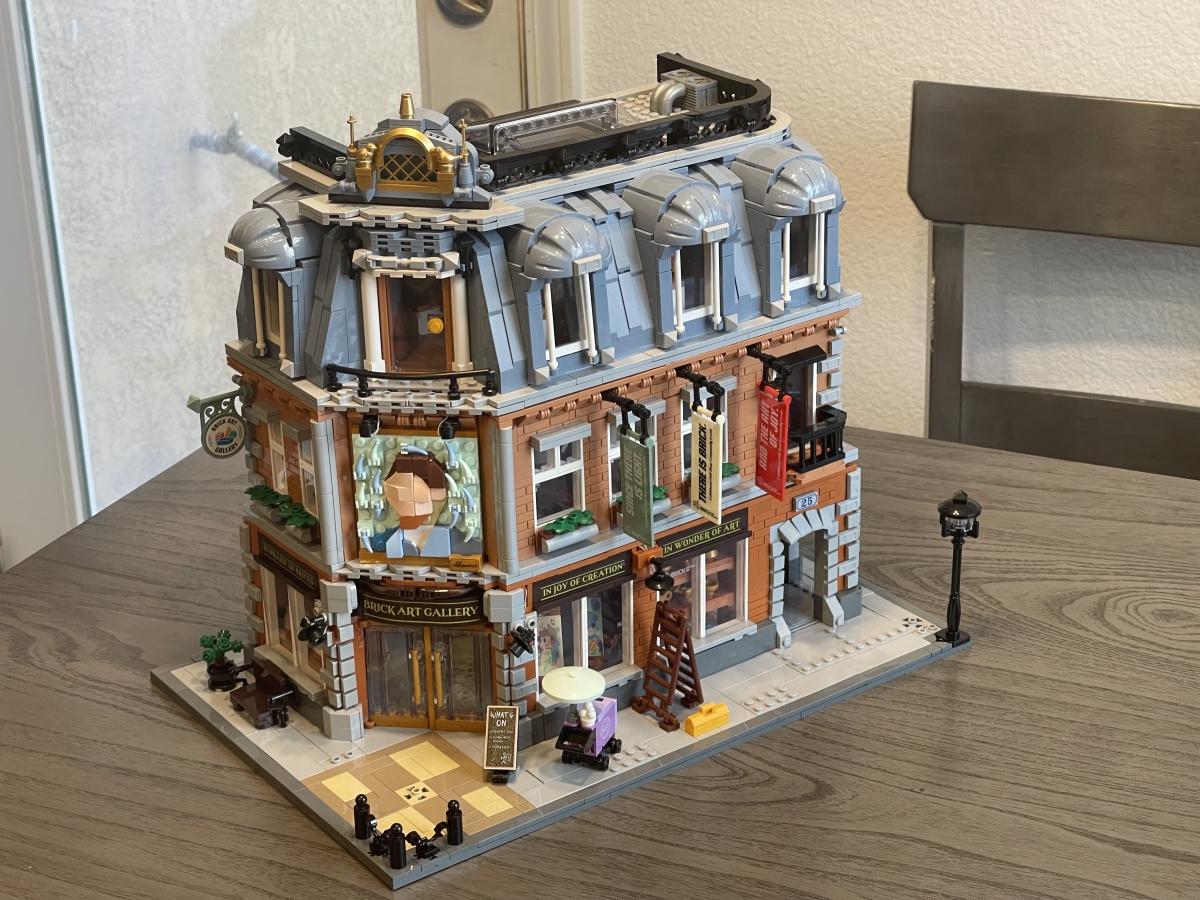
Here’s the final, decorated Brick Art Gallery, before turning on the lights:
Let’s Light It Up!
Of course, this being a LUMIBRICKS set, the final step is connecting the battery supply and turning it on! I had a brief moment of panic when I flipped the switch and only the ground level lit up, but I simply removed the other levels, placed them back together, and everything lit up perfectly. There are power connections between the floors and ceilings of different levels, so you have to make sure that the floor of the second level is seated correctly on the first level, and the third level is seated correctly on the second.
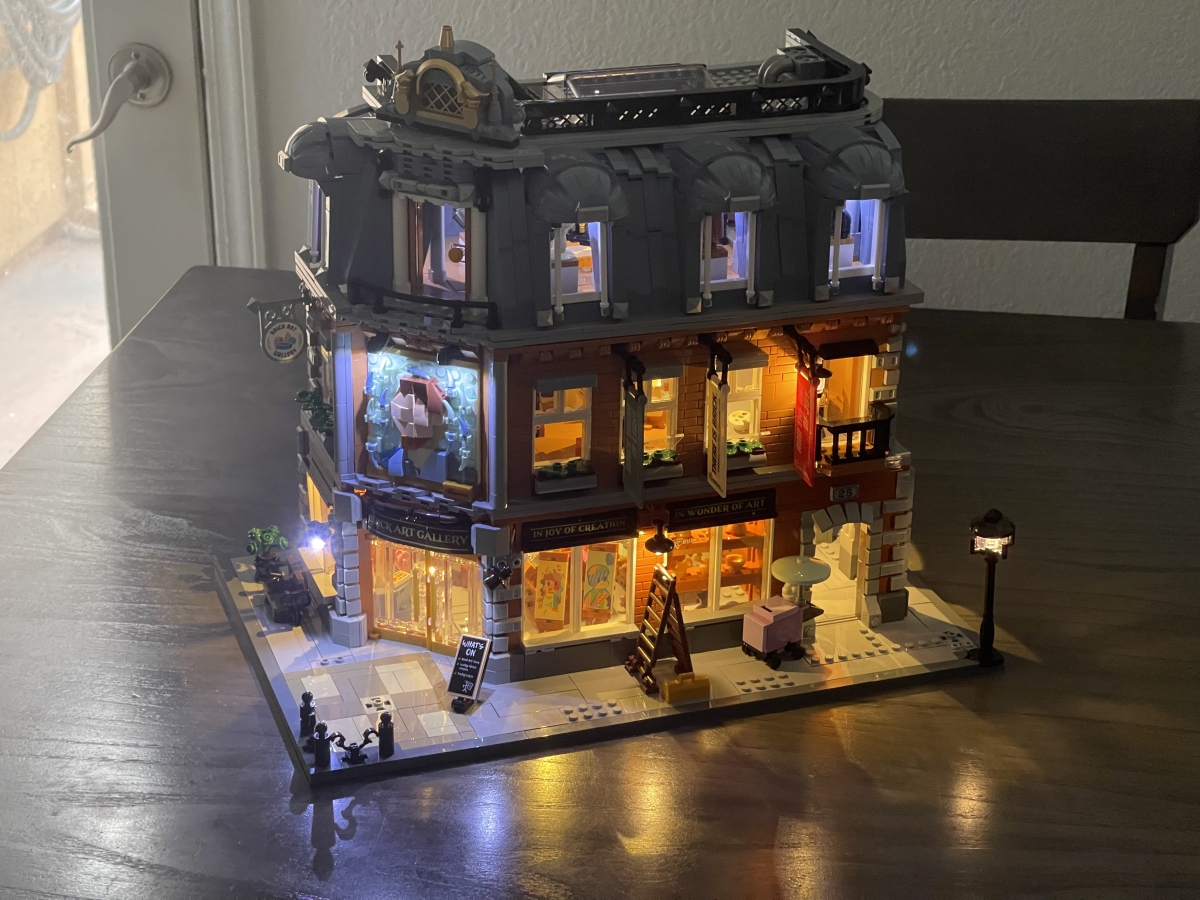
Here’s a closer look at a few parts of the Brick Art Gallery, showing off the lighting effects:
LUMIBRICKS Brick Art Gallery – Final Thoughts
This being my first LUMIBRICKS set, I wasn’t sure what to expect. But from the moment that I opened the box and saw all the numbered bags, and the very detailed instructions, I knew I was in for an enjoyable build. The bricks have a good feel to them, with many of them virtually identical in form to their familiar LEGO cousin. They fit together well, ensuring a sturdy finished product.
I loved that the artwork in the gallery was a mix of printed pieces and ones that you sculpt. My favorite is probably Munch’s The Scream, which is small-scaled but cleverly uses pieces and colors to recreate the painting in miniature.
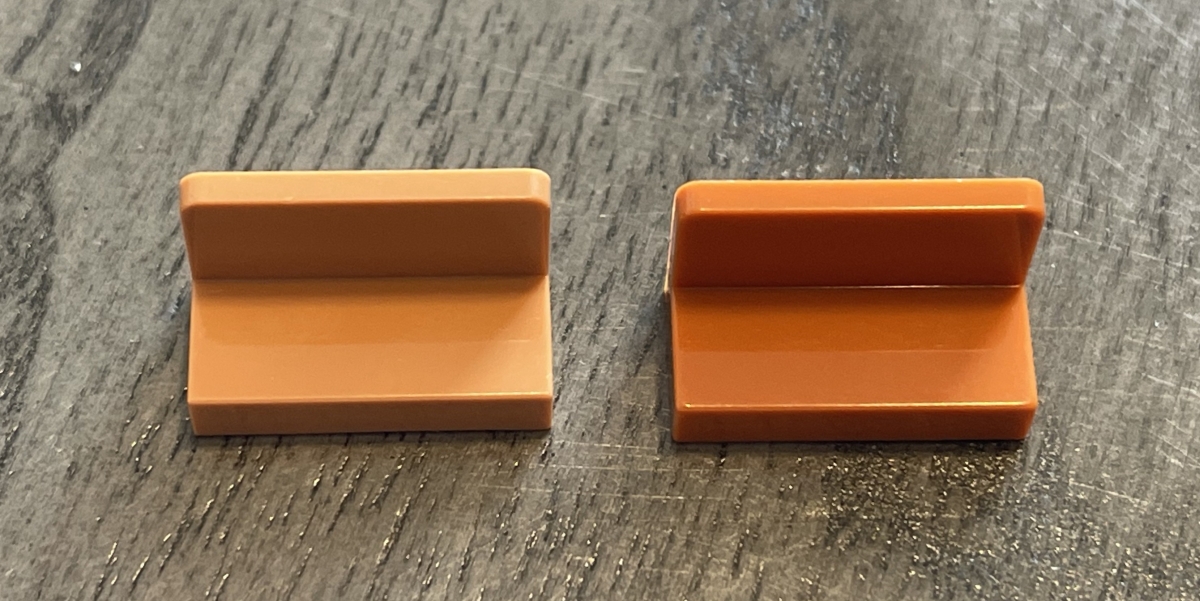
The colors of the bricks work well for an art gallery, but I had some confusion working on the second floor. A couple of the colors are pretty similar, and difficult to tell apart from the illustrations in the instructions. And unfortunately, the same pieces in both colors are found in the same bag. I figured out which bricks to use in which parts of the build, but I did have to pay a bit more attention to the build in that section.
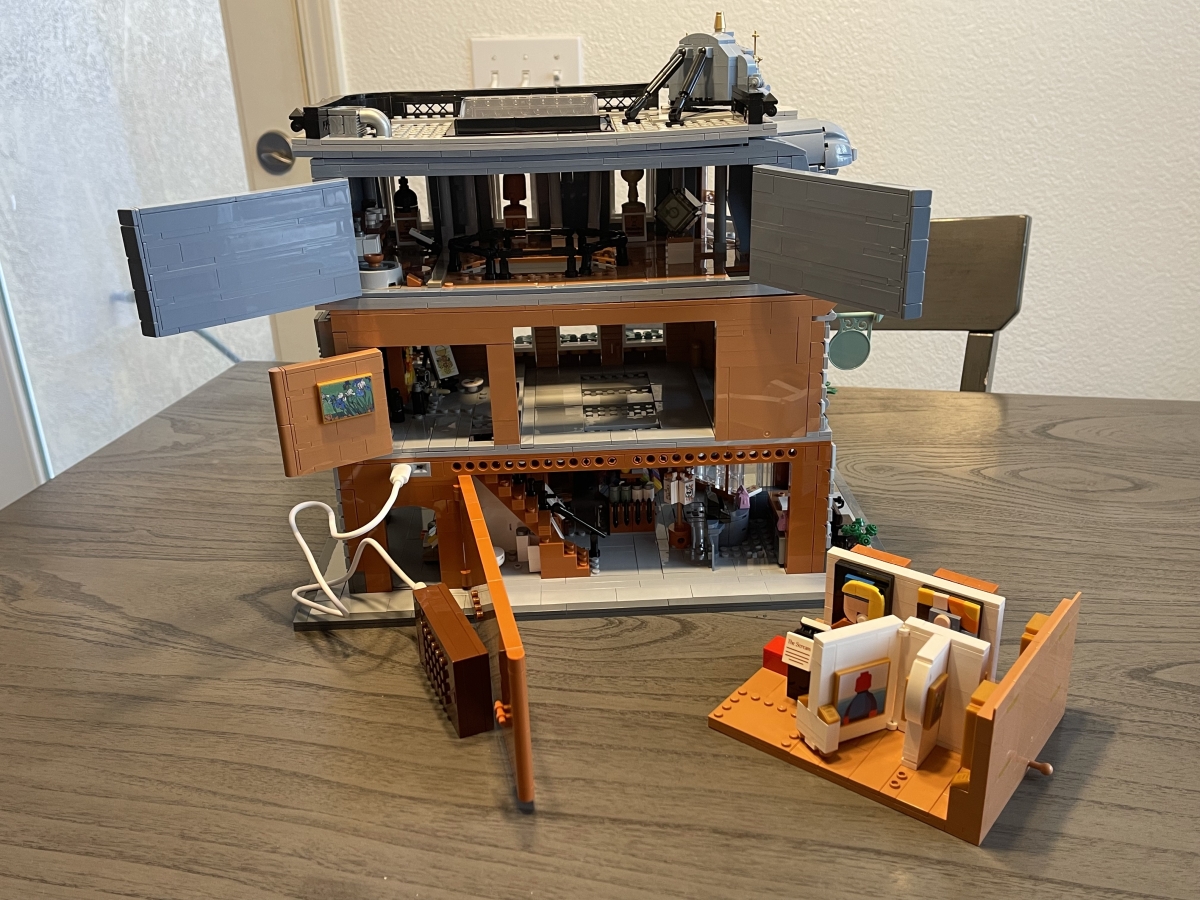
The design of the Brick Art Gallery makes for a compelling urban corner building. It has a very attractive facade, but is also easy to access for play or to take a closer look at the interior exhibits. In addition to the removable section on the second floor, there are multiple doors in the back wall that open for easy access to the inside of the gallery.
Assembling the LUMIBRICKS Brick Art Gallery was a great experience. It was a little daunting at first to put together the lighting elements (mostly because I didn’t want to mess it up) but it turned out to be no more difficult than any other brick building that I’ve previously done. And of course, the end result speaks for itself. I never knew what I was missing from my brick-built buildings until I got this set, turning on all the lights with just a flick of a switch. The lighting effects add so much to the final product, but thankfully don’t add to one thing: the cost. For a set that has 3,400 pieces, and 22 lights, this is a phenomenal value at $179. And you’re also dealing with 64 unique, screen printed bricks as well, which adds even more to the value. Not to mention that those printed pieces save you the time and frustration of peeling stickers and trying to place them neatly on bare bricks!
I had a great time putting the Brick Art Gallery together, and am looking forward to starting the other set LUMIBRICKS sent me, the Boxing Club. Look for my review of that one soon, and in the meanwhile, if you’d like any more information on these or other sets, head over to the LUMIBRICKS website.
LUMIBRICKS provided a set for evaluation, but had no input into this review. As an Amazon affiliate, I may earn a small commission from qualified purchases.