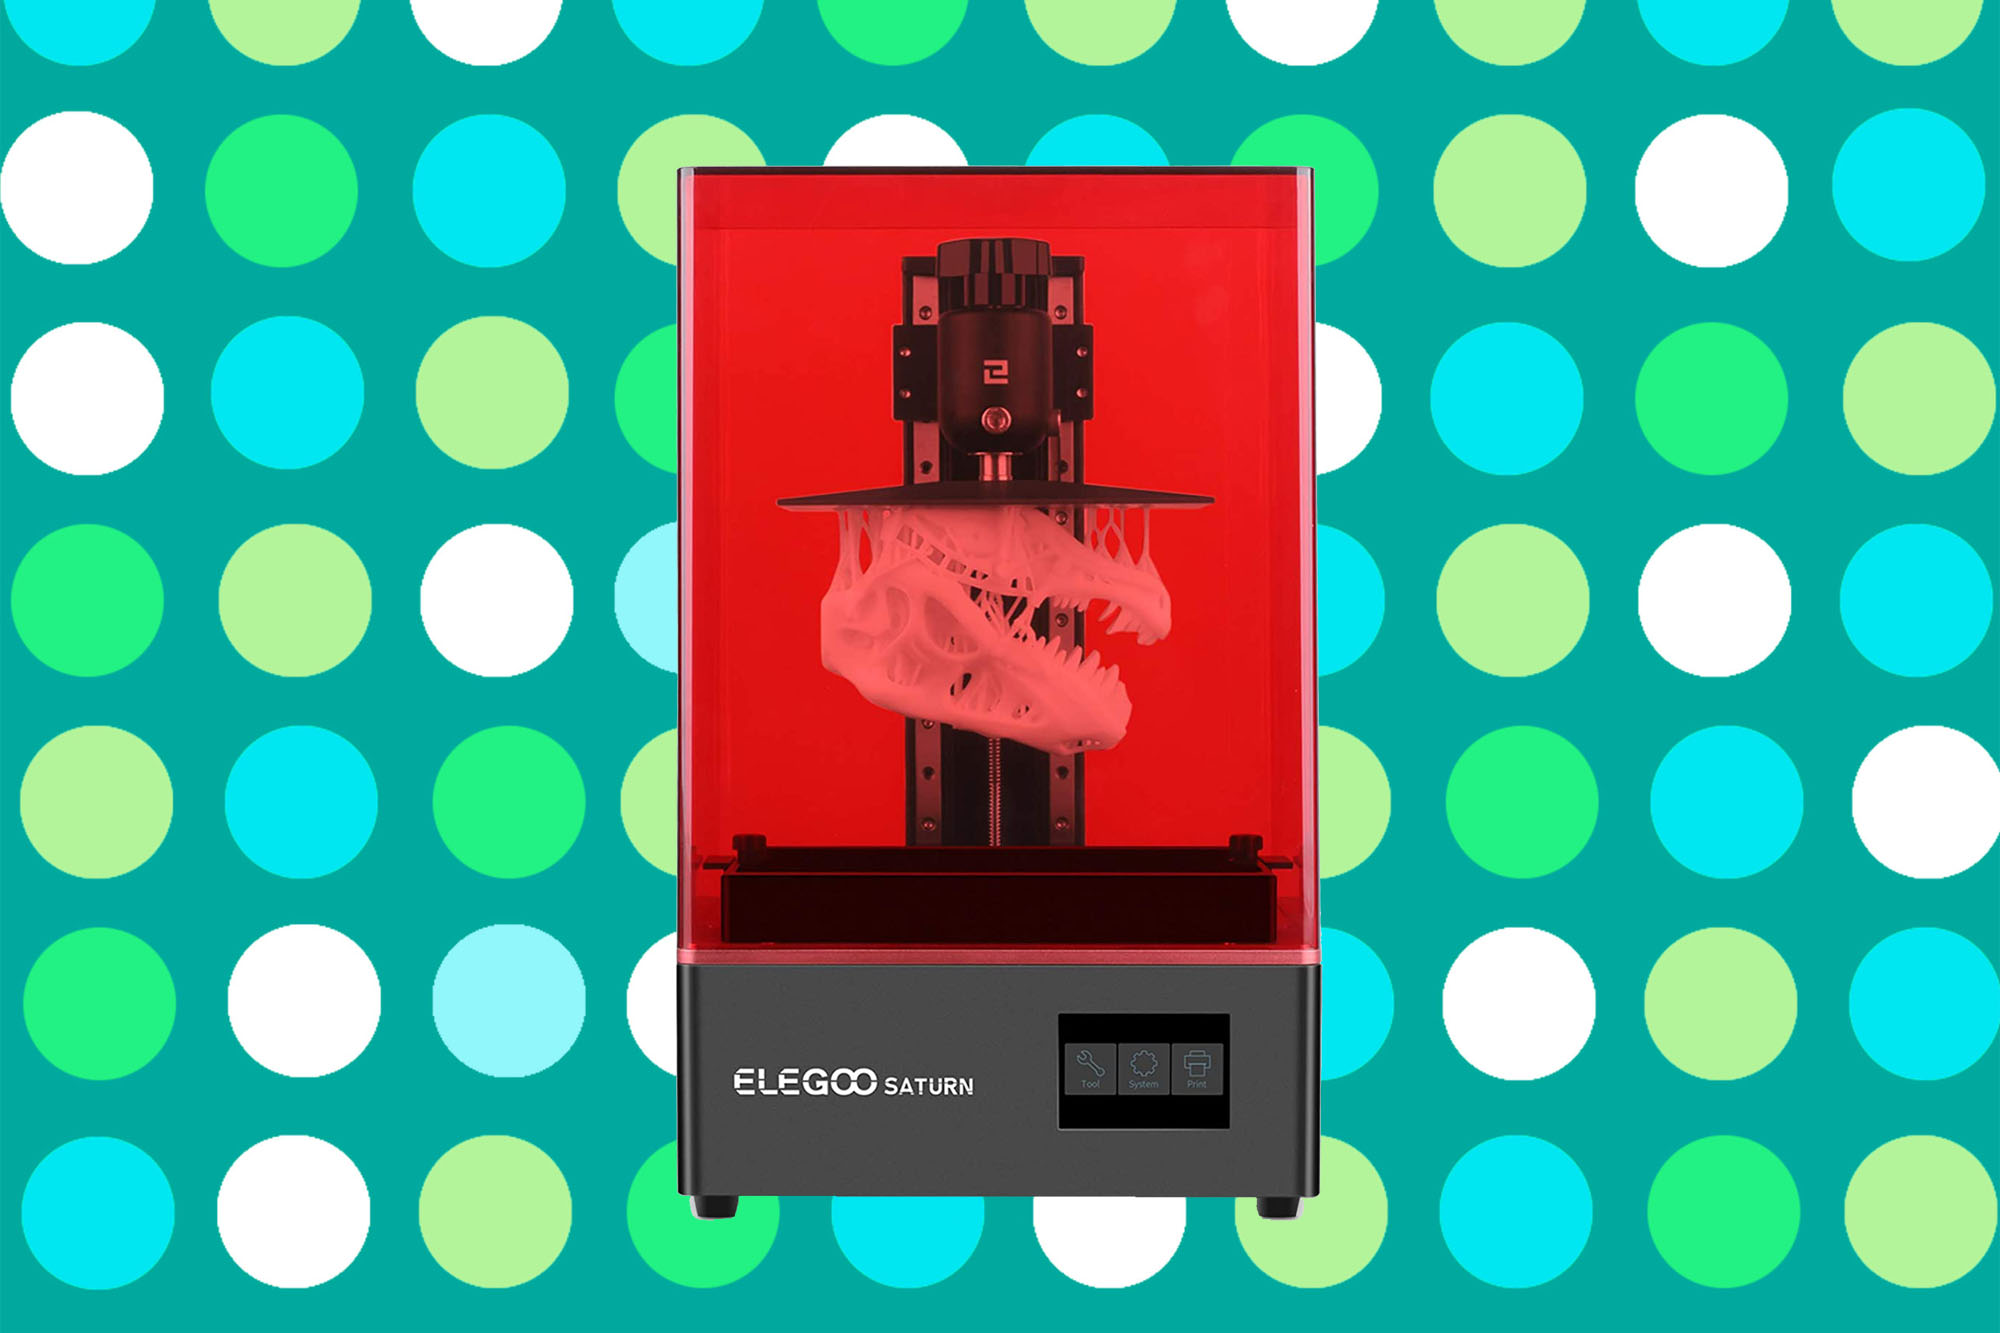
I’ve reviewed a couple of consumer 3D printers from ELEGOO so far…the Mars Pro MSLA printer, and the Neptune 2 FDM printer. Now I’m taking a look at the Mars’ big brother, the ELEGOO Saturn MSLA printer.
SLA vs FDM: The Two Types of 3D Printing
Briefly, for our readers who aren’t that familiar with 3D printers but are thinking about dipping their toes in the water:
There are essentially two types of printers available, stereolithographic (SLA) and fused deposition modeling (FDM). FDM models use a heated filament (most frequently PLA plastic) to build up a model, adding layer after layer until the model is complete. SLA printers use light to solidify a layer of resin at a time, creating the model. In the case of the Mars Pro, which is a masked stereolithographic (MSLA) printer, it uses light specifically from an LED array combined with an LCD photomask.
Both types of printers use their own type of “slicer” software to prepare a 3D model for printing, allowing you to adjust for the type of material you’re printing, how much detail you want to put into the final product (the finer detail, the longer it takes to print), and if you need to add any “supports” into the model to help ensure that the model doesn’t break or deform during the printing the process.
If you’re new to 3D printing, this can all seem a bit overwhelming. Don’t worry, I’ll be explaining more as I describe my experiences with the Mars Pro. In the meantime, think about it this way: SLA printers like the Mars Pro and Saturn are best if you want to print smoother, more detailed figures such as tabletop miniatures for Dungeons & Dragons, while FDM printers excel at printing larger, less detailed parts and objects, such as cosplay armor pieces and weapons.
What Is the ELEGOO Saturn?
The ELEGOO Saturn uses an 8.9 inch 4K LCD screen for both higher resolution and faster layer curing times. Additionally, it has a significantly larger build area than the Mars Pro, with a build volume of 7.55 x 4.72 x 7.87 in.
Here are the specifications:
General Specifications
- Technology: MSLA
- Year: 2020
- Assembly: Fully-assembled
- Manufacturer: Elegoo
3D Printing Specifications
- Build volume: 192 x 120 x 200 mm (7.55 x 4.72 x 7.87 in)
- Layer height: 10 microns
- Resolution: 3840 x 2400 pixels
- XY-axis resolution: 0.05 mm
- Z-axis positioning accuracy: 0.00125 mm
- Printing speed: 30 mm/h
- Bed leveling: Semi-automatic
- Display: 3.5-inch touchscreen
- Third-party materials: Yes
- Materials: 405 nm UV resin
SOFTWARE REQUIREMENTS:
- Recommended slicer: ChiTuBox
- Operating system: Windows / Mac OS X
- File types: STL, SLC, OBJ
- Connectivity: USB, Ethernet
DIMENSIONS AND WEIGHT:
- Frame dimensions: 280 x 240 x 446 mm (11.02 x 9.44 x 17.55 in)
- Weight: 12.5 kg (27.56 lbs)
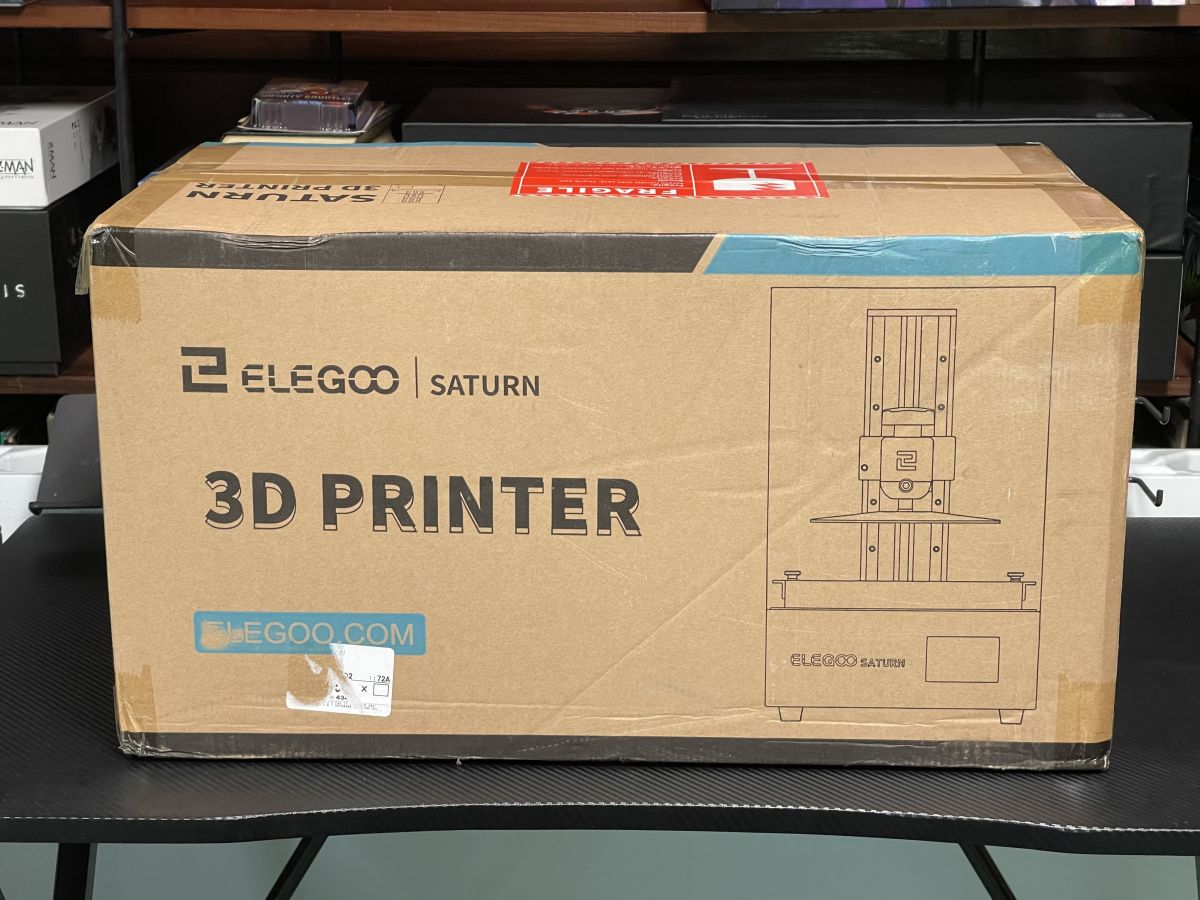
Unboxing the ELEGOO Saturn
I raved about how well packaged the ELEGOO Mars Pro was in my review, and if anything, the Saturn is packaged just slightly better. ELEGOO has included plastic interior corner protectors and hard cardboard edges around all that foam, ensuring that your printer arrives in good shape.

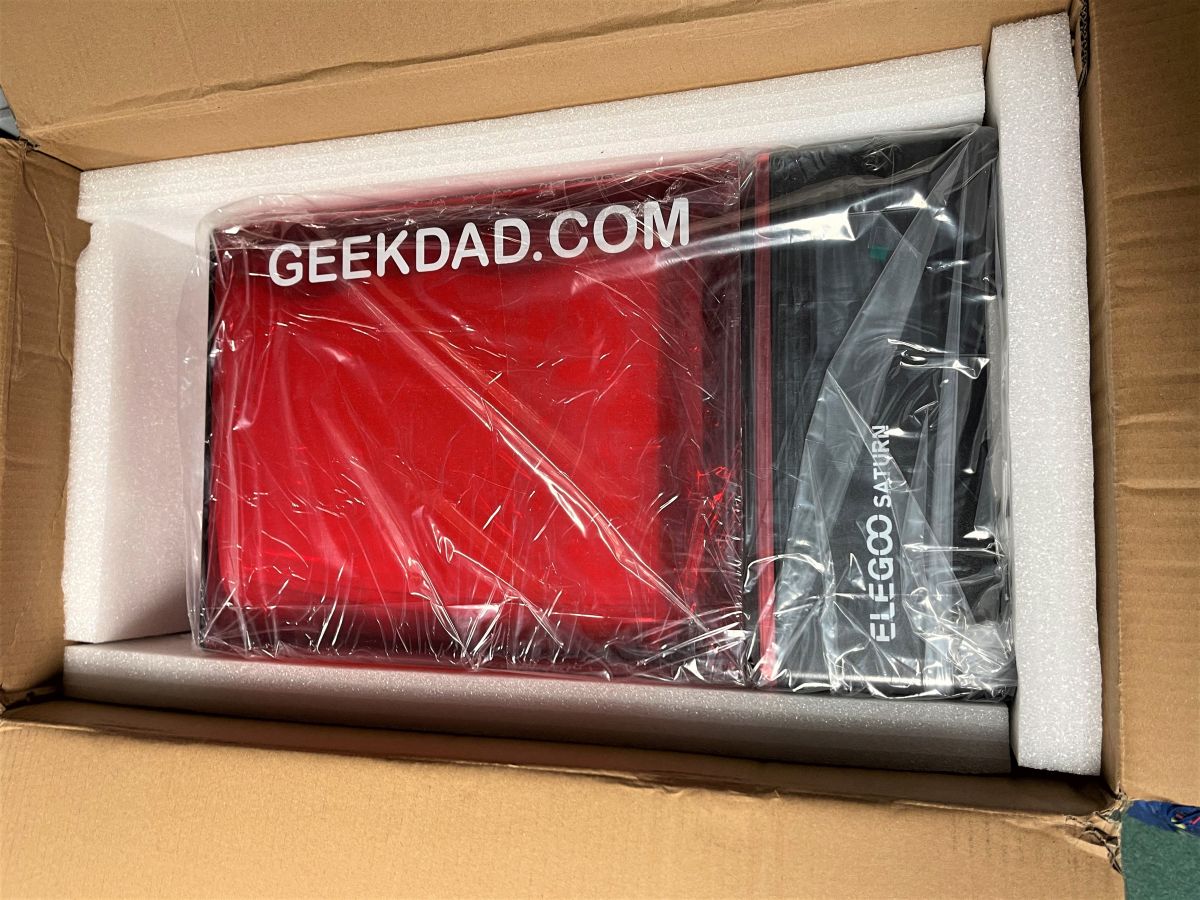
Removing the top protective layer will reveal the ELEGOO Saturn, nestled in even more foam. I was pleasantly surprised to discover that ELEGOO had branded the plastic cover of the printer!
Even more foam in the plastic case protects the z-axis drive shaft, and also contains both the resin tank and the build plate.
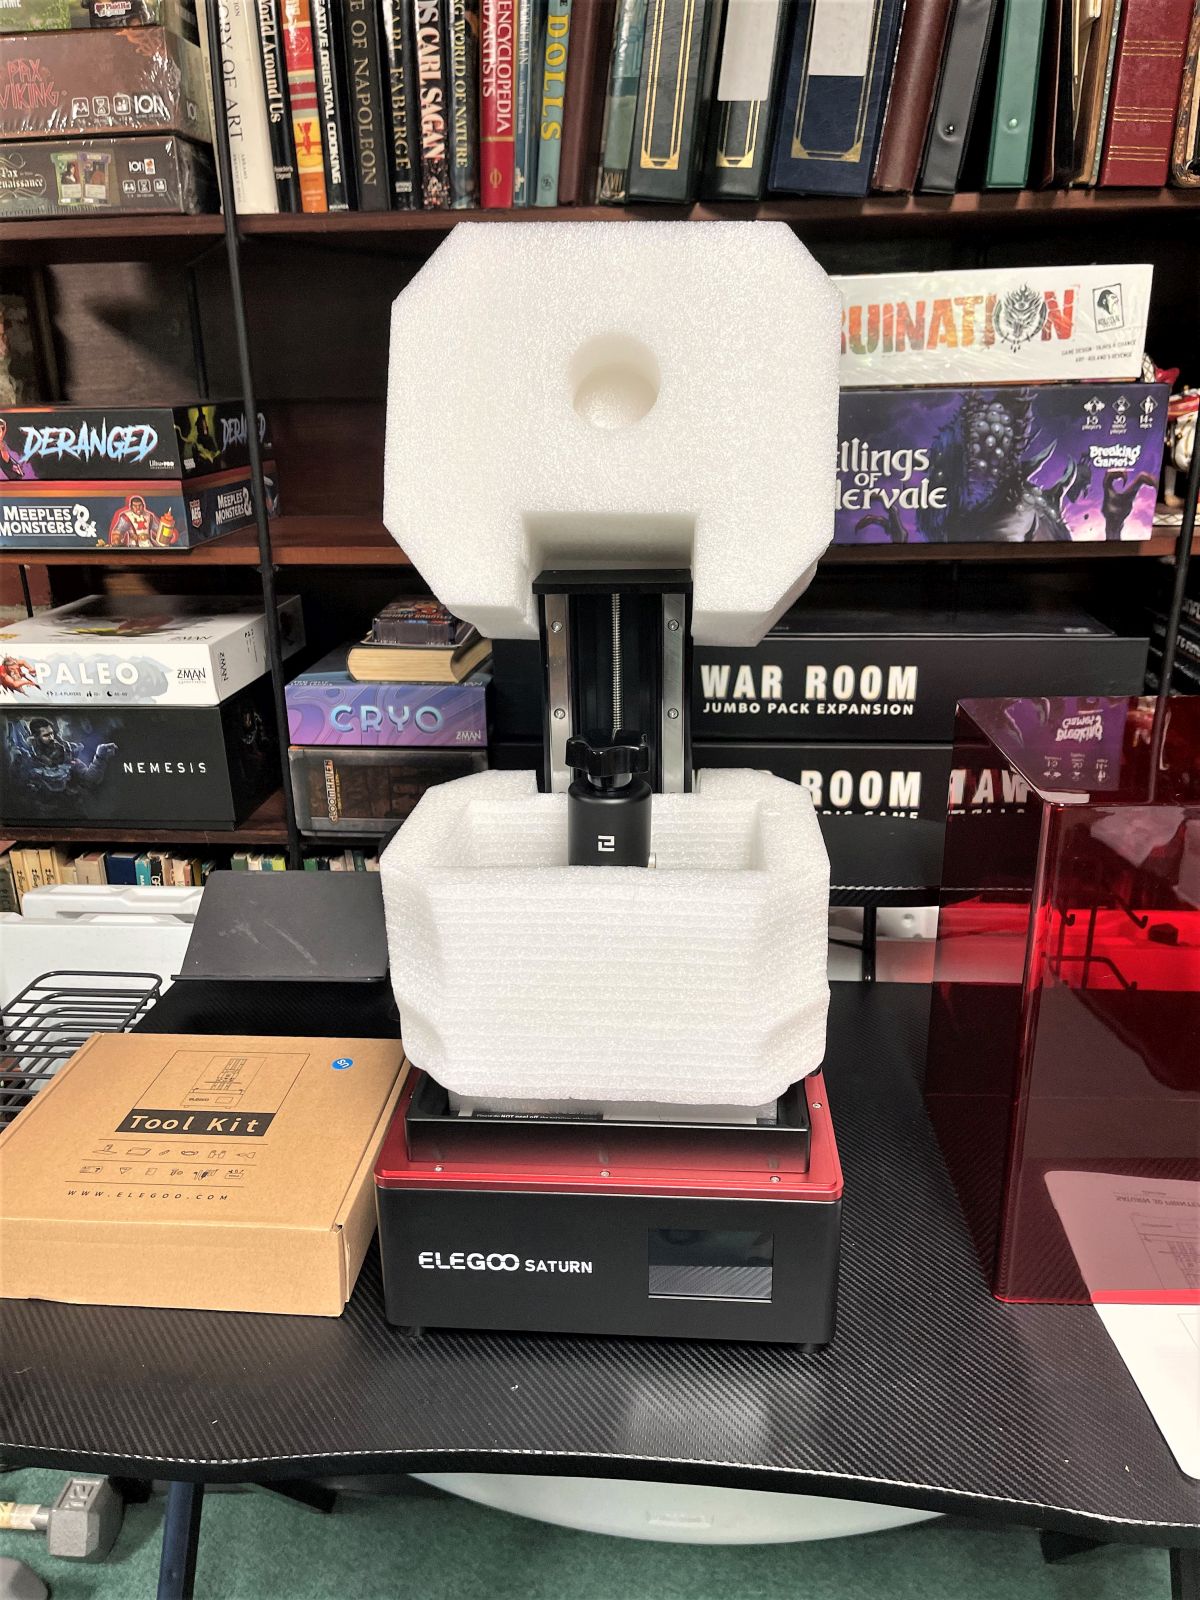
Removing the tool kit box from the case, it’s a quick job to get the printer set up. Many of the same tools are included here as were with the Mars Pro(though the box of nitrile gloves in the picture are mine).

Adventures in 3D Printing With the Saturn
Once I had removed the protective plastic coverings on the LCD and FEP film, it was time to get to the most important preliminary step: leveling the printer. As opposed to leveling an FDM printer, this is a fairly easy process. I loved that ELEGOO included a leveling paper made of thin card with the Saturn. Not only is it the perfect thickness, but it also included the leveling instructions right on the card:

Included with the printer on the USB drive are some demo models, including the ELEGOO rook that came with the Mars Pro. I decided I would start with that one, just to provide a baseline(and a good performance comparison with the Mars Pro). My first step(as should yours be) was to set up a profile for the Saturn in Chitubox, the 3D slicing software for MSLA printing. The second step was to enter the information for the type of resin I was using. I thought it would be fun to do some prints using Elegoo water washable clear blue resin. Different resins have different optimal curing times for both the base layer(for good adhesion to the build plate) and subsequent layers. With a little searching on the web, I was able to find a good guide to the different ELEGOO resins. I then imported the rook model into Chitubox, and sliced it using the settings both for the Saturn and the clear blue resin.

It was then time to get to printing. I filled up the resin tank about a third full as recommended by the instructions, plugged in the USB drive, and selected the rook model from the print menu. At that point, the printer got to work.
I should mention that, while the Saturn is generally a fast printer, the clear blue resin takes a lot longer to cure than non-transparent resins. So I wasn’t really getting an accurate speed comparison between this printer and the Mars Pro. But then again, if you need proof that the Saturn is a faster printer, you can easily find benchmark results from serious 3D printing sources. And so, a little over 7 hours later:
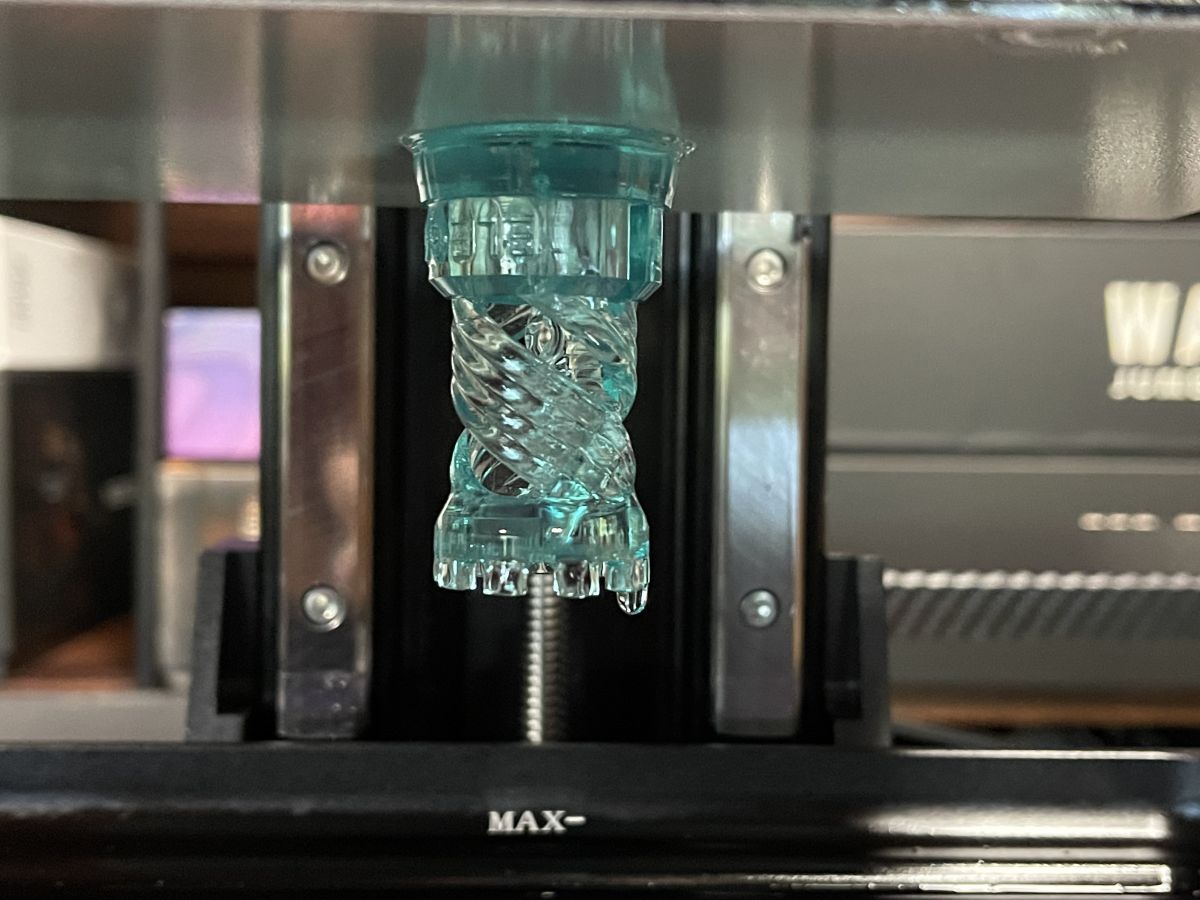
As you can see, the rook adhered well to the build plate…perhaps a bit too well. It was a challenge to remove, and I unfortunately did a little bit of damage to the base in trying to pop it off the plate using the metal scraper. This was still preferable to the print not sticking to the plate, which would result in a failed print, and could potentially damage the FEP film.
After finally freeing the rook from the build plate, I went through standard cleanup. First, a wash with water(as it’s water washable resin) and then, after it had dried, a few minutes under a UV lamp to cure the resin.
I liked the look of the resin and the general level of detail, so thought I’d move on to a different print. For the next model, I chose to go with a holiday ornament from the Fates End 2 Kickstarter, which I’d written about earlier this year.
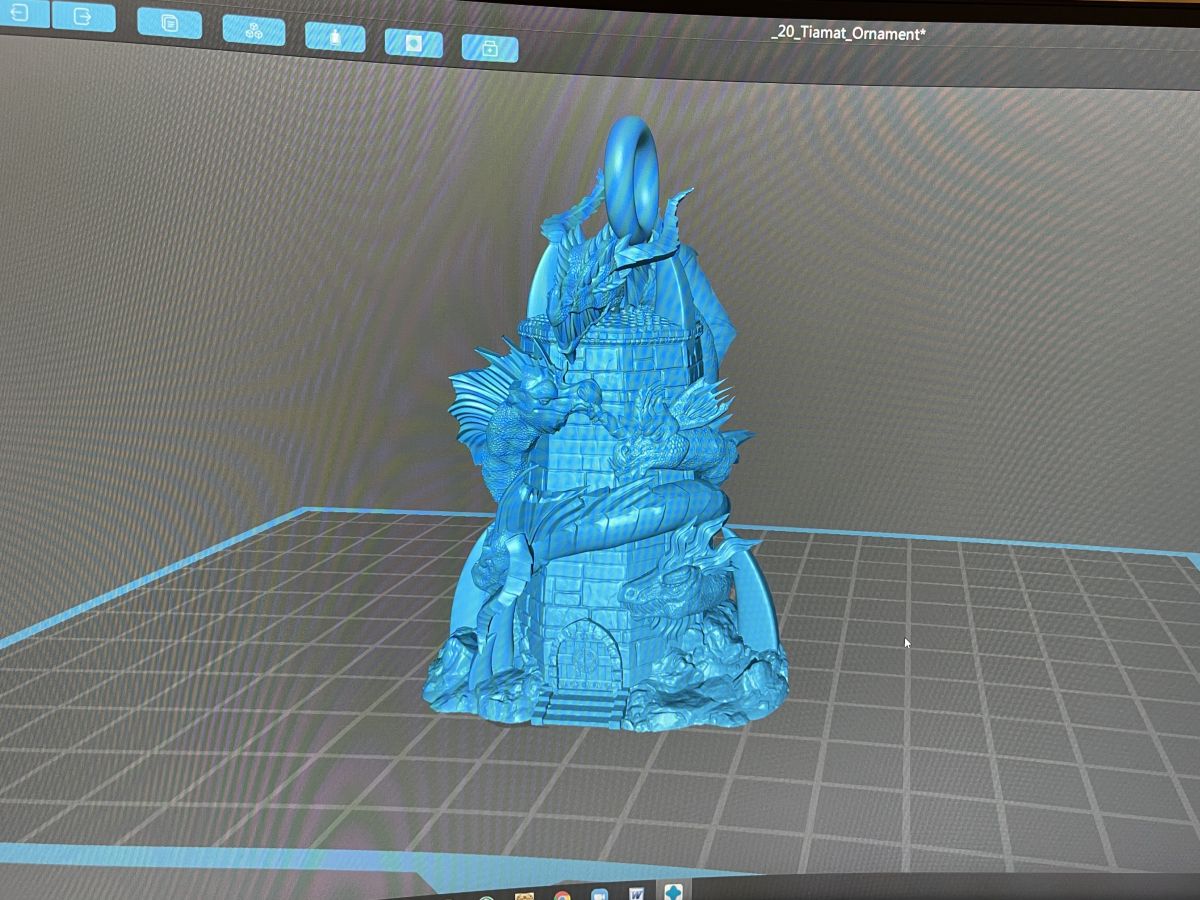
This print took a bit longer than the rook, clocking in at approximately 10 hours. Much like the rook, though, the print was stuck fast to the build plate. Wanting to get it free without damaging it, I again took to the Web to see what advice I could find to remove the model.
I decided to try a method known as temperature shock. After cleaning off any remaining liquid resin I could from the build plate and model, I put the build plate(with model still attached) into the freezer for about 15 minutes. Removing it, I then ran it under warm water. This caused the resin to contract slightly, allowing me to pop it off the plate with ease.
I was very impressed with how the details on the model turned out, especially the fins on the dragon heads. I posted a picture of the model on Facebook and my sister even demanded I give it to her!
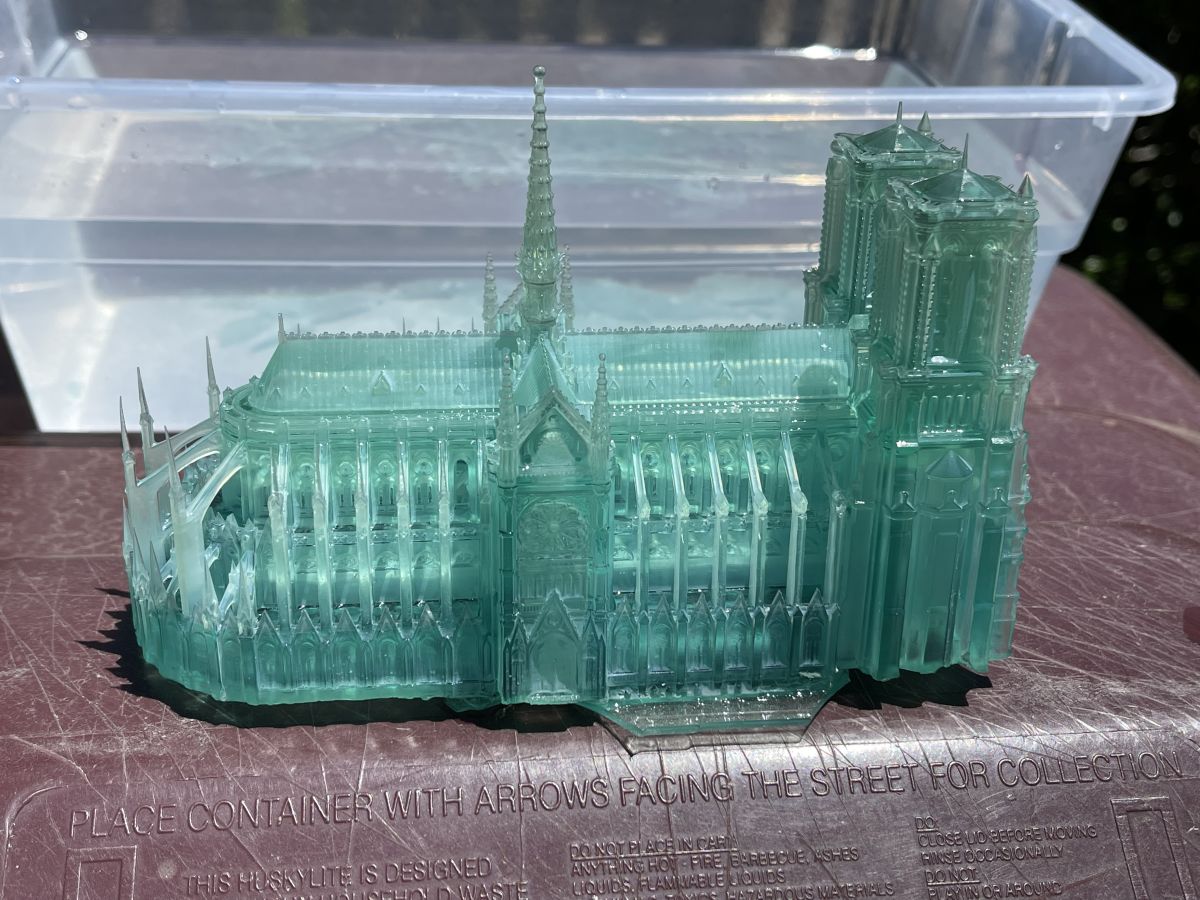
Having successfully printed up these two models, I decided it was time to really put the Saturn to the test. I was going to print something that not only took advantage of the larger build volume of the printer, but would(if successful) demonstrate the capabilities of the ELEGOO Saturn. And so, I grabbed the free Notre Dame Cathedral model from MyMiniFactory.

This would also prove to be a long printing process. After slicing the 3D model, there was an estimated print time of 15 hours. Making sure that I added plenty of resin in the tank, it was time to really test out the Saturn.

As you can see from that tank, I almost didn’t have enough resin to finish…the level is pretty low. But finish it did, with astonishing detail. Sadly, my washing and curing station wasn’t big enough to handle a model this big. ELEGOO has the Mercury X Wash and Cure machines on preorder currently, which can accommodate the large prints from the Saturn. But for now, I had to rely on using some plastic tubs to wash the model, and then cured it using UV directly from the sun.

ELEGOO Saturn: The Verdict
I referred to the ELEGOO Saturn at the start of this review as the big brother to the Mars, and that’s true in a couple of ways. The first is the most literal: The Saturn has a print resolution of 3840×2400 versus the Mars’ 2560×1440, with a build size of 7.55″ length x 4.72″ width x 7.87″ height versus the Mars’ 4.53″ x 2.56″ x 5.9″. Which means everything is bigger:

Size isn’t the only difference between the printers, though. The level of detail that you can achieve with the Saturn is much higher than with the Mars Pro, and when printing the same model with the same resin, the Saturn is also faster.
And while this won’t be an issue for all, the Saturn also includes a network port, so that you can print from your computer. The Mars Pro can only print via its USB port.

I’ve found my time so far with the ELEGOO Saturn to be a fantastic experience. I was blown away by the level of detail I was able to achieve. It’s also a very easy machine to use, much like the Mars Pro. MSLA resin printing is a process that’s fairly easy to do, but has a lot of cleanup afterwards. As most of you are aware, liquid resin can irritate your lungs and your skin, which is the reason for the included face masks and gloves. Plus you have to wash and cure the resin, extra steps that are unnecessary with FDM printing. But the results speak for themselves.
Despite the ease of working with the Saturn, it also served as a reminder that 3D printing is still a hobby. We’re not yet at the point where you can take a printer out of its box, plug it in and start churning out amazing pieces. To get the best results, you need to turn to other hobbyists, like I did, to figure things out like the best way to get prints off the build plate without damaging the print. But if you’re looking for a great printer to take that hobby journey with, the ELEGOO Saturn definitely fits that bill.
The ELEGOO Saturn retails for $500. As of this writing, they’re unfortunately sold out at the ELEGOO store on Amazon (Update 6/17: They’re back in stock on Amazon at $499.99!). If you’re interested in getting a Saturn, keep your eyes open for future restocks as ELEGOO tries to ship Amazon more units as often as possible. Or, if you don’t need a printer as large as the Saturn, you may be interested in the smaller Mars 3, their newest MSLA printer which is currently available to preorder directly from ELEGOO.