The name Elegoo has become synonymous in the 3D printing world with good, affordable MSLA Printers. Earlier this year they introduced their second generation Mars printer, the Mars Pro. Elegoo sent me one to take for a test drive; here are my thoughts.
Briefly, for our readers who aren’t that familiar with 3D printers but are thinking about dipping their toes in the water:
There are essentially two types of printers available, stereolithographic (SLA) and fused deposition modeling (FDM). FDM models use a heated filament (most frequently PLA plastic) to build up a model, adding layer after layer until the model is complete. SLA printers use light to solidify a layer of resin at a time, creating the model. In the case of the Mars Pro, which is a masked stereolithographic (MSLA) printer, it uses light specifically from an LED array combined with an LCD photomask.
Both types of printers use their own type of “slicer” software to prepare a 3D model for printing, allowing you to adjust for the type of material you’re printing, how much detail you want to put into the final product (the finer detail, the longer it takes to print), and if you need to add any “supports” into the model to help ensure that the model doesn’t break or deform during the printing the process.
If you’re new to 3D printing, this can all seem a bit overwhelming. Don’t worry, I’ll be explaining more as I describe my experiences with the Mars Pro. In the meantime, think about it this way: SLA printers like the Mars Pro are best if you want to print smoother, more detailed figures such as tabletop miniatures for Dungeons & Dragons, while FDM printers excel at printing larger, less detailed parts and objects, such as cosplay armor pieces and weapons.
Elegoo took the already well-received Mars printer and made several quality-of-life upgrades to it for the Pro. Here are a few of the most significant:
And here are the technical specs:
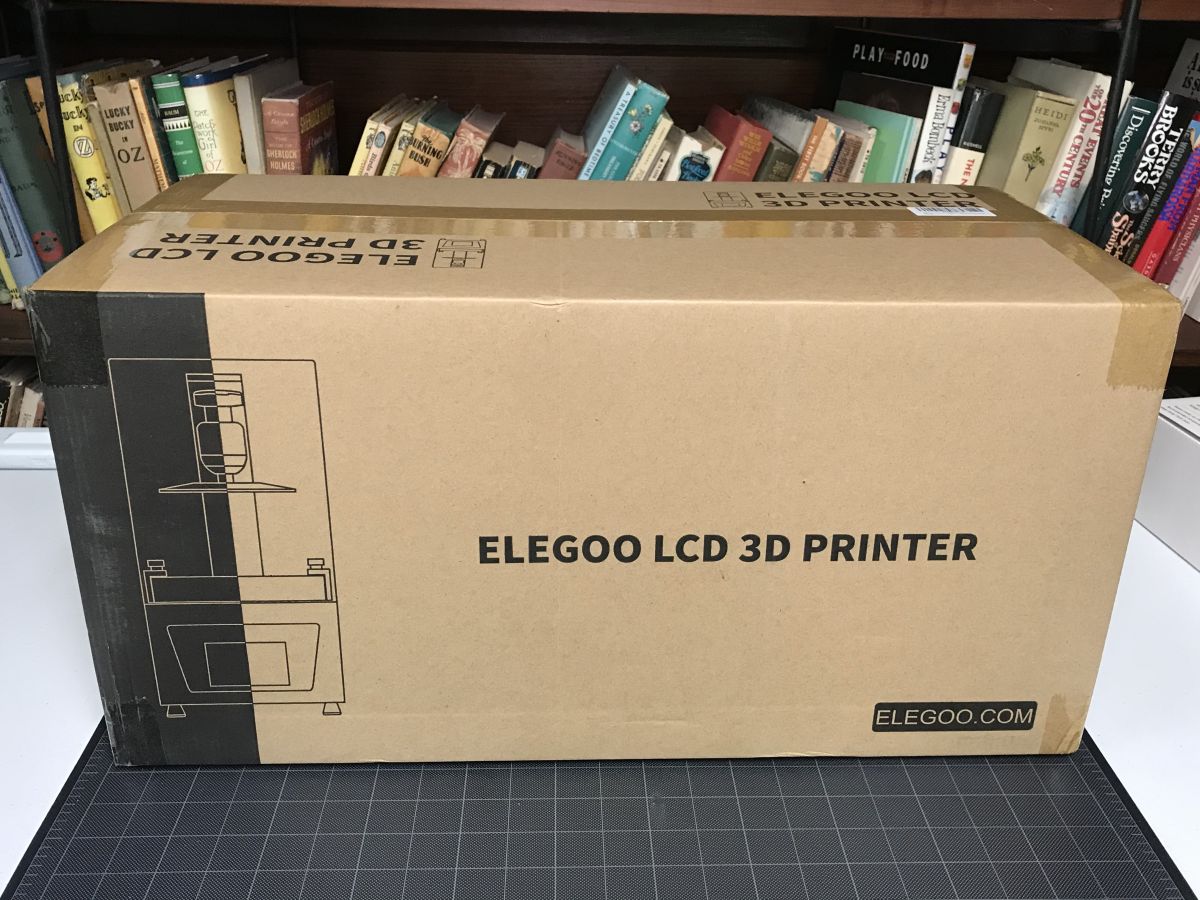
This being my first MSLA printer, I was surprised at how compact the box was when it arrived. Opening it, I found a very carefully packaged printer and a box of tools and accessories. There was even foam packed inside the printer cover, to protect it from breaking or deforming during shipping.
Removing everything from the plastic, this is what the printer and build plate look like:
And this is everything else that came in the included tool kit:
I was very excited to see that Elegoo included pretty much all of the tools you will use during 3D printing. They even included some nitrile gloves and face masks (both of which you will want to use when coming into contact with the resin). It was a very well-thought-out set of accessories, and it’s also ideal for a first-time user. Pretty much the only other things that you will need to print are the resin (of course) and isopropyl alcohol for cleaning your prints.
Here in the United States, isopropyl alcohol is currently scarce and often selling for vastly inflated prices when you can find it, thanks to the pandemic. I mentioned this to Elegoo, and they suggested I try their line of water-washable resin. Up to that point, I was completely unaware that such a thing exists, but with this new knowledge in hand, I ordered up a bottle to try out for my prints. Much like regular resin, it is available in several colors.
Getting set up to print was a very easy process. The first step is to level the printer. This is a very simple process which is clearly illustrated in the instruction manual and necessary to make sure your prints will come out successfully.
Once you have finished the quick leveling process, you’re ready to begin printing. Put the resin tank into place, pour in some resin, and insert the USB stick with your sliced models into the USB port. Press the “print” button on the touch screen, navigate to which model you want to print, and then start up the print. The printer begins by printing the bottom exposure layers, which are cured longer to ensure that the model will stick to the build plate and not fall off during printing. As opposed to FDM printing, an MSLA printer prints upside-down, dipping the build plate down into the resin towards the LCD screen to cure each layer.
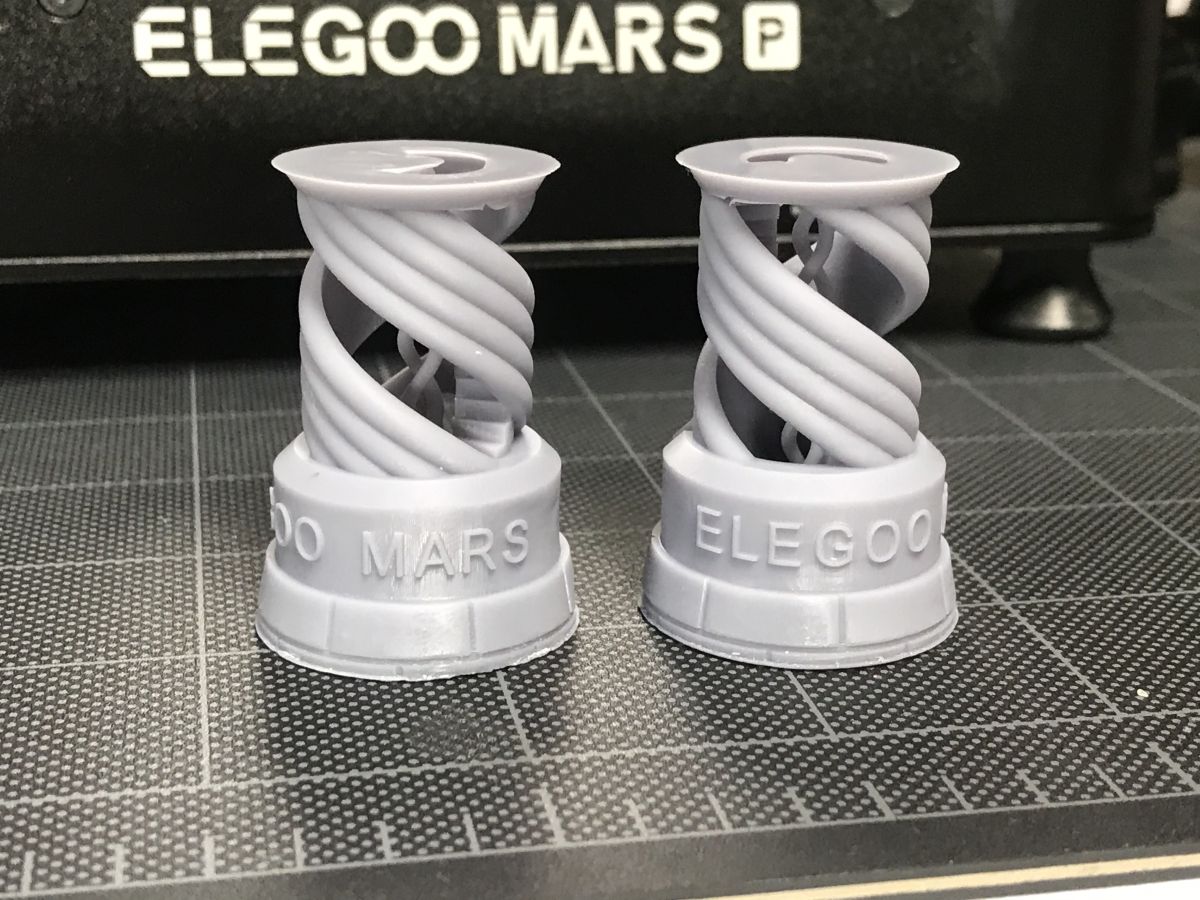
I decided to start simply, using the test model on the included USB stick. The model comes ready for print, except for one thing I neglected to take into account: the water-washable resin has a different suggested cure time for the layers than regular resin. The test model that comes with the printer is two chess rooks, and one of them fell off the build plate late in the print:
Unfortunately, with MSLA printing it can be difficult to see if your print is having problems until fairly far along in the process. And apparently, this print failed fairly late, as the only parts that didn’t print properly were the crenelations that would normally be on top of the rooks:
The print took about 5 hours, and as you can see the detail was fantastic, up until the point that the build failed. I still did my post-processing, washing the prints of any uncured resin and then curing them under a UV light to set the resin so it would be sturdy and not brittle. This is the normal procedure you’ll do anytime you print a resin piece.
Rather than reprint the test model, I decided to move on to printing something more interesting. Thinking that perhaps I hadn’t aligned the printer properly, I first went through the alignment process again, which is always recommended after a failed print.
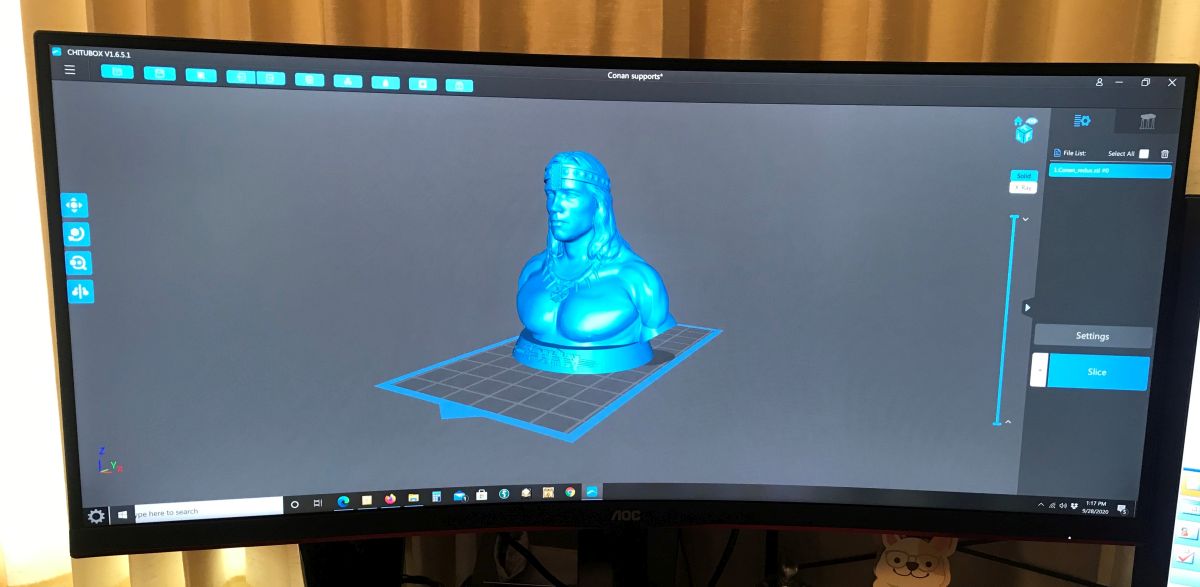
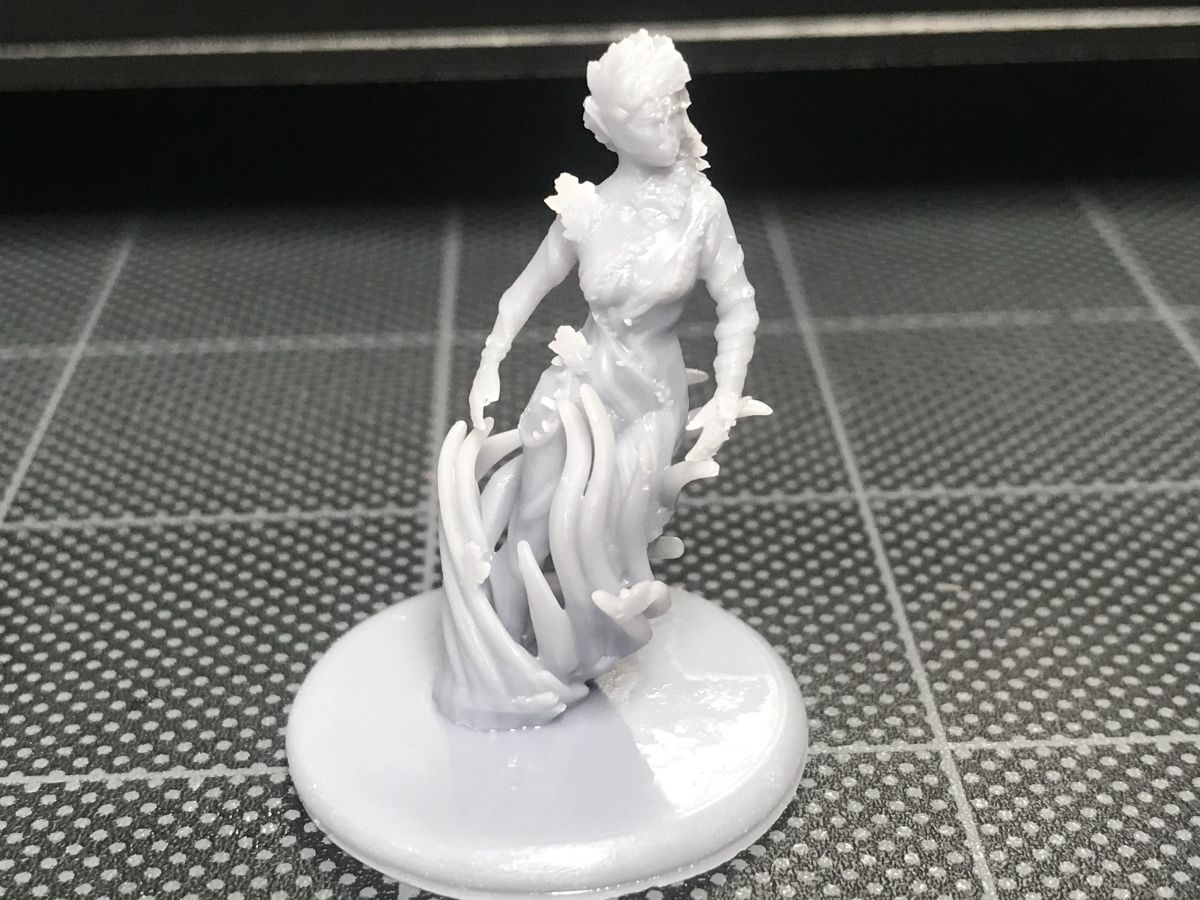
I had downloaded Chitubox, the free standard slicer software for SLA printers, and selected the Elegoo Mars Pro as my printer. Having previously downloaded a model I liked from Thingiverse, a repository of free user-created 3D models for printing, I imported it into Chitubox and clicked the “slice” button, generating a file that I could then print on the Mars Pro. (Note: I had not changed any default settings, and hadn’t yet realized that the water-washable resin needed different cure times.) I did, however, use the automatic hollow procedure, as printing this larger model would have consumed a considerable amount of resin.
The model stayed on the plate this time, and after about 8 hours it was done. The print looked great for its .04 layer thickness, but while it was drying after the wash, this happened:
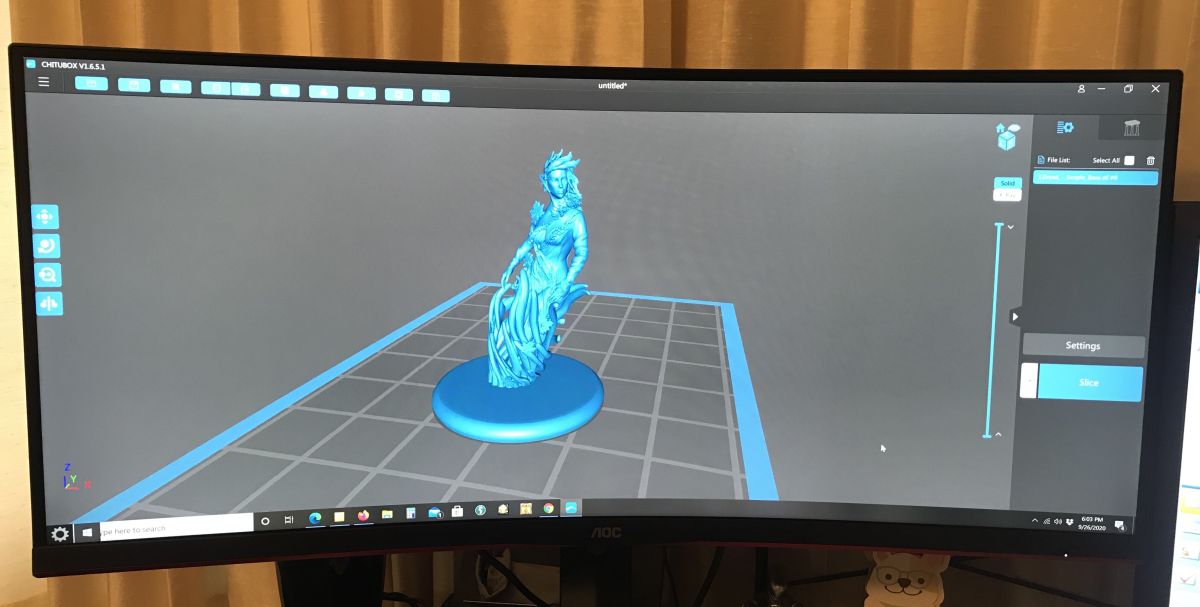
While I was puzzling out what may have caused this, I decided to print a different model. Again using the default settings in Chitubox for the Mars Pro, I printed this challenging 20mm height miniature:
The print was successful but lacking in some detail, especially in the face. In hindsight, I should have printed this at a smaller layer depth, and possibly upscaled the model in Chitubox. I’m sure that a 32mm version of this figure would print with much better detail than this 20mm one.
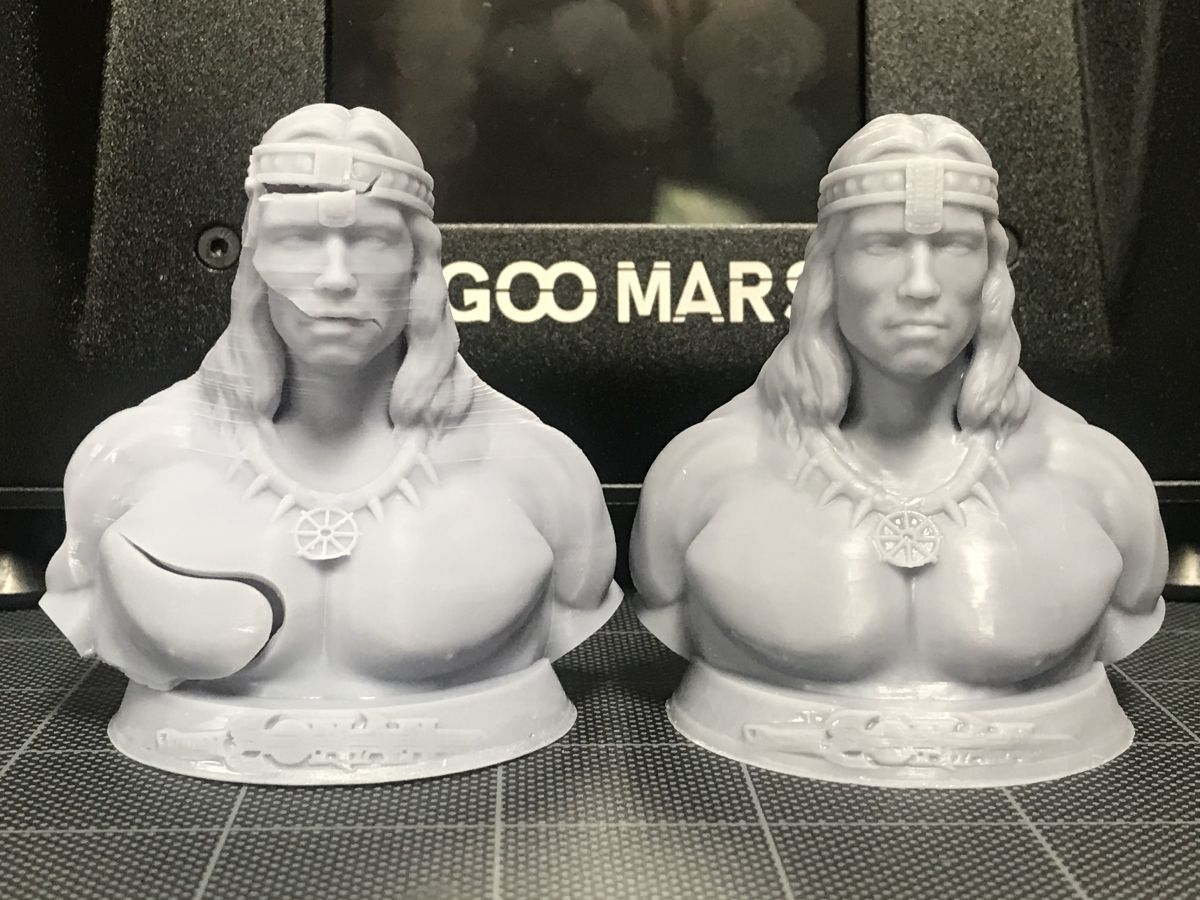
It was around this time that I took a closer look at my bottle of water-washable resin and realized that I needed to adjust the exposure time for the layers in Chitubox for this particular material. I reloaded the Conan model, changed the layer exposure times, and also refined the layer thickness. Additionally, I added an infill to the model, which is a geometric honeycomb that runs in the interior, lending it internal support. Hopefully, this would prevent the splitting that happened with my previous attempt.
I’d say the end result was definitely a success.
Here are some more images of the model, including some right off the printer, pre-wash:
I would have liked the Conan logo on the base to pop more, but that may have also been a side effect of shrinking down a much larger model to fit onto the Mars Pro’s plate. Nevertheless, the mini-bust definitely looked like Arnold… and as a bonus, didn’t split apart! It did take much longer to print than the previous attempt, clocking in at around 14 hours. The higher resolution you want to print at, the longer it will take (plus the layer exposure time is longer for the water washable resin than the regular resin).
Feeling like I’d found a sweet spot for my tests, I moved on to another model I’d found on Thingiverse, one of The Mandalorian with The Child. I decided to have Chitubox generate supports, rather than try to print it flat on the build plate as I’d done with both Conan and the Dryad. The print took just over 12 hours:
You simply clip off the supports post-print, in between washing and UV curing the model. It will require a little extra cleanup, but it keeps the print from warping at best, or failing at worst.
Finally, as a tabletop gamer, I had recently backed a Kickstarter for a collection of printable Asian tabletop gaming models. I figured I should start printing some of the many miniatures that came in that Kickstarter! I loaded a file of a Monk into Chitubox, sliced it, and put it on the USB stick.
Also taking about 12 hours to print, this is the result:
And here is the model, clipped and cured:
It was around this point that I figured I’d better stop printing things and actually write the review. It’s hard to quit, though… it’s addicting watching these computer-generated models come to life as if by magic!
I have to admit, I was initially a bit daunted at the idea of MSLA printing. The nature of working with resin, having to deal with gloves and face masks, and the post-processing of prints just seemed like a hassle compared to the relative ease of working with filament on an FDM printer. But to my joy, the Elegoo Mars Pro made things pretty effortless. From the clear instructions to the easy touchscreen interface to the great set of included accessories, the Mars Pro was a joy to put through its paces.
Now, some of you that have read through this review are probably saying, “Hey wait. What about all those problems you initially had getting decent prints?”
For those of you that are new to 3D printing, here’s something you should know before you jump in: this is a hobby. Part of getting good prints is in tweaking the settings, whether it be adjusting for a different type of printing material (in my case the washable resin), changing the layer thickness, or even adjusting the angle of the model on the print plate and the number/thickness of support sprues. So don’t expect to plug in any 3D printer and start routinely popping out gorgeous figurines—there is a learning curve. But the Mars Pro does make this learning curve fairly painless.
So far, I’m very happy with the Elegoo Mars Pro. Having dialed in my print settings better, I am getting some results I’m very happy with. Can they be better? Quite possibly. I could go even slightly smaller for layer thickness, though that will again increase my print time. And once I can get my hands on some isopropyl alcohol, I can try printing with regular resin, which has a different consistency and may give me even better results.
Elegoo has been taking preorders for their (currently sold-out) latest model, the Saturn, which I also hope to review at some point in the future. This machine promises faster prints and has both a higher print resolution and larger print volume than the Mars Pro. (The Saturn has a print resolution of 3840×2400 versus the Mars’ 2560×1440, with a build size of 7.55″ length x 4.72″ width x 7.87″ height versus the Mars’ 4.53″ x 2.56″ x 5.9″.) However, besides being in short supply at the moment, the Saturn also costs $500, while the Mars Pro is half that price. The Mars Pro is a terrific value and will give you great results, whether you are just starting your journey in 3D printing or are an experienced hobbyist.
Plus, as opposed to the Saturn, you can get your hands on a Mars Pro right now. It is currently available in the Elegoo store on Amazon for $250.
And even better, Elegoo has provided a discount code for GeekDad readers! Enter code 9U36RYOA when purchasing the Elegoo Mars Pro on Amazon to save 10%, now through October 16, 2020.
A sample of the Elegoo Mars Pro was made available by the manufacturer. The opinions expressed in this article are mine alone and not that of the manufacturer or editorial board. To read my previous articles, click here.
This post was last modified on October 9, 2020 1:22 pm
The Station will keep all your Solo Stove fuel and accessories organized.
Being a mom is hard. Being a mom trying to raise a son who can…
The fan-favorite satirical board game 'Munchkin' has a new product on the line, and it's…
The fantasy beverage springs to life in a super-premium bourbon.
'Deep Sky' is a new IMAX documentary on the James Webb Space Telescope. It is…
What do you know, it's time for another roundup of tabletop projects!
This website uses cookies.