
I’ve had an issue with the wi-fi coverage in our house since we moved here several years ago. First, it’s just a tall house: there’s a third-floor loft (the kids’ room) and a basement, so no matter where we put the wi-fi router, it’s going to be at least two floors away from some portion of the house.
Our cable modem and router are on the second floor in a bedroom that we use as a den (gotta have speedy internet for our Netflix fix!), but that means that my game night guests often couldn’t get much of a signal in the basement. (That, plus our lath and plaster walls meant that it seems like a Faraday cage and they can’t even get a cell signal down there.) When I ran speed tests, I was getting close to 40Mbps (our current service plan) in the den, but less than 9Mbps in the basement—and that’s when I could even get a signal.
And here’s where Plume comes in. Plume makes some plug-and-play devices that not only extend your wireless network to the hard-to-reach corners of your home but also learn and adapt to your internet usage. I was sent a set of three SuperPods (the recommendation for a 3- to 4-bedroom house) to try out, and not a moment too soon: I was about to move my home office from the second floor to the basement, and I really needed to make sure I had a decent internet connection down there.

Setup Is a Snap
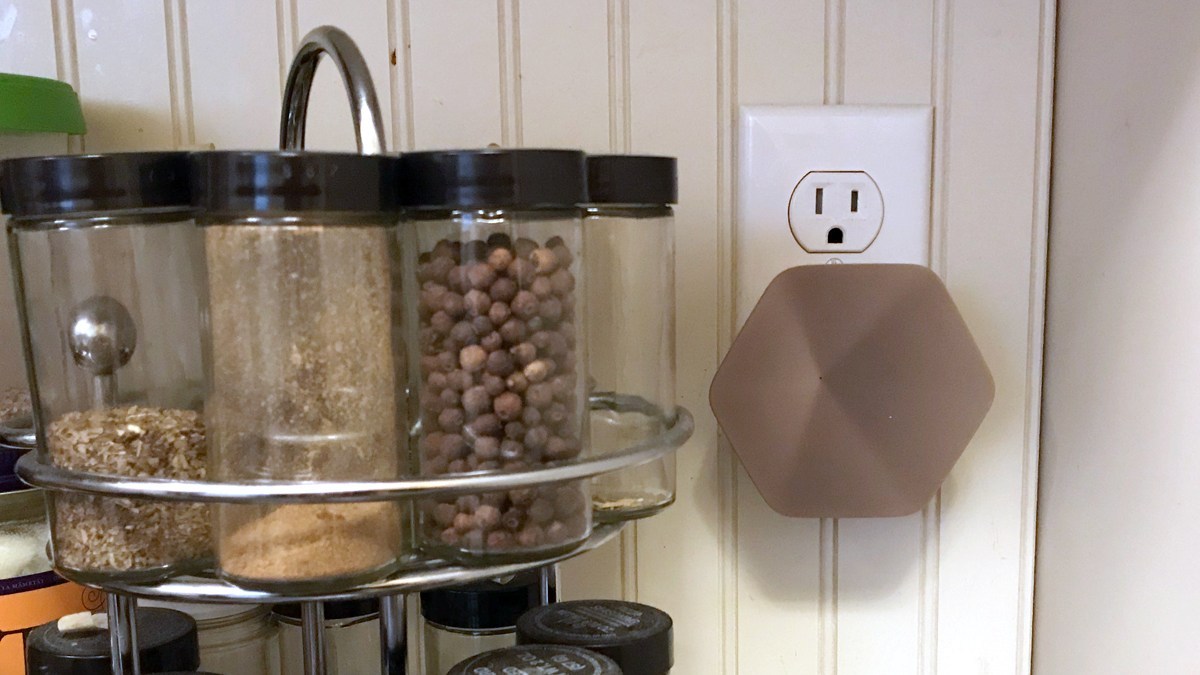
The hardware step of setup is extremely easy: you just plug in one SuperPod near your modem and connect it with an Ethernet cable. Then plug in the other SuperPods elsewhere in the house—ideally somewhat centrally rather than on exterior walls. Our hard-wired SuperPod is in the second-floor den, and then I have one in the kitchen on the first floor (right about the center of the house), and then one in the basement. The SuperPods will automatically find each other to create a wi-fi network.

Monitor Your Network with the Plume App
You download the free Plume app so that you can set up the network, giving it a name and setting the password. Then comes the hard part: remembering all the devices that are connected to wi-fi so you can update them with the new network settings. (I hadn’t realized at first that it wasn’t a good idea to have my old network still turned on because of interference, so for a while we had two networks running—now we’ve got everything on the Plume network.) The app gives you a lot of information—how the network is connected, what devices are connected to each SuperPod, and so on. You can’t tell from the screenshot above, but the little dots representing the devices are orbiting around the connection points.
The SuperPods automatically adapt to both your usage and the circumstances: for instance, in the image above, both the kitchen and basement pods are connected directly to the main pod in the den. But I’ve also seen the network change so that the basement connects through the kitchen pod. Maybe there’s interference from a neighbor’s wi-fi connection, or maybe there’s somebody streaming video from the kitchen pod, so then the basement bypasses it. Since my home only has three pods, there aren’t as many possibilities for connections, but if you have a larger network, the pods may be adjusting and rerouting in even more ways.

The app also allows you to create users and assign specific devices to individual users—that’s particularly handy when you use the parental controls (more on that in a bit). Plume already has a massive database of device types, so that when something connects to the network, a lot of times it can automatically recognize what sort of device it is and assign it a matching icon in the device list. (In some cases, you’ll just get the circle outline, like you see above with my Blink hub, but the database is continuously being updated with new devices.) Aside from the convenience of the icons, the database also means that Plume starts to learn the optimal connection types for each device, like whether it prefers the 2.4Ghz or 5Ghz network.

Parental Controls and Security Measures
Plume also gives you access to various controls, which can be set at the user level or across the network. For instance, I can set an internet freeze on my tween’s phone on school nights, so that I know she isn’t texting her friends after she should be in bed. (Uh, her bedtime isn’t actually 8pm—the screen above was before I adjusted the time.) I can also hit the “Time Out” button at the top of the screen to easily shut off internet access for 15 or 30 minutes on a particular device.
The Content Access option can be set per user—I can choose among “Kid appropriate,” “Teenager friendly,” or “no adult content,” or turn off the limits altogether. I’ll admit that I haven’t poked around to see what’s blocked or not blocked since I’ve generally used old-fashioned analog content access (i.e., checking in from time to time to see what’s on their screens) but for now I’ve got “teenager friendly” for my teen and tween.
There’s also a Secure & Protect option that Plume encourages you to enable across the network—it’s intended to stop a lot of malware, spam URLs, and so on. There’s also an Ad Blocking option, which checks DNS requests against a list of known ad servers, and then blocks those requests—supposedly since it’s blocked right at the network level, this should speed up page loading a little, because instead of loading all the information and then hiding the ads, the network doesn’t even receive the ads in the first place. I’ve been testing this out a little, and it does hide most of the ads I see on sites—though of course since GeekDad is an ad-supported site itself, I do feel a little guilty about that.

Guest Passwords
Managing passwords on the Plume network is also really easy. You can have any number of Home, Guest, and Internet Only passwords—but the nice thing is that these all work on the same SSID, unlike when I created guest networks with my wi-fi router. Your home passwords are the all-access password, of course. Guest passwords can be set to expire automatically after a certain time, which is cool if I want to set up a game night password or have some visiting guests for a weekend. Each guest password can also be set to give access to specific connected devices on your network, such as printers.
You can also set up Internet Only passwords—these will allow devices to connect to the internet, but not to any of your other network devices. (And these can also be set to expire after a set period of time.) The ease of creating and managing passwords means that you can easily give internet access when you need to, without feeling like you need to reset your primary password (and then all of your devices) after you’ve had visitors.
Pricing and Options
I spoke with the Plume team over the phone, and they emphasized that Plume isn’t just a mesh wi-fi platform; they call it “adaptive home wi-fi.” The pods don’t just extend your network, but are actively learning your usage patterns and adapting. So far, I’ve been impressed with the way that Plume has fixed the dead zone in my basement, and I really like the guess password function, too.
The Plume online shop has recommendations for what pods you’ll need based on the size of your home; the package will range from $39 (for a SuperPod and 2 Pods) to $259 (for 4 SuperPods). In addition, there’s a subscription fee for the cloud services that make the Plume responsive: $60 a year, or $200 for a lifetime subscription. I did note that if your subscription expires and you decide not to renew, you’ll still be able to use the pods as a mesh wi-fi extender, but you’ll lose some of the benefits that really set Plume apart from traditional extenders.
If you have wi-fi dead spots in your home, or you like the ease of managing devices and passwords, check out the Plume website for more details!
Disclosure: I received a sample set of 3 SuperPods for review purposes.


No mention of how it performed? What LAN and WAN speeds did you get; did you not run any iperf tests to see what the wireless backhaul was for each pod?
Sorry, I’m pretty inexperienced, which is why the Plume pods appealed to me. I’ll try running iperf tests … though I’ll have to wait until I can borrow my wife’s laptop, because all I’ve got right now is one iMac to work with. I’ll report back once I’ve figured that out.
Just do iperf -s on your iMac then iperf –c –P 4 –i 1 –t 30 on the MacBook.
Install using brew: https://brew.sh
Then it’s easy: type ‘brew install iperf ‘ in the terminal.
For wan can just use fast.com app.
Yeah, my old iMac won’t even install Homebrew, so I have to wait until there’s a second computer available for me to use. (I’ve got it installed on my primary iMac.)
Fast.com is giving me a pretty wide range of results, as low as 9.5Mbps and as high as 41Mbps, so I’m not sure what to tell you there.