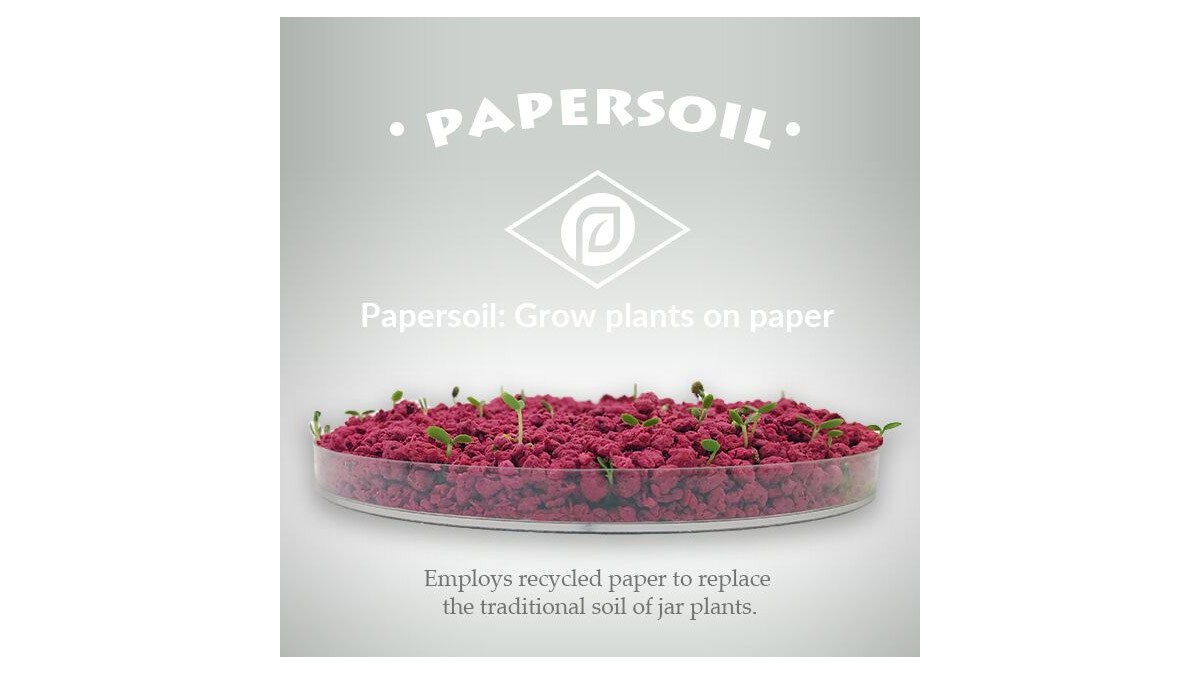
Green thumbed-, Brown thumbed-, or black thumbed-gardeners alike can revel in a new trend in greener gardening. Papersoil is exactly what it sounds like: Soil made of 100% recycled paper. Papersoil is also colorful, pre-fertilized, and effortless to maintain.
What’s really in it?
It’s really straightforward, actually. Papersoil has shredded/granulated paper which has been treated with a fertilizer to make your plants strong and healthy.
Why Papersoil?
The single greatest draw of Papersoil is that it’s 100% sustainable. America alone consumes 700 pounds of paper products per person each year. As a relative comparison, Americans use 30% of the world’s paper, despite being only 5% of the population.
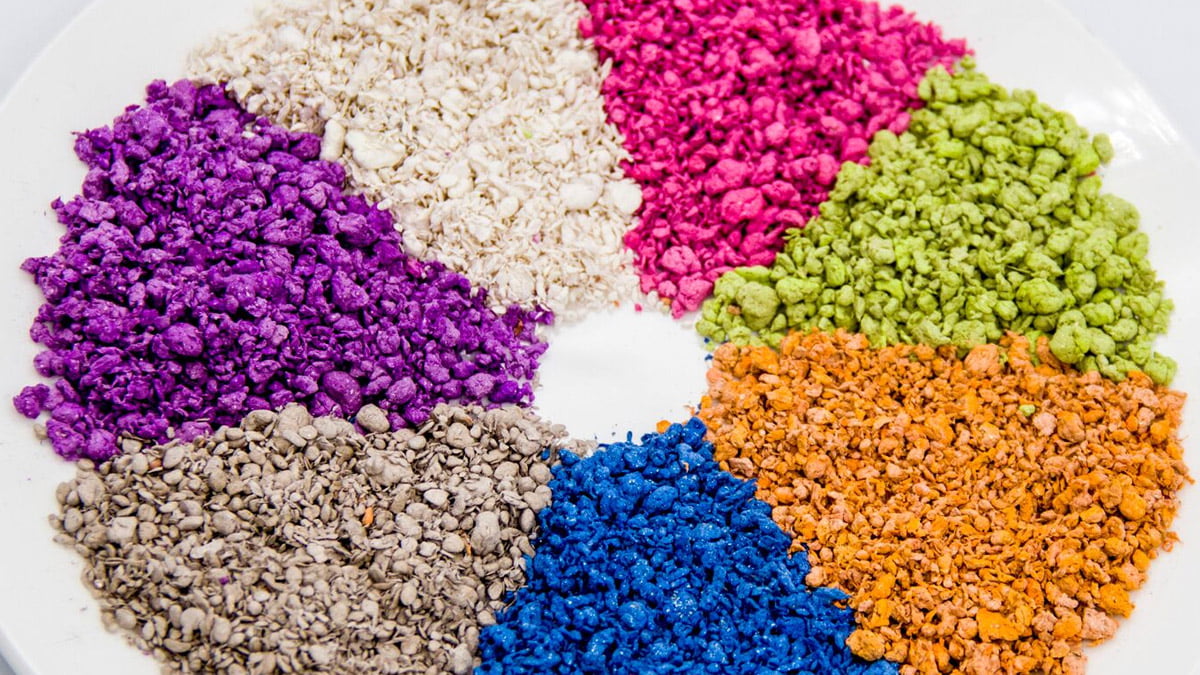
Papersoil is also gorgeous. It comes in 6 colors: Blue, Green, Orange, Pink, Purple, and White. You can also order a mixed bag. For desktop gardeners, this is a great draw because traditional soil looks, well, dirty. Paper soil can be layered to beautiful effect, or arranged in various colors.

Does it work?
It certainly does work. I planted a batch of wildflowers in jars and was pleased to see seeds sprouting in just 2 days.
I’m notorious for killing plants which I plant from seed. I occilate from over-attentive to under-attentive over time, and seedlings need more careful eyes than mine to thrive. Despite my terribly brown thumb, I adore plants, so I continue to try.
A Total Repot: Christmas Poinsettia
I also rescued a poinsettia from a local restaurant last Christmas. I found it recovered fine until it began shredding its glitter-plastered leaves. At first I panicked, but resisted the urge to soak it in liquid fertilizer, and checked in with some gardeners. Turns out, poinsettia are starved of sunlight to make them turn crimson. These crimson leaves have to fall for the plant to recover in the spring. So I waited, and once she had some new growth, I repotted her. Now she’s thriving in a bed of Papersoil, with plenty of room for her roots to spread, and food to gobble up.

I started with Papersoil, a new pot, the poinsettia in need of repotting, and a tissue. I tore off a bit of tissue to keep in the dry soil. If you choose to do this, you should be able to see the hole through the tissue. You want to keep in soil, but not water. Papersoil is pretty well granulated, so for pots with holes, I suggest using a tissue or coffee filter.

I put the poinsettia, plastic pot and all, into the pot to get an idea of how much soil I needed to put in the pot. After adding the soil, I sprinkled it lightly with water and put the poinsettia in place. Then I watered everything lightly until all the paper on top had deepened in color. I put a paper towel under the pot to catch some of the standing water which would surely drip through. You never want standing water, but it might take it a little bit to find its way down.

Also, I left the poinsettia’s soil intact, rather than shake it off. There wasn’t much there, hardly a couple of tablespoons, and I didn’t want to damage the delicate root system. This will also help protect the roots from fertilizer shock if the fertilizer is too strong for such a fragile plant. As roots expand out, and fertilizer leeches in, the plant will grandually be exposed to the fertilizer.
A Coverup Job

I have a pothos from my twin brother’s wedding. (You may know him as the Premier DM of the Year.) On our way back from the wedding, we drove through most of Arizona, and it was a mite too hot for the poor thing. At the time, it wimped out, and was down to two puny leaves. It has recovered despite my attentions, and became too large for its pot. I didn’t have enough Papersoil for the whole pot, but I wanted to add fertilizer and beauty, so the top inch is what I could work with.

Because I wasn’t working with Papersoil at the bottom, I didn’t bother prepping the pot with a tissue, and just used some wood chips and dirt in the bottom.

I carefully uncovered the roots, which I thought would be a harrowing process of not smooshing tiny roots under the soil. After a few swipes at the dirt, though, and I just turned the tray over and dumped it all out. The roots were totally covering the bottom, and starting to grow into each other. Perfect time for repotting!

I took a little bit of time, here, to unbind the roots where they were too knotted up. I wanted to make sure I wouldn’t have to deal with root rot later. I chose not to trim the roots much, because I’ve killed more than one plant doing so.

I draped the roots over a mound I had built from mulch and dirt, spreading them out. Then I added Papersoil, enough to cover the roots, but no higher than the previous soil level on the stem. Like before, I watered the papersoil just enough for the colors to brighten (a good indicator they’re moistened; dry Papersoil is slightly drab) and placed it on a paper towel and saucer like the poinsettia. Now I have a beautiful cover to my pot, without using $12 worth of Papersoil to get the beautiful display.
Who makes it?
Papersoil is made by Micro Novelty, an Asia-based company which makes products for families. Papersoil was Kickstarted and is now for sale in their shop.

TL;DR
Papersoil is an eco-friendly way of adding color to your indoor gardens while helping to reuse paper which would normally become waste. It comes in 6 colors or a mix-bag which I’m fond of. It’s shipped internationally, so none of their products include seeds. You can buy individual bags from their website or you can find them for sale at a lower average price on Amazon, but only if you want one bag each of all six colors.