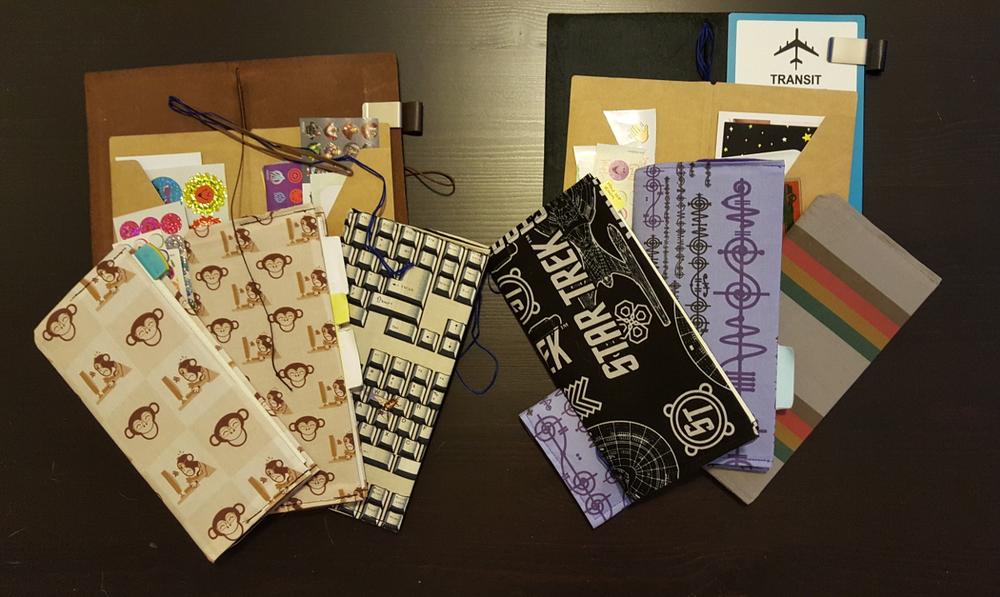
My deconstructed Midori Traveler's Notebooks with DIY Fabric Insert Covers. Image by Jules Sherred
Welcome to this step-by-step guide about how to make your own Midori insert cover, with storage flaps; made from your favorite fabrics.
Last year, I wrote about how I manage life and my anxiety with my Midori Traveler’s Notebooks. In that post, I promised a tutorial about how I made my fabric Midori Traveler’s Notebook insert covers. It may be long overdue, but it’s finally here, complete with supply list and step-by-step instructions and images.
Fabric and Interfacing – 1 cm Seam Allowance
Main Fabric: 37 cm x 25 cm – Cut One
Inside Fabric: 37 cm x 25 cm – Cut One
Medium or Heavy-Weight Interfacing: 7 cm x 23.5 cm – Cut Two
Cardboard Stencils
Fabric Stencil: 37 cm x 25 cm
Midori Insert Cover Stencil: 22.5 cm x 21 cm
Interfacing Stencil: 7 cm x 23.5 cm
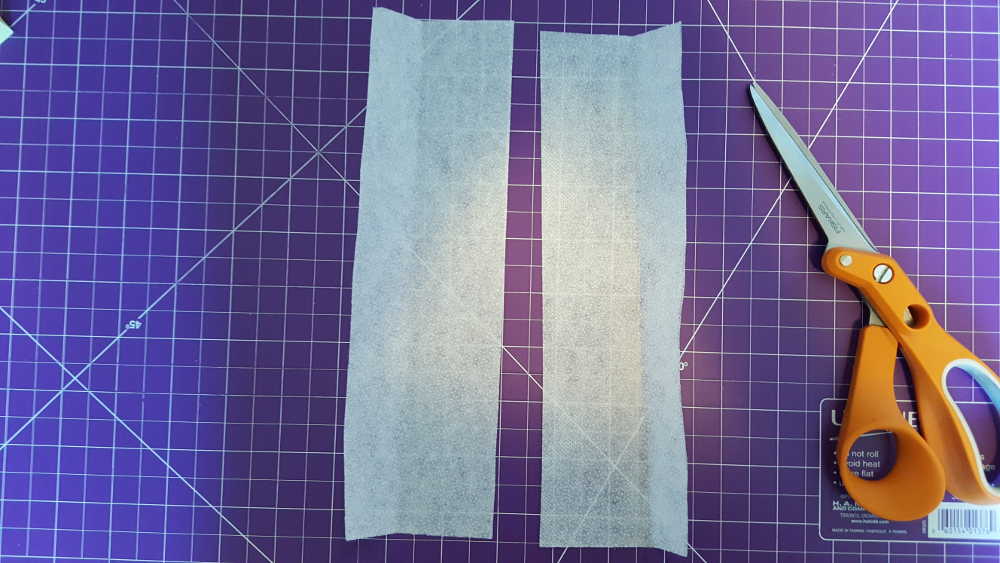
Step 1: Mark both the inside and outside fabric. Cut.
Step 2: Mark interfacing. Cut two.
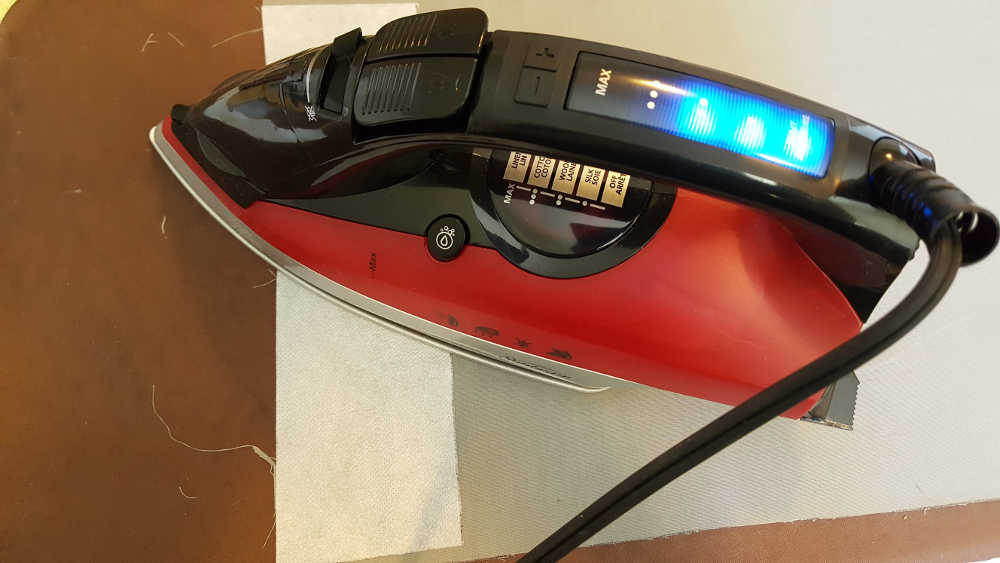
Step 3: Iron the fabric.
Step 4: Iron the interfacing to the wrong side of the inside fabric.
Step 5: Pin right sides of the main fabric and inside fabric together.
Step 6: Sew the outside edge with a 1 cm seam allowance (use the edge of the presser foot as your guide) leaving a hole to flip right side out.
Step 7: Clip the corners, turn right side out, then poke the corners so that they are square.
Step 8: Iron the seams, pinning the open seam to preserve the straight line.
Step 9: Using the pressure foot as a guide and positioning the needle all the way over to the right, sew the left and right edges.
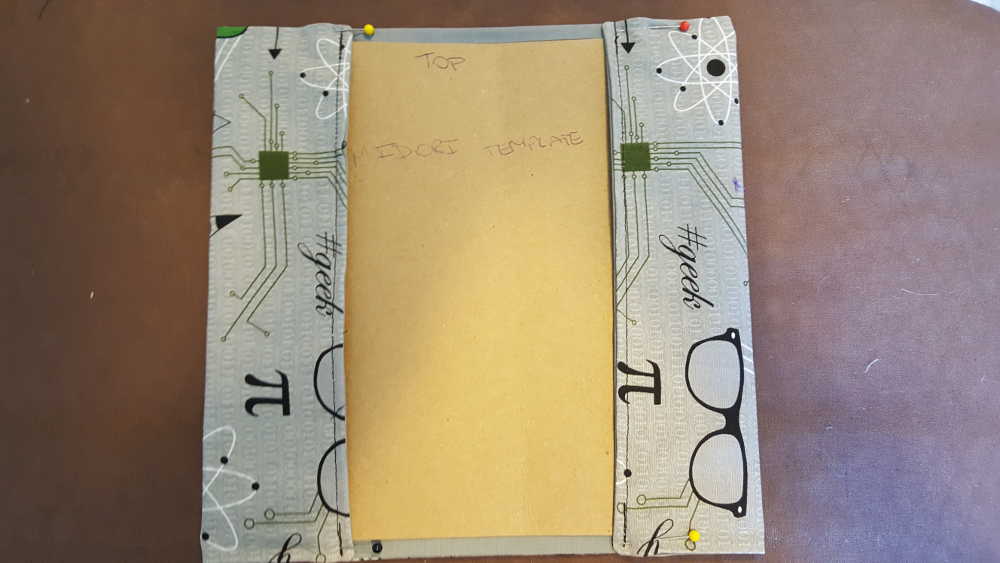
Step 10: Fold in the flaps using the Midori insert cover stencil as a guide. Pin and iron. Remove the stencil.
Step 11: With the needle in the same position as Step 9 and again using the pressure foot as a guide, sew the top and bottom edges.
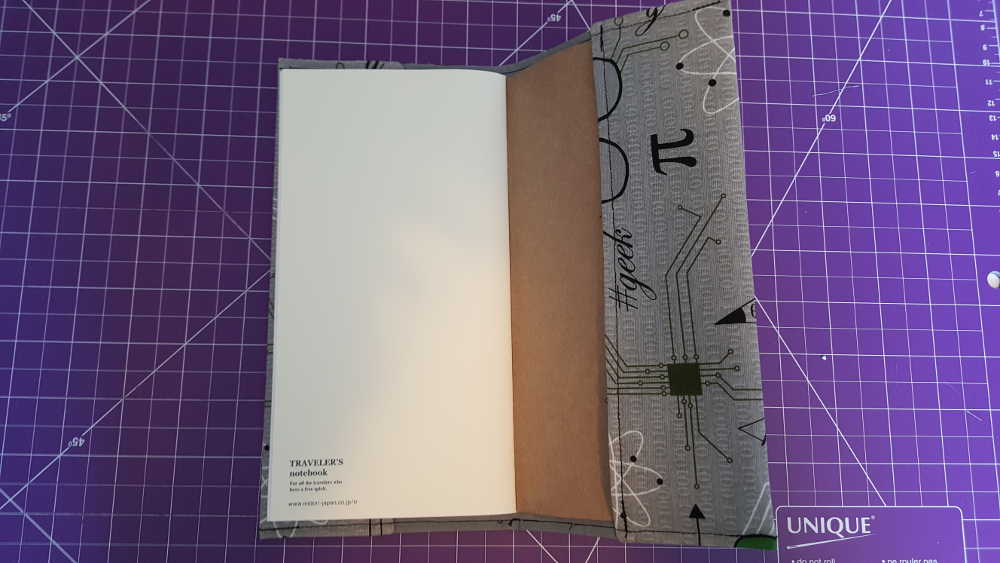
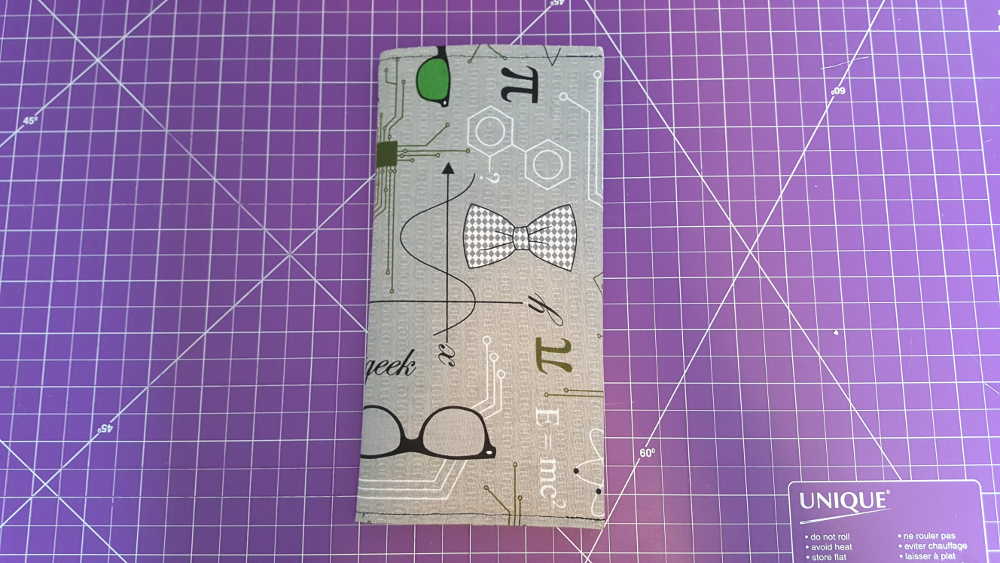
Step 12: Slip the Midori insert into the cover.
Congratulations! You have just made your first Midori insert cover!
This post was last modified on April 13, 2020 4:43 pm
The fan-favorite satirical board game 'Munchkin' has a new product on the line, and it's…
The fantasy beverage springs to life in a super-premium bourbon.
'Deep Sky' is a new IMAX documentary on the James Webb Space Telescope. It is…
What do you know, it's time for another roundup of tabletop projects!
Your team of powerful heroes is up against some deadly enemies that can knock you…
When the bunnies come out of the mountains, they find themselves amidst a bounty hunt.
This website uses cookies.