Welcome to this step-by-step guide about how to make your own Midori insert cover, with storage flaps; made from your favorite fabrics.
Last year, I wrote about how I manage life and my anxiety with my Midori Traveler’s Notebooks. In that post, I promised a tutorial about how I made my fabric Midori Traveler’s Notebook insert covers. It may be long overdue, but it’s finally here, complete with supply list and step-by-step instructions and images.
Midori Insert Cover Supply List
Fabric and Interfacing – 1 cm Seam Allowance
Main Fabric: 37 cm x 25 cm – Cut One
Inside Fabric: 37 cm x 25 cm – Cut One
Medium or Heavy-Weight Interfacing: 7 cm x 23.5 cm – Cut Two
Cardboard Stencils

Fabric Stencil: 37 cm x 25 cm
Midori Insert Cover Stencil: 22.5 cm x 21 cm
Interfacing Stencil: 7 cm x 23.5 cm
Midori Insert Cover Sewing Instructions (With Images)

Step 1: Mark both the inside and outside fabric. Cut.
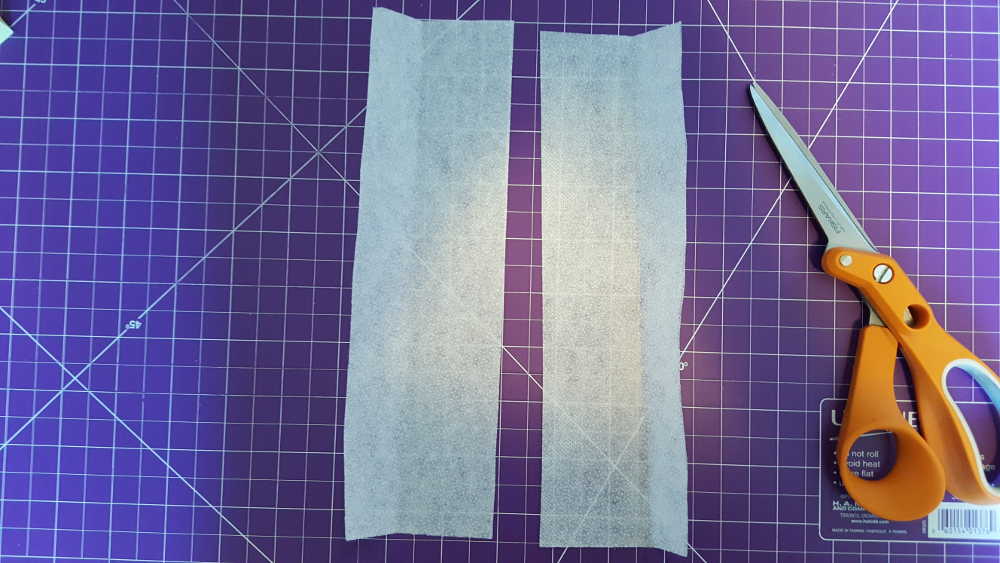
Step 2: Mark interfacing. Cut two.

Step 3: Iron the fabric.
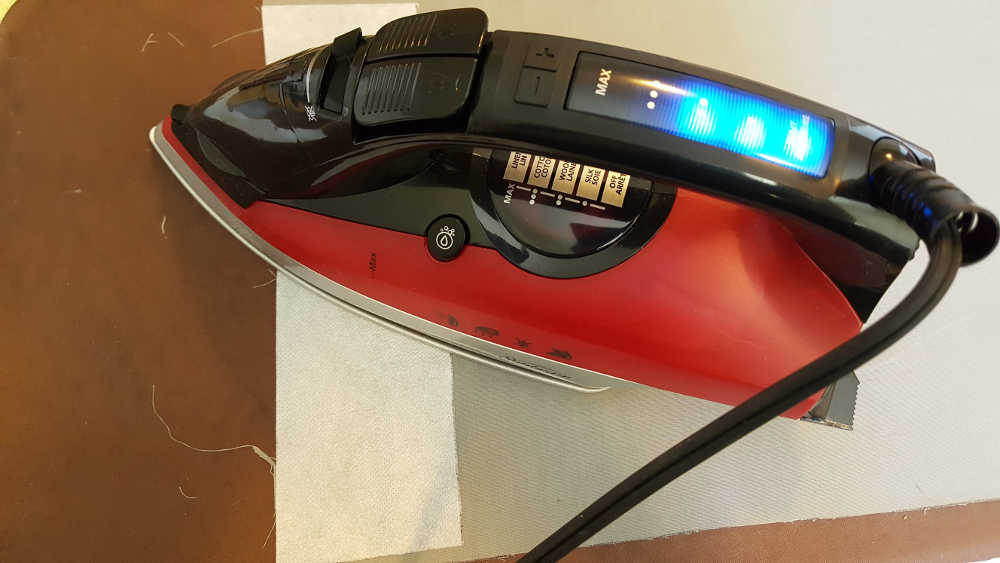
Step 4: Iron the interfacing to the wrong side of the inside fabric.

Step 5: Pin right sides of the main fabric and inside fabric together.

Step 6: Sew the outside edge with a 1 cm seam allowance (use the edge of the presser foot as your guide) leaving a hole to flip right side out.

Step 7: Clip the corners, turn right side out, then poke the corners so that they are square.

Step 8: Iron the seams, pinning the open seam to preserve the straight line.


Step 9: Using the pressure foot as a guide and positioning the needle all the way over to the right, sew the left and right edges.
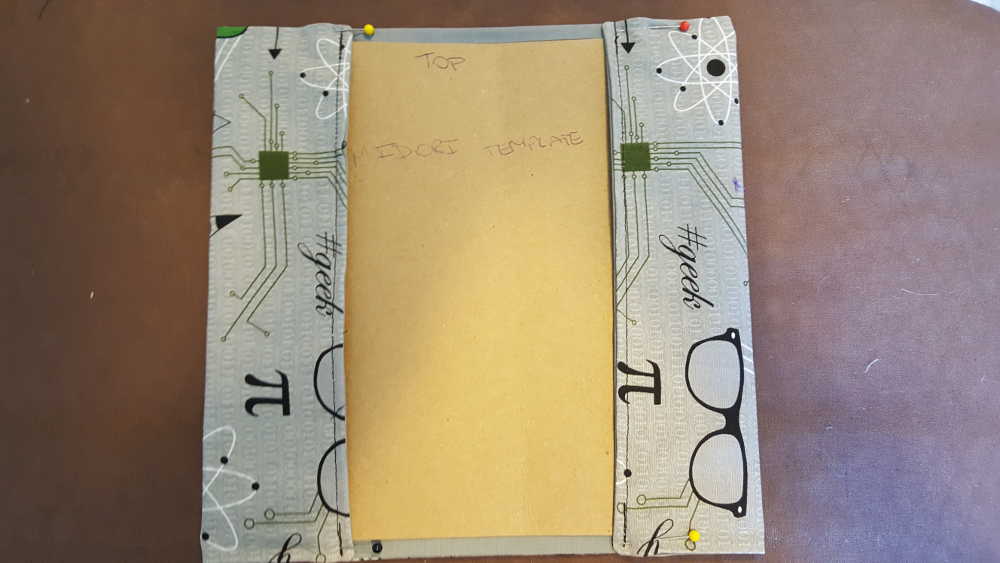
Step 10: Fold in the flaps using the Midori insert cover stencil as a guide. Pin and iron. Remove the stencil.

Step 11: With the needle in the same position as Step 9 and again using the pressure foot as a guide, sew the top and bottom edges.
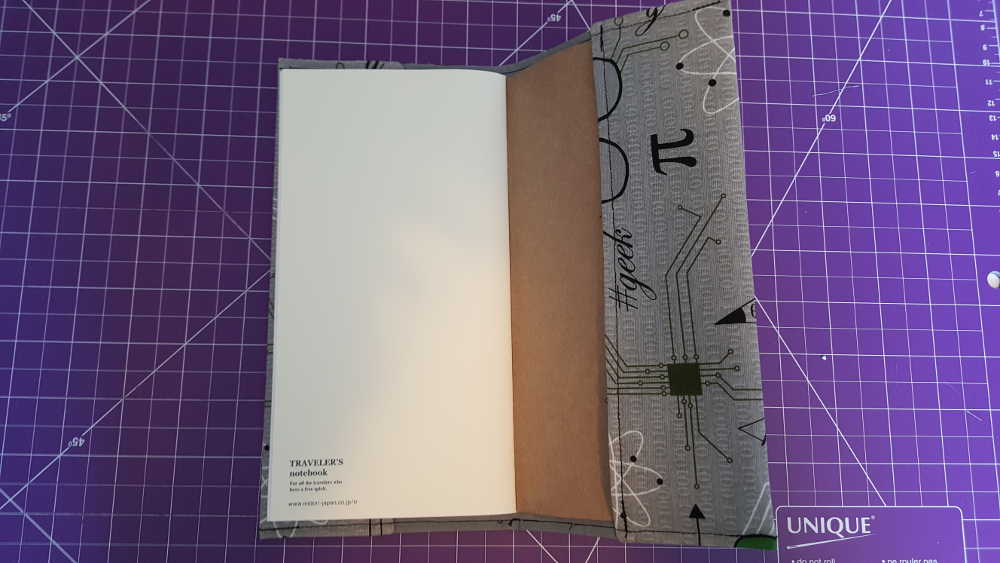
Step 12: Slip the Midori insert into the cover.
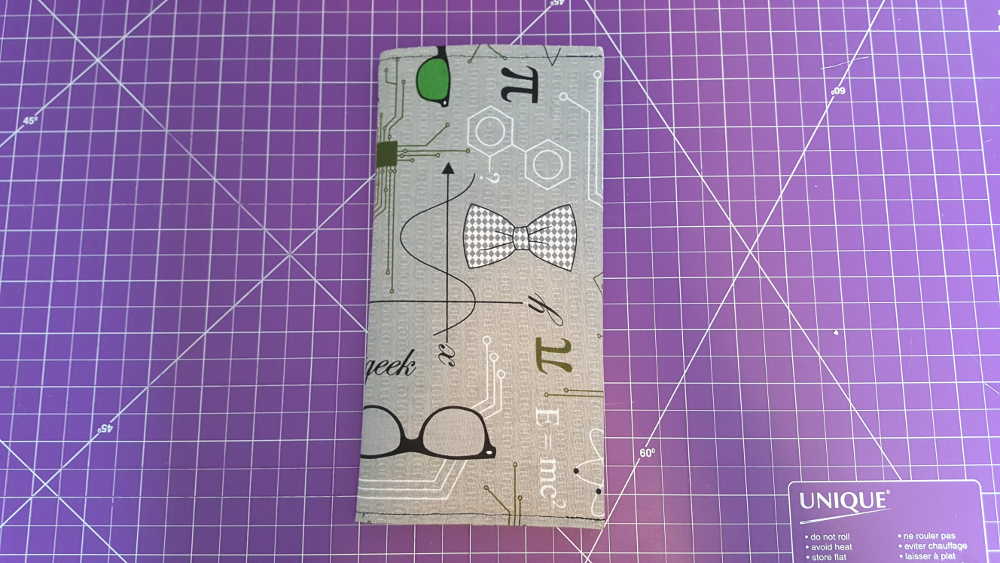
Congratulations! You have just made your first Midori insert cover!


