Ever since my MobileStudio Pro arrived, I’ve been looking for a stand to buy. Sounds easy enough, right? Unfortunately, it’s not so easy. The MobileStudio Pro is larger and heavier than your average tablet. There are few stands on the market capable of handling the need, and fewer which have the flexibility I’m looking for. My solution came in the form of LEGO, my go-to tool for DIY projects.

First (and last) is pieces. I knew I would need a variety of elements, so I grabbed my bins and fished out a few different shapes and sizes. First was a standard green baseplate and a variety of regular bricks from my collection, including “rooftop” pieces, which are at a 45-degree angle.
I knew I’d need supports capable of holding up some serious weight. The tablet alone weighs in just under 5 lbs, and then my hand resting on it while I draw adds some serious weight, especially when I press. Regular bricks alone wouldn’t be able to support that very well, so I got out some Technic beams and pegs, some 1×2 bricks with holes (1×2 M. 2 holes 04,87), and an arch from an old castle kit.
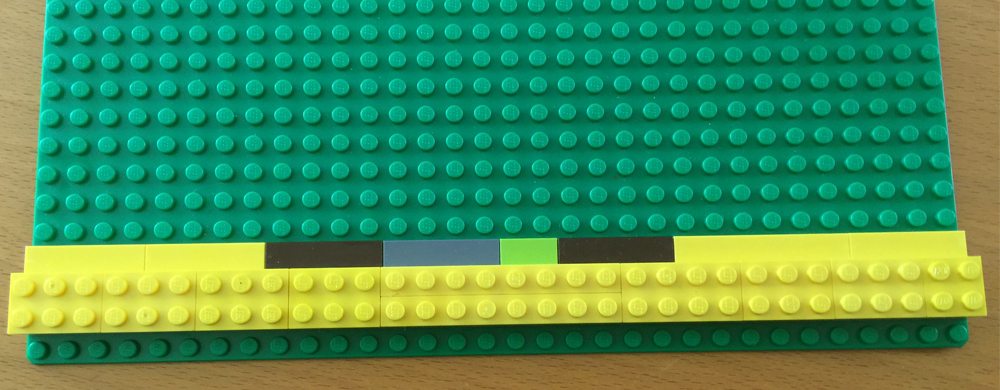
I started by laying down a row of bricks along the front. I used a hodge-podge of sizes, but being 2 pips thick was a good call. It gives stability to the area, which is critical. If this part comes up, the tablet slides right off. I put a row of thin finishing pieces just behind that, so the tablet isn’t resting directly on the pips.
Then I did some math. I wanted the tablet to lay close to 45 degrees, erring on the shallower side. A standard LEGO brick is just under a centimeter tall, and a plate is about 25.5 centimeters square. To get the tablet to exactly 45 degrees, I’d have to make the two sides of a right triangle the same length. After experimenting, I decided to go a little shallower, which you’ll see as we go along.

For my first supports, I used a few Technic pieces to make an opposing angle. These supports faced away from the tablet to provide stability right from the beginning. I placed the towers 14.5 cm back (17 empty pips between the finishing pieces and the towers), and snapped the Technic supports in place. Finally, I placed a third tower in the middle, to spread the weight out across the overall structure.

The next step was to introduce the primary support. For this, I wanted to use an arch to distribute and support the weight. Since the arch is being used into its fifth millennium, I thought I’d go with what works. I lifted it 5 bricks high on each end, after some experimenting. Initially, I put it higher, but you’ll see why I settled there in a couple of steps.

This monstrosity is where most of the support for the entire stand rests. What I was aiming for is to create a strong central keystone, so that if the tablet isn’t exactly centered the build wouldn’t come apart. The general pieces are shown, though I later added several more Connector Pegs to keep everything together.
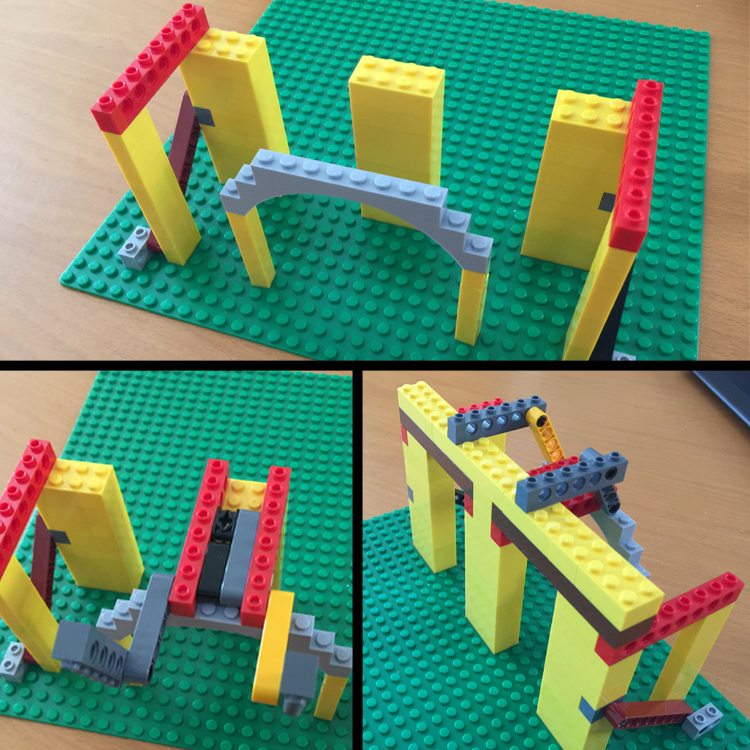
While attaching the Technic support, I decided to add two more beams on the ends, just for an extra dose of stability. Again, if it’s not centered, I don’t want it to collapse on me! I placed the apparatus on the arch, centered on the middle support. Then I placed two long bricks (pictured in brown) across the pillars, and added another layer to get the right height. Then the two arms of the apparatus come in on top. Here you can see that the arch was low so the arms could reach up from the arch, which funnels the weight down.
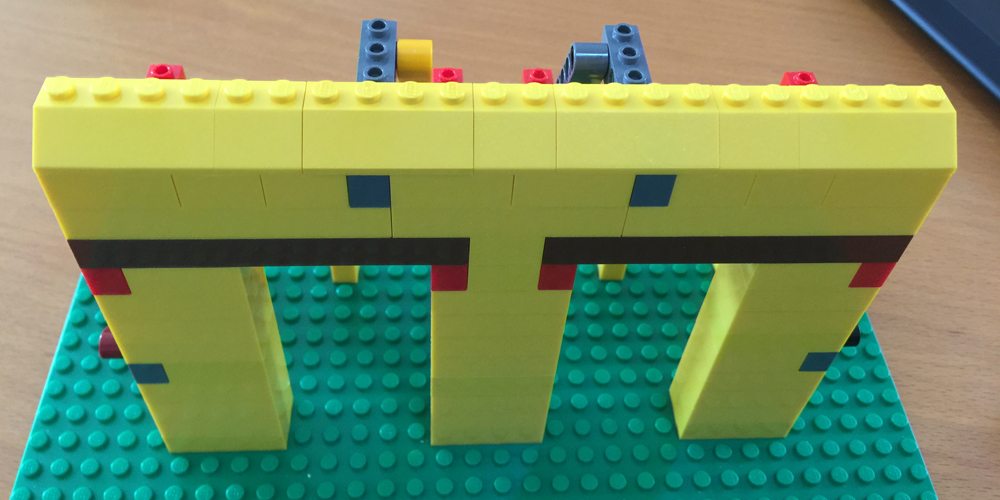
Next, I filled in the previous layer, and topped the whole thing with the 45-degree roof pieces I had set aside early on. These are here for the tablet to rest on, so pips won’t scratch the back of the tablet.

And that’s it! Here are a few shots of the completed stand. It rests at just over 40 degrees, but by adjusting the front row, I can increase the angle considerably. If I move it one pip back, I’m at nearly exactly 45 degrees. This is just where things feel most comfortable, for now.
My design can be improved upon, I’m sure. If I expanded my collection, I might be able to use fewer pieces or a more elegant design, but this stand works great for my MobileStudio Pro 16. If I were working with an iPad Pro or Surface Pro, I’d use significantly fewer supports, because they simply wouldn’t be needed. If I were building it for my iPad, I’d use about 1/3rd of the pieces, and wouldn’t even bother with the arch.
If you make your own, tag me on Twitter @TerminallyRory, I’d love to see!
H/T to Redditor fella_fella_FELLA (Spenturion on imgur) for the inspiration.
Finally, if you just don’t want to fool with it, you can buy an Artisul stand. It’s what I’ve found that most MobileStudio Pro users make do with the Artisul. Some really like it, but I haven’t tried it. The $50 price tag isn’t too bad, I just don’t need to shell it out, now that I have a perfectly good stand on my desk.