Cascade Platinum ActionPacs often come in large quantities, in buckets that hold 80+ ActionPacs. Unfortunately, loading the dishwasher can leave hands messy and wet. We’ve all had the horror of powder detergent getting wet. With pods, that danger is lessened considerably, but loose water can erode your ActionPacs. Plus, it’s no fun to fumble under the sink to find the detergent. Our family saw an opportunity to create a new life hack for our dishwashing habits by introducing a waterproof pouch to store smaller numbers of ActionPacs. By making our own ActionPac pouch, our pods are easier to find, less likely to be ruined, and easier to clean up, if needed.
Here’s how to make your own!
DIY Cute Dishwashing Detergent Pods Pouch
Sewing skill level: Beginner to Intermediate
Materials:
- Exterior cotton woven fabric (at least 8.5″ x 24.25″)
- Waterproof interior fabric (at least 8.5″ x 24.25″) (we used the type you’d use as a picnic tablecloth)
- White cotton fabric, at least 5″ x 5″
- Swatches of purple, blue, and green cotton fabric
- White thread
- White embroidery floss
- 6 magnets, at least 4 of which should be very strong
Tools:
- Scissors
- Pencil
- Paper
- Needle
- Ruler, quilting square, or Omnigrid
- Hot glue gun, and glue sticks to match
- Sewing machine (optional)
- Bowl (optional)
- Embroidery scroll (optional)

Pouches can be made whatever size you like. I find it most helpful to make one that will hold at least a week’s worth of ActionPacs, but you can modify your design to fit your family’s needs. The finished size of our pattern will be 8″ x 8″. If making your own dimensions, don’t neglect the flap. You won’t want your ActionPacs to fall out when you open your dishwasher.

1. Measure and cut exterior and interior fabric to 8.5″ x 24.25″.

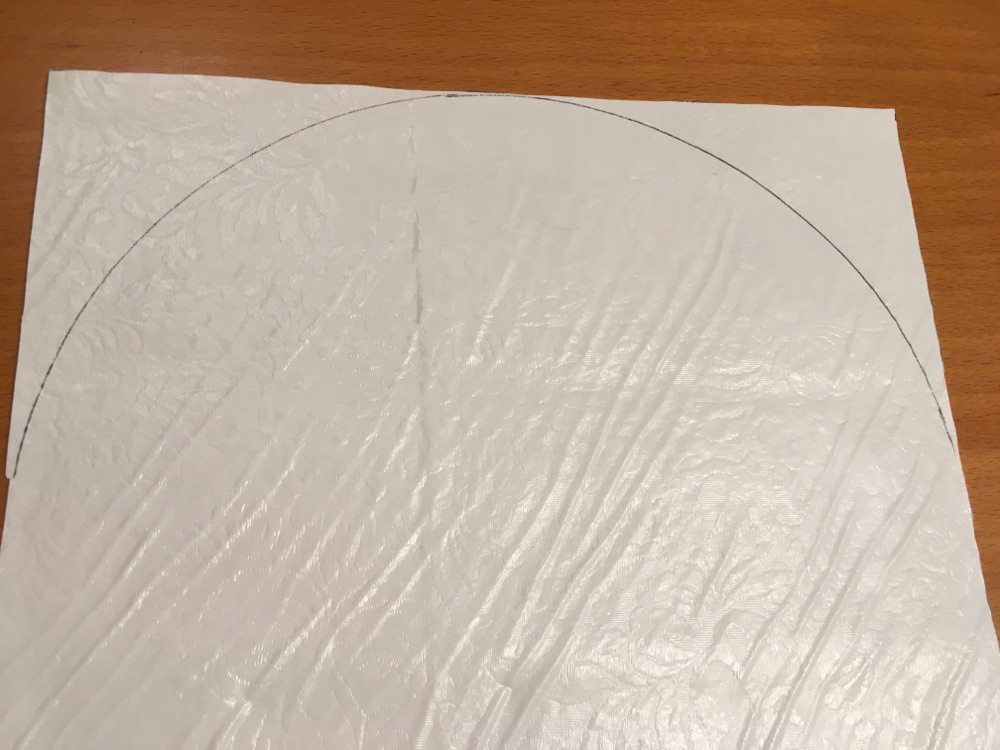 2. Draw a semicircle on one end of each piece, using a bowl as a guide if you like, to round off the edge.

3. Trim along the line drawn.

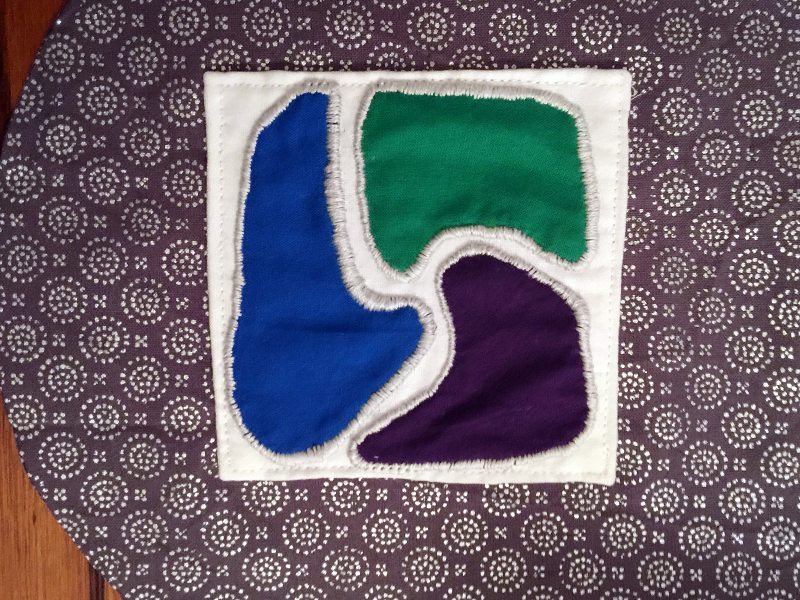
4. Design your Cascade applique.
For inspiration, we turned to the pods themselves. After all, kitchens should be so easy to use that you never have to think about where things are. Rory sketched the three gel pockets of an ActionPac onto a 4-inch square. When you design an applique, choose colors that go well together, and go well with your exterior fabric. For our pouch, we decided to use silver, purple, green, blue, and white.

5. Set up your applique.
To set up the applique, put your drawing between two layers of white fabric (we set ours up on an embroidery scroll). Then put the sketch between the layers and trace it lightly with a pencil. While the sketch is still between the fabric layers, trim the swatches to the rough shapes of the final product. Then remove the sketch.
6. Sew your applique.
To begin, tack the fabric down around the edges with with a couple of stitches or a running stitch, folding under to fit the pattern as you go. Then use three strands of embroidery floss in a whipstitch to sew around the edges. After taking the fabric off the scroll (if you used one), use a quilting square or ruler to help you cut the white fabric down to a 4.5″ square. Then fold the edges of the white fabric under and tack them down, so there won’t be any raw edges showing when you place the applique on the pouch.
7. Attach your applique.
Attached your completed applique to the pouch’s exterior fabric using a sewing machine or sew on by hand, 2″ from the edge of the curved end, and centered left to right.

8. Sew the two pockets.
With right sides together (the patterned side of the exterior fabric and the waterproof side of the interior fabric), follow this procedure separately for both exterior and interior fabric:
- Fold up 8.25″ from straight end of fabric, right sides together, and pin in place. (On the waterproof fabric, be sure to only pin close to the edge, so the inside of the pouch will still be as waterproof as possible.)
- Sew along sides.
9. Insert.
Turn the exterior fabric right side out and place inside the other fabric, right sides together, creating a pouch within a pouch, as it were.
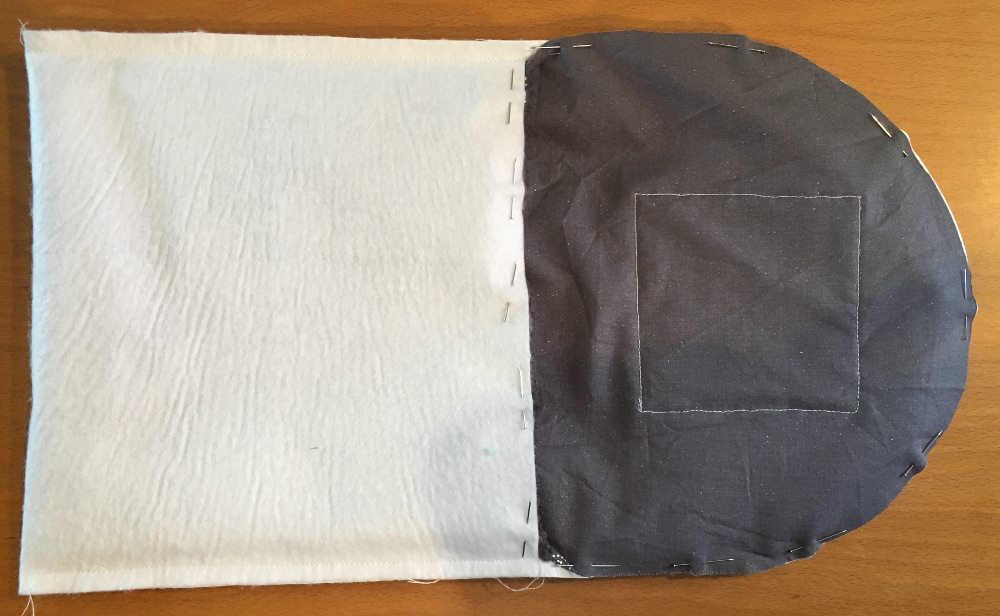
10. Pin pockets together.
Pin together the two layers along all raw edges.
11. Sew pockets into a pouch.
Sew around all raw edges, leaving a gap of a few inches on the straight, front edge.

12. Attach the six magnets.
One at a time, glue the six magnets against the wrong side of the waterproof interior fabric, making sure to put your four strongest on the back. Place one magnet near the edge of the semicircle flap, just above the applique. Place four magnets on the back side of the pouch, one near each of the corners. And place one magnet on the front side of the pouch, in a location to meet up with the magnet on the flap when the flap is closed. Hot glue each one in place, one at a time. Careful of the heat! You can use a table knife to press them into place, if needed.

13. Turn your pouch right-side out.
Once all of the glue is cool, do some fabric gymnastics to end up with your exterior fabric on the outside of the pouch, interior fabric on the inside of the pouch, flap established, and everything neat and tidy.
14. Top stitch
Sew across the top front of the pouch, and around the edge of the semicircle flap (optional).
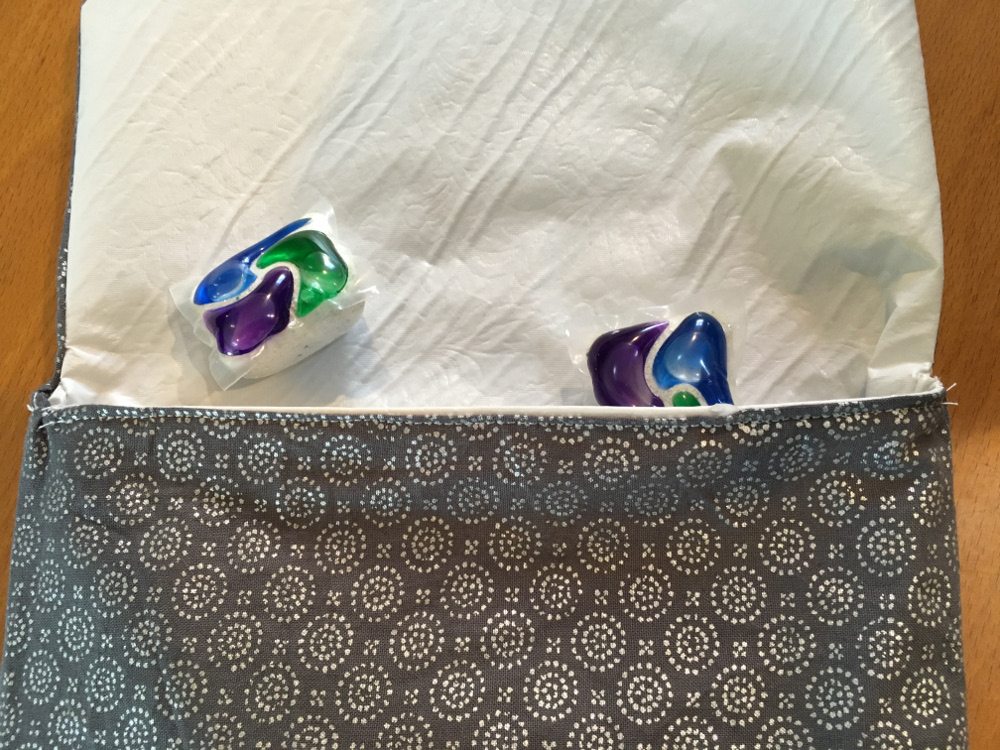
Your pouch is now complete! Now you can fill it with a week’s worth (or more) of Cascade Platinum ActionPacs and stick it to the front of the dishwasher. This pouch is handy because your dishwashing detergent will be right there at the dishwasher. No more fumbling under the sink to find the detergent among all the trash bags. Simply open the pouch, grab an ActionPac, and place in your dishwasher’s soap tray. Now your dishes will be sparkling clean with even less effort.
To clean your pouch, simply wipe the waterproof interior with a damp cloth. Let air dry.
I hope you like our ActionPacs pouch. When you make yours, be sure to share a pic with us on Twitter (@geekdads) or Instagram (@geekdads) using #CascadeClean.
Check out Cascade’s website to get coupons and find out which products are right for you. You can also check out their YouTube channel for how-to videos on all things related to cleaning your dishes.