The first time I attempted playing the proper Imperial Assault campaign with a few of my friends, it went a little something like this:
Them: “Scenario 1 was a lot of fun. We feel like we’ve got the mechanics down. Let’s try out Scenario 2.”
Me (checking the box): “Um…yeah. Sure. We can do that.”
(30 minutes later) Them: “Scenario 2 was great! What do we get to do next? What’s the next mission?”
Me: “We can’t play it because I don’t have all the characters.”
Them: “It doesn’t ship with all the figures you need? Lame!”
Me: “Heh. No, it does – it’s just that, other than these, they’re all sitting primed to paint in my living room at home.”
Them: “You have a problem.”
And thus, the Nexu jumped to the top of my “must paint” list so that I could get them to the table! These toothy critters from the otherwise execrable Attack of the Clones are here to leap upon unsuspecting heroes, then avoid counterattacks. They’re fast, clever, and can leave your character’s guts all over the floor if you’re not careful.
They’re much less intimidating to paint.
The Nexu’s sculpt is fantastic – the fur pattern is intense, good for catching the Quickshade later on, and there’s a nice amount of textural contrast between it’s body, spines, rat-like tails, and all those teeth (seriously, this thing is a good 25% gaping maw).
I started off with a coat of Desert Yellow color primer, wanting something a little darker than the light tan I envisioned for the Nexu’s final color. The step after that was easy enough – I grabbed a bottle of Skeleton Bone and did a rough paint blocking of all the fur and teeth.
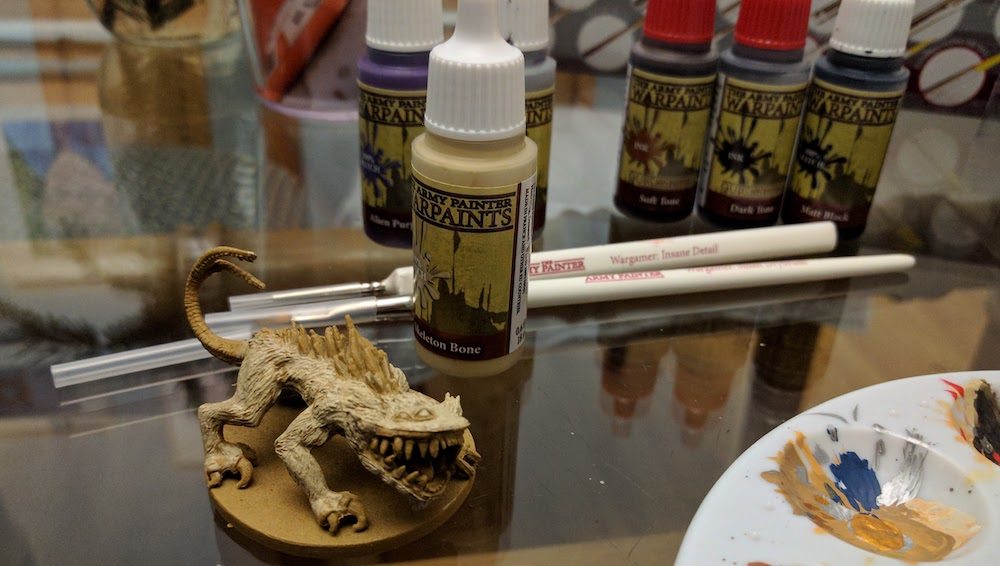
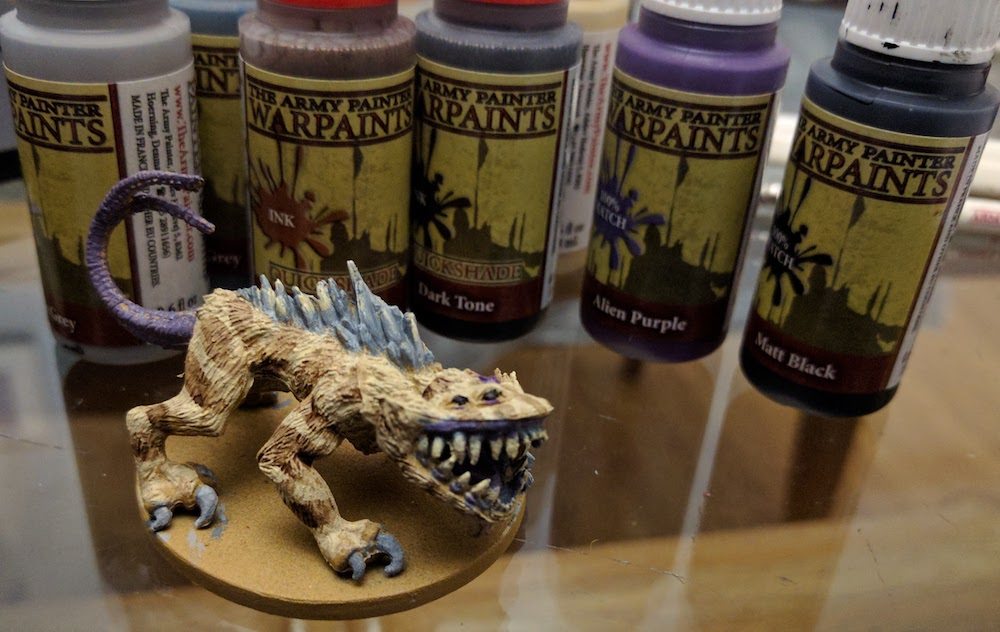
The next night, I mixed equal parts Ash Grey and Uniform Grey for the spines and claws (I think I’ll use black for the claws of the other Nexu).

After that, I mixed in a bit of Matt Black and Alien Purple to block out the tongue, gums, and tail. If you want to go right to the Quickshade at this point, you can; but I wanted to add a striped pattern like on the card art. Using Army Painter Strong Tone (ignore the Dark Tone in the pic), I freehanded stripes with my Regiment brush.
A quick dip in the Quickshade filled in all those little crevices and nooks in the sculpt, bringing out the detail.

After I sealed and de-shined the mini with some Anti-Shine Matt Varnish spray, I went back with a bit of Citadel ‘Ardcoat to add some gloss to the eyes, mouth, gums, and claws. The result is a menacing beast that’s ready to eviscerate anyone fool enough to turn their back on him. I think for the elite unit, I’ll do a lighter paint scheme…maybe something more Hoth-like?

Thanks as always to Army Painter for the paints and Polaroid for the awesome Foldable LED Light Box (that’s how I got such pretty final shots). If you’d like to see the other entries in my Imperial Assault painting series, you can find them here.