This post continues my playthrough of the Pathfinder Adventure Card Game: Wrath of the Righteous. Warning: here be spoilers!
So now we’ve arrived at Deck 5: Herald of the Ivory Labyrinth. As you might have guessed from the title, this one includes mazes—and lots of minotaurs. The story here is that the Lady of Valor, an avatar of Iomedae, has charged us with a mission: free her Herald, who has been captured by Baphomet and imprisoned in the labyrinth.
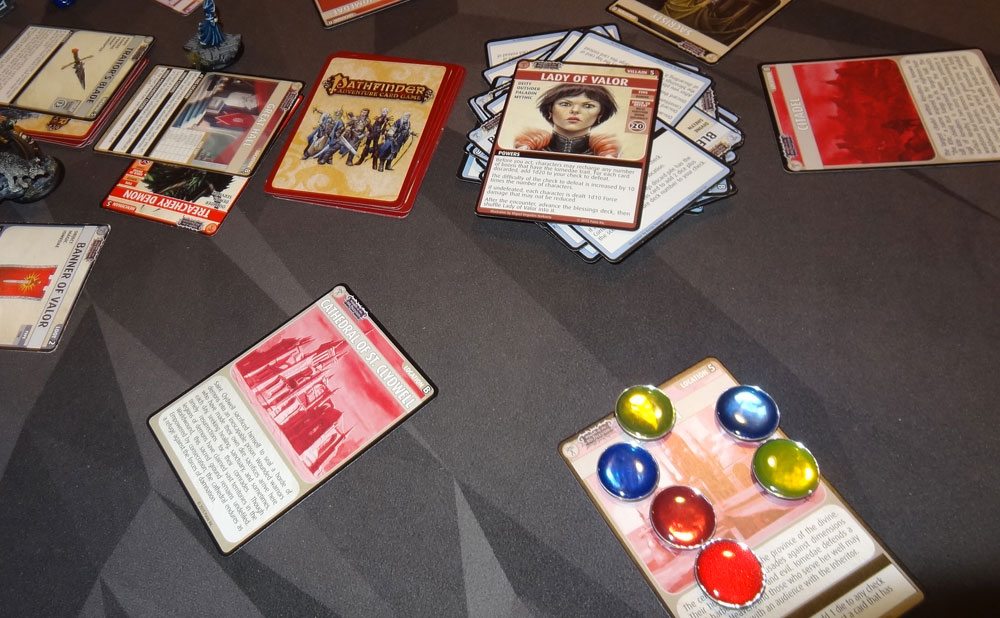
The first scenario is “Audience With the Inheritor”—we meet with the Lady of Valor, and try to convince her that we are worthy of this quest. Although the Lady of Valor is the villain card, we aren’t exactly fighting her and she’s not exactly a villain. Instead, the Lady of Valor gets shuffled into the blessings deck—every time she shows up in the blessings discard pile, we encounter her. If we win, we can decide whether to end the scenario, or just end the encounter and continue playing, because you can increase your reward by closing more locations.

Enora came across the first henchman in Heaven: it’s a Rite of Heraldry, and it’s a barrier that requires a Melee/Fortitude/Diplomacy/Divine 20 check. Not only that, but if you have any Corrupted cards in your hand, you automatically fail—sadly, that was the case here. Ouch: 1d10 Force damage that can’t be reduced.
Meanwhile, Balazar found a Dominion Scientist—we figured that’s a monster that’s really good at deck-building games, right? Fortunately Balazar also happens to be great at deck-building games, and defeated it.

Arueshalae, Adowyn, and Ekkie managed to succeed against four Rites of Heraldry and closed several locations: the Temple of Iomedae, the Cathedral, Heaven, and the Citadel. In at least one case, Adowyn just barely scraped by, rolling exactly what she needed for the check. Each time you defeat a Rite, you get to add a token to Heaven, which adds a die for checks against a Deity (such as the Lady of Valor). When you close Heaven, you also get to add 2 more tokens. Basically, jumping through all the hoops makes it a little easier to satisfy the Lady’s requirements.
And in the meantime, there was a Giant Fly monster that just kept pestering us: it’s not hard to defeat, but it just flies to another location when you win, so you have to close a location while it’s still inside for it to go away.
Finally, Ekkie drew the Lady of Valor in the blessings deck, which meant we had to pick a random character to encounter her—it fell to Enora. Alas, Enora is not great with any of the skills required (the same as for the Rites), and the Lady was displeased: 1d10 Force damage to everyone.
Ekkie beat another Rite of Heraldry at the Great Hall, using one of her mythic charges to get a d20 and then rolling a crit. Then Balazar was summoned before the Lady of Valor. Oh, did we mention how difficult she is to defeat? Like the Rites of Heraldry, she starts off with a Melee/Fortitude/Diplomacy/Divine 20 check. However, you also add 10 times the number of characters (in our case, 5), so we needed a whopping 70 to defeat her. Balazar threw all of his tricks at her to boost his melee skill … and got a 61. So close!
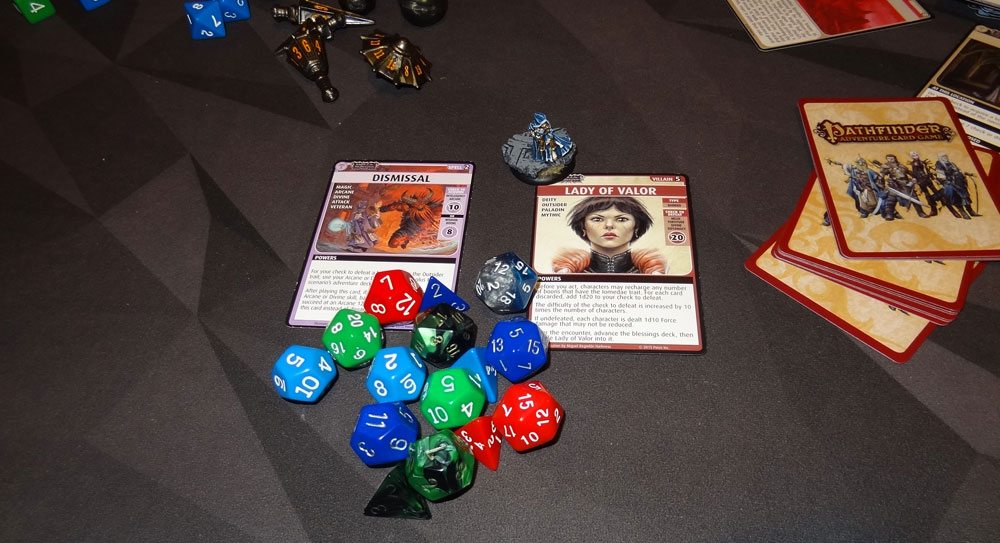
Finally, on the next-to-last possible turn, Enora got one more chance to face the Lady of Valor. Fortunately, she had a Dismissal spell, which let her use her Arcane skill instead of the ones usually required—and Enora is good at Arcane. We loaded her up with blessings, and she used her mythic charges to roll d20s, rolling 104 on the dice (in addition to her bonuses). Given that we had only one more turn left in the deck, we decided not to pursue the extra reward.
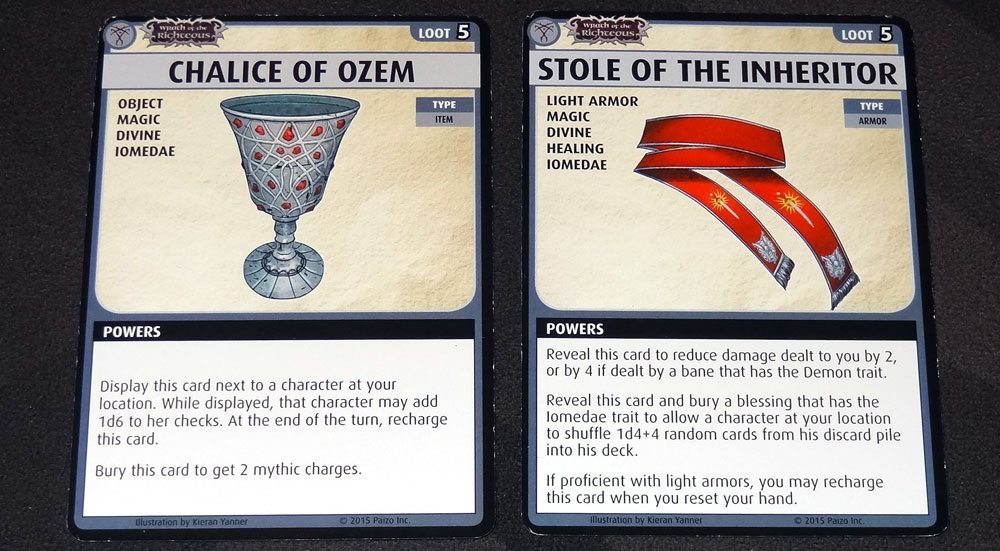
We got two pieces of loot: the Chalice of Ozem, which can boost a player’s rolls for a turn or restore 2 mythic charges, and the Stole of the Inheritor, a light armor that is more effective against demons and also can be used to heal if you have Iomedae cards. In addition, we were able to redeem one Corrupted card for each closed location—but we didn’t really have that many to redeem anyway.
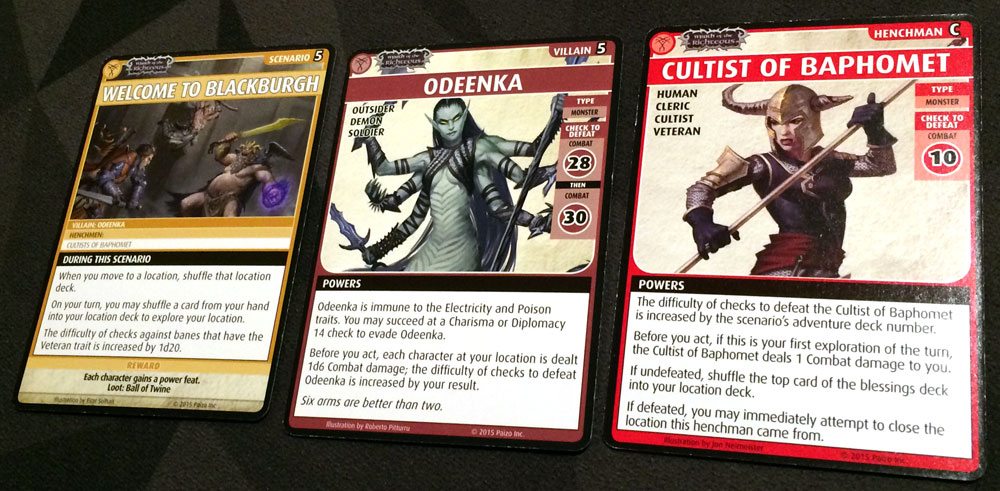
Scenario 2 was “Welcome to Blackburgh.” This is where the maze really starts, and we get some of the crazy locations like the Maze, Middle of Nowhere, and Blackburgh itself. One of the special rules of this scenario is that every time you move, you shuffle your new location—and there’s a lot of moving—so it’s a lot harder to use abilities that let you peek ahead because things may shift by the time you get to encounter anything. Oh, and also: any “Veteran” banes are just a teeny bit harder: you roll a d20 and add that to the difficulty. Yikes!

The scenario uses a set of locations that tries to keep you lost: the Lightless Maze and Ivory Labyrinth both cause you to move to Blackburgh—one after you encounter a bane, and the other after you encounter a boon—and to a random location when you permanently close them. Blackburgh itself makes everyone else move whenever you encounter a demon or cultist—and to close it, you end up in the Maze. The Maze is a smaller location, but it takes Intelligence or Knowledge to get out, unless you plow through it and then kill the Minotaur, at which point you all end up in random locations again. Finally, the Middle of Nowhere is a special location with no cards whatsoever and is always closed: When you’re there, you cannot do anything that affects people elsewhere, and you’ll have to burn cards from the blessings deck to get out.
Enora came across the first Cultist of Baphomet in the Occult Library and barely defeated it, but managed to close the location—to her disappointment, because she hadn’t even really gotten much out of the library yet.
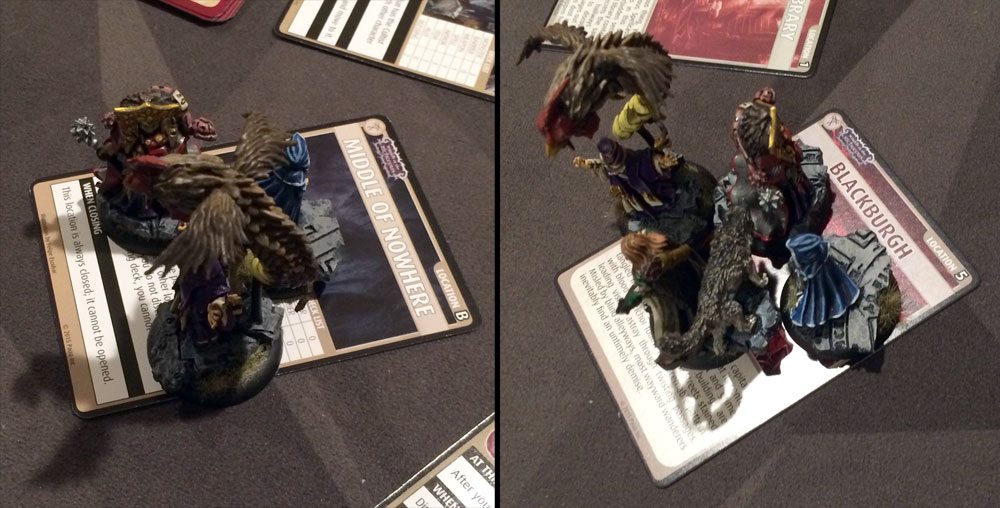
Ekkie ran into a Filth Demon in Blackburgh, causing the rest of us to move to random locations. Three of us ended in the Middle of Nowhere together. Sigh. But after defeating the demon, she did find another Cultist of Baphomet, defeated it, and closed Blackburgh … by building the Maze location and moving to it. She ended up spending a blessing to pass the check to leave the Maze, opting not to go through the whole Maze and fight the Minotaur to get out.
Adowyn spotted the villain, Odeenka, at the Great Hall using Leryn’s ability to peek ahead, so then we got set up to close everything, just moving into positions and resetting our hands, rather than attempting to explore and risk reshuffling the Great Hall. However, that mean that Adowyn was the only one at the Great Hall, and Odeenka is two consecutive fights. Fortunately, Arueshalae had a Skirmishing Spear. Once Adowyn encountered Odeenka, Arueshalae used her Skirmishing Spear and spent a mythic charge to pull herself to Adowyn’s location—between the two of them, they each passed one combat check, and defeated Odeenka for the win.

Despite the craziness of the locations, we did manage to win this scenario pretty handily, with more time left than we’d expected, but it was helpful that we didn’t send more people to the Middle of Nowhere. Our loot: everyone got a power feat, and we picked up the Ball of Twine, which lets you get in and out of the Maze or Middle of Nowhere more easily, and helps you fight Minotaurs.

Next, scenario 3: “Twisty Passages,” which are not all alike. Every time you close a location, you pick up all the open location cards and shuffle them, and then deal them back out. So the open locations get mixed up, and it becomes much more difficult to remember what’s left in each one. (Were there still any monsters here? Well, let’s see … it used to be the Abyssal River, but then it became the Lightless Maze, and I think I killed one monster there, maybe?)
Enora started at the Ivory Labyrinth and used her newly acquired power to look at the top three cards, rearranging them so that the Labyrinth Minotaur was on top. Then she left, and went to the Molten Pool … where she encountered another Labyrinth Minotaur. Well, time to put that Transmogrify spell to use! She defeated the Minotaur, closed the location, and we shuffled up everything else. First turn in, and we’re already lost.

Balazar was now at the Abyssal River instead of wherever he was to begin with, and soon found a Minotaur himself. Despite rolling quite poorly (five 1s on seven dice!?), he still managed to defeat the Minotaur, closing the Abyssal River and shuffling all the locations again, and then Enora did the same thing at the Cavern.
At the Lightless Maze, Balazar encountered Inger-Maggor, an even tougher Minotaur who can send other characters at your location to the Maze. Plus, if you encounter him on your first exploration of the turn, his difficulty increases by a d20. Thankfully, that was not the case. Still, Balazar had to throw lots of monsters at Inger-Maggor, and borrowed the Fasciculus Labyrinthum from Enora (thanks, silver raven!) to defeat it. He closed the Lightless Maze, and shuffled again.
By now we were down to just a few open locations. Adowyn went to the Ivory Labyrinth, and found a blessing—which, in this scenario’s special rules, was a bad thing. The blessing was banished, and Adowyn was sent to the Middle of Nowhere to start burning up our blessings. Enora went to the Ivory Labyrinth and peeked, and found the villain, the Father of Worms. We decided we needed to get a few other locations closed before we could set up to take on the villain.

Well, that’s when we encountered the Xenarth, who’s a real jerk monster. First, it does 2 Acid damage to everyone at your location, plus more damage if you don’t defeat it. But then, if you defeat it but there are more than 4 cards in your location, the Xenarth just gets shuffled back in. We ran into the Xenarth several times, because it just kept getting shuffled back to the top before we had reduced the deck enough.
Adowyn spent a turn in the Middle of Nowhere, totally stuck.

Enora escaped to the Torture Chamber, and unfortunately found the Mythic Glyph barrier—it’s a nasty barrier no matter what. Everyone has to encounter it, and even if you succeed, you still discard half your hand size from your deck. Balazar and Enora both failed their checks, which was bad—they each discarded an entire hand size from their decks. But then Enora found one more Minotaur, defeated it, and closed out the Torture Chamber (which meant even more damage for everyone). Balazar went to Blackburgh to try to close it, but encountered the Mist Horror monster and got moved away, just in time for Ekkie to encounter the Father of Worms at the Ivory Labyrinth. Since there was nobody to temporarily close Blackburgh, that’s where the Father of Worms fled.
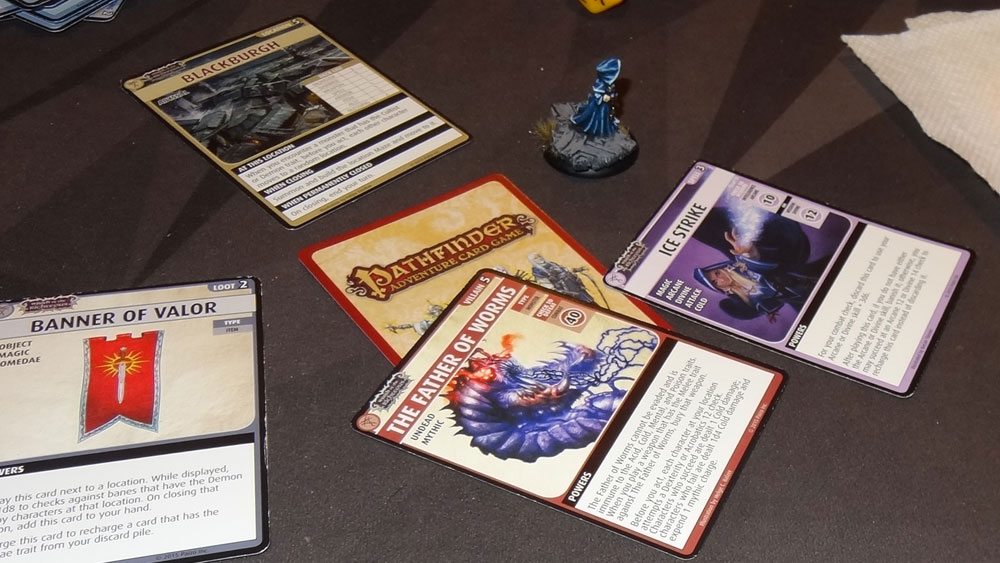
We finally had the villain pinned down—it was in Blackburgh, and the only other card there was the Labyrinth Minotaur. Enora explored, and found the Father of Worms, rolling several d20s with her Ice Strike and mythic charges. Success! We were down to the wire on this one, with very little time left in the blessings deck. Our reward: another power feat! It’s rare that you get two power feats in a row, but I figured that meant we had some tough scenarios coming.

Scenario 4 is “The Ineluctable Prison.” Before we can rescue the Herald, we have to break into the prison, which is guarded by Ylleshka, a bunch of Stringy Fiends, and an elf cleric named Svendack.
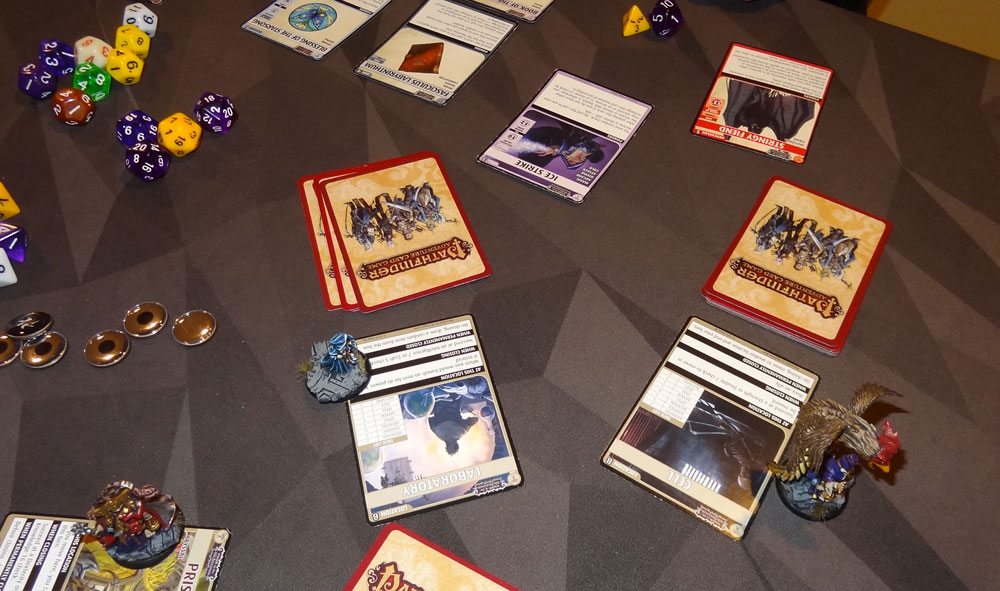
Since Enora has a great scouting ability, we sent her out first again. She went to the Laboratory, and found a Stringy Fiend within the top three cards. First she got a book item, then a blessing, and then defeated the Fiend and closed the Laboratory—a nice first turn. The Stringy Fiend picks a random other occupied location, and everyone there has to succeed at a Dexterity/Acrobatics 10 check or be pulled to the Fiend’s location, unable to play weapons or spells. It’s also a barrier, which means that abilities and cards that work on barriers are pretty effective against it.
The other “bonus” in this scenario is that every time you close a location, you summon a random an ally from deck 4 or above and try to acquire it. If you do, it goes in your hand; otherwise, it goes away. This is, after all, a prison break. But what we found is that there weren’t actually that many allies that fit the bill—and the deck 5 allies tend to be kind of nasty to acquire.
Ekkie came across Svendack at the Torture Chamber, passing the Dexterity/Acrobatics check to avoid the fire damage before she acts. She defeated Svendack, but in order to close the Torture Chamber, she had to shuffle Svendack into a random other open location—the Occult Library. She then used her Celestial Unicorn to fly (wheeeee!) to the Occult Library to try to chase Svendack down. She found an Aboreal Blight barrier, which wasn’t too pleasant, and then another Stringy Fiend. She defeated it, closed the Torture Chamber, which meant that Svendack was actually gone for good.
Arueshalae went into the Prison Vault, a new location that has no monsters, a bunch of barriers, and has the special effect that when you close it, you get all of the boons left in the deck. Unfortunately, she encountered a Demonic Horde barrier, one of our least favorite banes–they just run us all out of resources a bit more.

Balazar went to the Cell, and encountered Ylleshka—we’re not ready! We managed to temporarily close the Prison Vault and the Collapsing Bridge, leaving the Guardpost open because, ironically, nobody was there. Before you act against Ylleshka, everyone at your location (thankfully, just Balazar) gets 1d12 Combat damage—and then the difficulty to defeat Ylleshka is increased by that amount for that character. You also have to fight her twice, one for each head. Well, Balazar rolled a 12, so he took 12 damage, discarded all of his cards, and had no way of reaching 30 and 33 for combat. Ylleshka escaped, and hid herself either in the Cell or the Guardpost.
Ekkie closed out the Prison Vault after defeating a Stringy Fiend, but it turns out that there wasn’t really much of anything good stored in the Prison Vault. More like a Prison Storage Closet, if you ask me.

Adowyn found Yllehska as the last card in the Cell, but also took too much damage and was unable to defeat her—but this time we had everything else closed so she couldn’t get away. We got set up so that Ekkie, Adowyn, and Arushalae all went to the Cell together—Arueshalae took 12 damage but Ekkie and Adowyn rolled low, so then the two of them were able to defeat Ylleshka for the win.
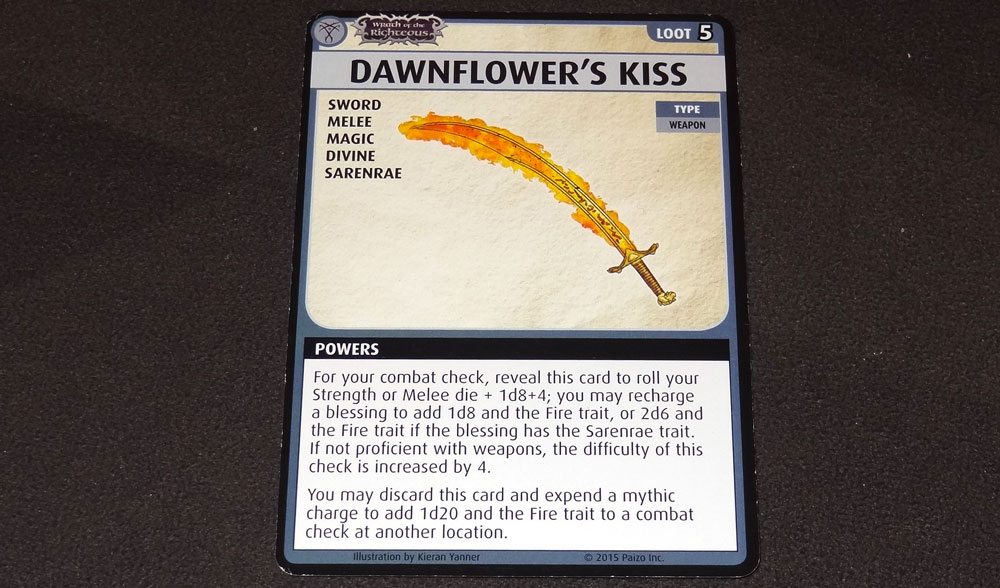
Our reward: a loot weapon called Dawnflower’s Kiss, which is a fairly powerful sword that can add fire to a combat check. But what’s really great is that you can use it to add a d20 and fire to a combat check elsewhere if you spend a mythic charge.
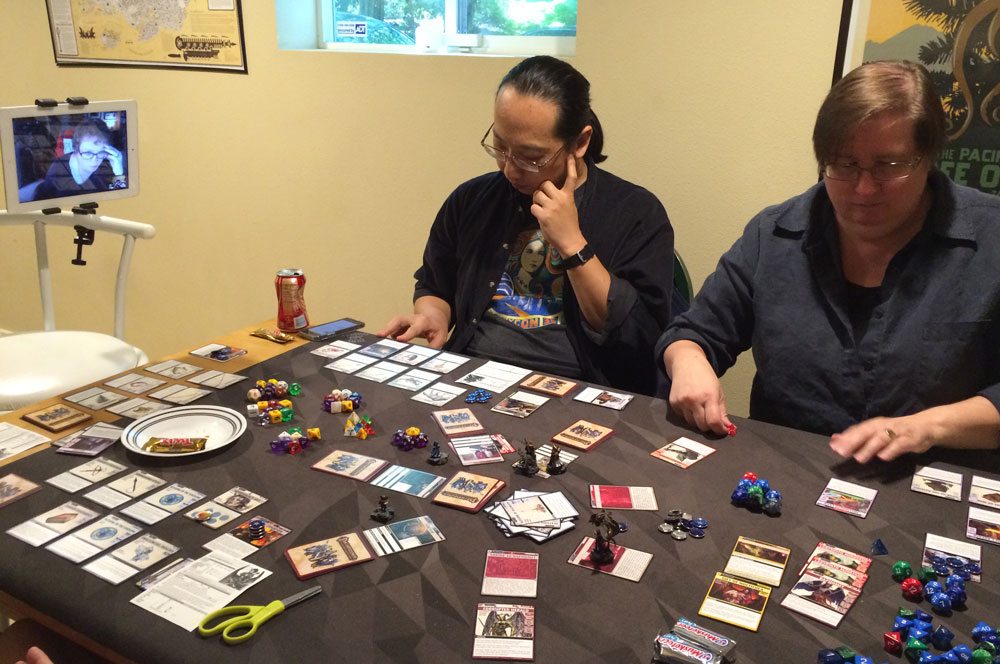
Our Pathfinder Monday has had to reschedule this fall because of changing schedules, so we’re still working out what the best time will be, and it looks like we’ve settled on Wednesday afternoons, though there are still some kinks to be ironed out. This week, Cathe had to join us via Google Hangouts, and Wink had to leave early, but we managed to fit in most of the last scenario of Deck 5. (Wink had to miss the final battle, alas, though we played for him and Arueshalae was extremely helpful.)
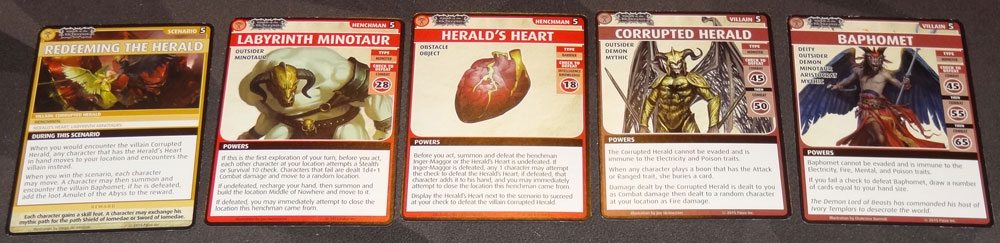
The last scenario of Deck 5 is “Redeeming the Herald.” Turns out that Baphomet, after capturing the Herald, tore out its heart, turning it into a monster. Our job is to rescue and redeem the Herald by giving it back its heart. Or, failing that, kill it. Once you’ve dealt with the Herald, you can optionally fight Baphomet himself, if you want some extra loot.
The second round in, Balazar found the Corrupted Herald at the Abbatoir—too early again! The Herald is a Combat 45, then a Combat 50. Plus, at the Abbatoir, everything is harder by 5, too. Anyone who uses ranged weapons or attack spells has to bury a card, making it harder for other players to help. However, with the help of some blessings and all 5 of his mythic charges, Balazar managed to defeat the Corrupted Herald, sending it running to one of the four locations we didn’t manage to temporarily close. (And since the Corrupted Herald is a mythic creature, Balazar regained 1 mythic charge.) The Abbatoir was closed.
Shortly afterward, Arueshalae found a Labyrinth Minotaur henchman at the Cell, and made short work of it and closed the Cell. Balazar, who was also there, failed the check to dodge the Minotaur, but used Mirror Image to avoid damage. Adowyn explored the Shrine to Baphomet, defeated a Minotaur, and closed the Shrine … and we discovered the Herald. That made things easier, knowing where the villain was so early in the game.
Ekkie had picked up a Corroded Helm at the Torture Chamber, and decided to head to the Sanctum, which requires you to banish a Corrupted item to close it. Unfortunately, she ended up spending a long portion of the game plodding her way through the Sanctum, hanging on to that Corroded Helm for a while.
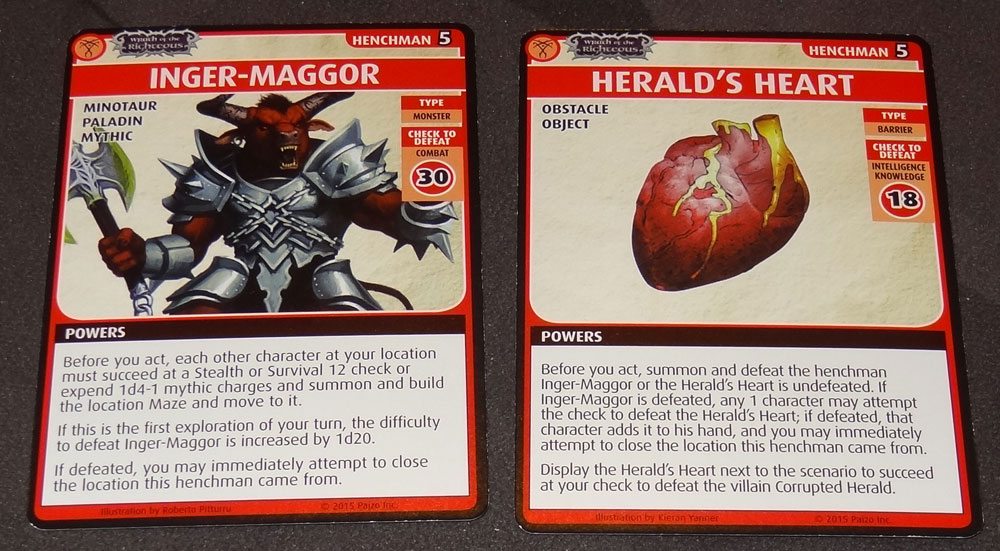
Balazar, meanwhile, went to the Torture Chamber and found the Herald’s Heart henchman. It’s a barrier-type. First, you have to summon and encounter Inger-Maggor that minotaur paladin we saw back in “Twisty Passages.” (Fortunately, it wasn’t my first exploration so we didn’t have to make it harder by d20.) He even got a chance to use his newly acquired Chaos Stone, an item that helps you and harms you at the same time. Then, upon defeating Inger-Maggor, any one character could attempt to retrieve the heart, which required an Intelligence/Knowledge 18. Enora’s our resident brainiac, so she took the heart. Whoever has the Herald’s Heart will automatically jump to the Herald’s location when it is encountered, and the Heart lets you succeed at your check automatically. Hooray!
Arueshalae found a Minotaur at the Prison Vault and defeated it. This time there actually were some good boons in there, including a healing/resurrection spell that may come in handy later. We spent a little extra time setting up Ekkie to acquire the Pauldrons of Unflinching Fortitude, an armor that boosts various non-combat skills, since we knew where the villain was and still had a good amount of time in the blessings deck.

In the meantime, Balazar had inherited the Corroded Helm from Ekkie and taken her place at the Sanctum—he was able to finish off the last two cards, finding and defeating the Minotaur and finally banishing that Corroded Helm to close the location. So then we were down to only one open location—the Great Hall—and the Corrupted Herald waiting for us at the Shrine.

Ekkie used her Pit Fighter ally to pull all her weapons out of her discard pile, and took on the first fight with the Corrupted Herald. Then Enora used the Herald’s Heart to succeed at the second check, and we won the scenario. But wait—there’s more!
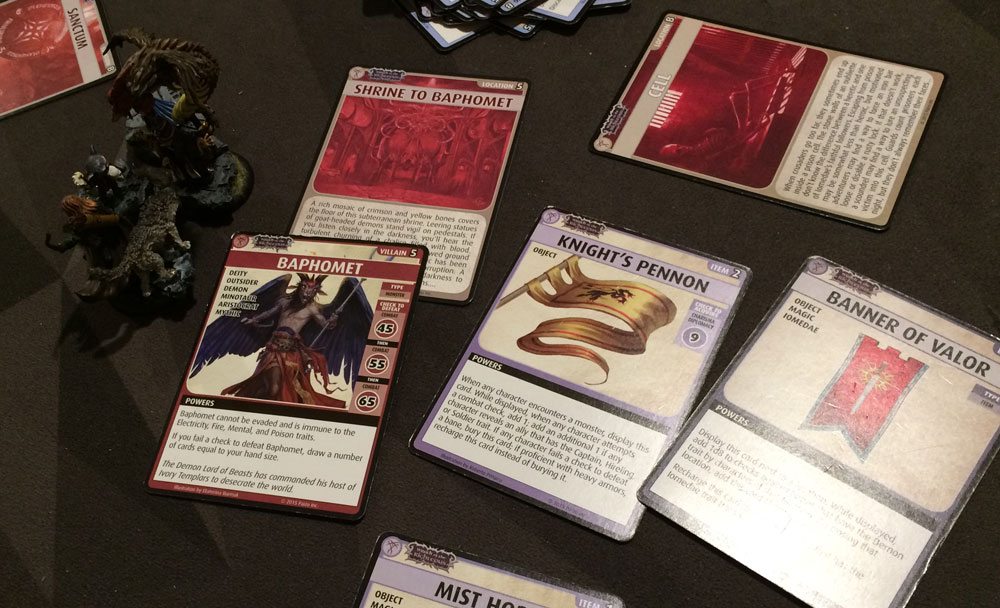
We decided it was worth trying to fight Baphomet for the extra loot. Everyone was allowed to move first, and then somebody would summon and encounter him. Since Balazar only had a few monsters left in his hand, he wasn’t going to fight—but he does have a power that adds a d8 to every check against a summoned monster, so he tagged along. Meanwhile, Ekkie, Adowyn, and Enora looked like they had the best hands for fighting, so Arueshalae stayed at a separate location so she could throw blessings and use her Skirmishing Spear from a distance to help a fight.

In the end, we threw enough at Baphomet to kill him a couple times over, and didn’t even need to use Arueshalae’s Blessings of Desna for re-rolls. Mission accomplished!

As a reward, we each got a skill feat, plus we could pick one player to become a new herald, replacing the mythic path with either the Shield of Iomedae or the Sword of Iomedae. The Shield boosts Dexterity, Constitution, and Intelligence, and lets you draw a card from your discard pile when you spend charges. Plus, if you ever expend 5 charges at once, everyone gets a charge. The Sword boosts Strength, Wisdom, and Charisma, and if you spend charges, you may ignore anything that makes checks more difficult. You may also spend 5 charges to fully heal any character at your location.
Finally, the extra loot we got from defeating Baphomet was the Amulet of the Abyss, a magic item that can be used to protect you from special damage, or to add a d20 to your check against a Minotaur or mythic monster. However, it’s also corrupted, which means that until it is redeemed, we have to bury a blessing to use it.
Since we were running low on (real) time, we decided to wait until next time to decide who will be the new Herald and reset our decks–but that’s the end of Deck 5: The Herald of the Ivory Labyrinth! Coming soon is Deck 6: The City of Locusts. Sounds like a pleasant place for a visit.


