
I have written numerous times over the years about the benefits of owning a personal scanner. I’m not talking about the old-style flatbed scanners that were slow to scan, finicky, and only provided one-sided scans after you’d opened the lid, placed your document, and then closed the lid. These days, feeder-type scanners that can do double-sided full-color scans can help you whittle down your paper clutter quickly and easily.
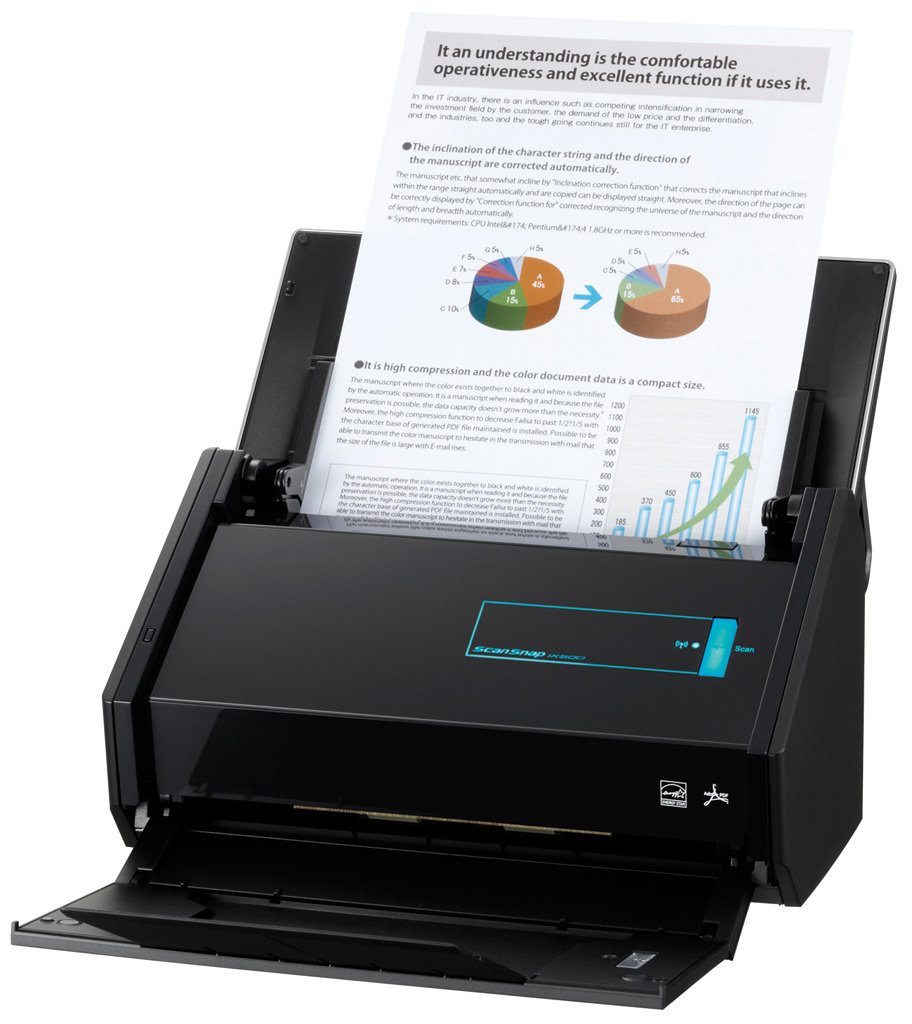
My go-to scanner that sits on my desk is the ScanSnap iX500 (my review here). The tray can hold up to 50+ pages at a time, and its double-sided scan ability is fast. The iX500 can scan documents as JPEGs or PDFs in various resolutions (600 dpi is my default), and the included software allows you to select how scans will be saved — in a folder, as a Word doc, as an email attachment, and half a dozen other options. A few years ago they added the ability to connect to the iX500 with a tablet using the scanner’s built-in WiFi support — no need to have the iX500 connected to a computer unless you just want to do so.
For some time now, my iPad has been my primary method for examining and organizing my scans. I have a large clear box in my office labeled SCAN that builds up a stack of paperwork, and once a month I sit down and feed it all into the scanner. As the documents are scanned, I send them to Dropbox with the push of a button. Sometimes I use my PC when I need to perform some minor editing of a scan or save them to a location other than Dropbox. It works great, and my home-office remains 99% paperless.
I honestly didn’t think the ScanSnap folks at Fujitsu could improve on the scanning process — in goes the paper, select the scan’s location with your tablet, phone or computer, and all done. But guess what? ScanSnap found a way.
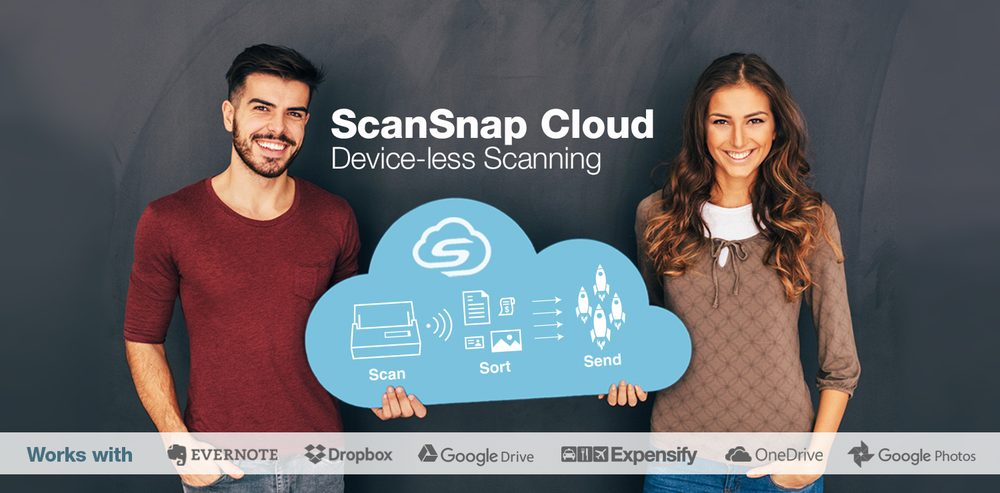
It’s called ScanSnap Cloud, and it works by taking your scans and pushing them out to a number of cloud services that you probably already use. The service works with both the ScanSnap iX500 and the iX100 (my review of iX100 here) and is available for Windows and Mac. Here’s the basic idea:
- ScanSnap Cloud uses four possible categories for scans — Documents, Photos, Receipts, and Business Cards.
- After installing the ScanSnap Cloud app, you create a ScanSnap user account that allows you to specify one or more cloud storage services that you wish to use. Current options include Dropbox, Evernote, Google Drive, OneDrive, Expensify, and Google Photos.
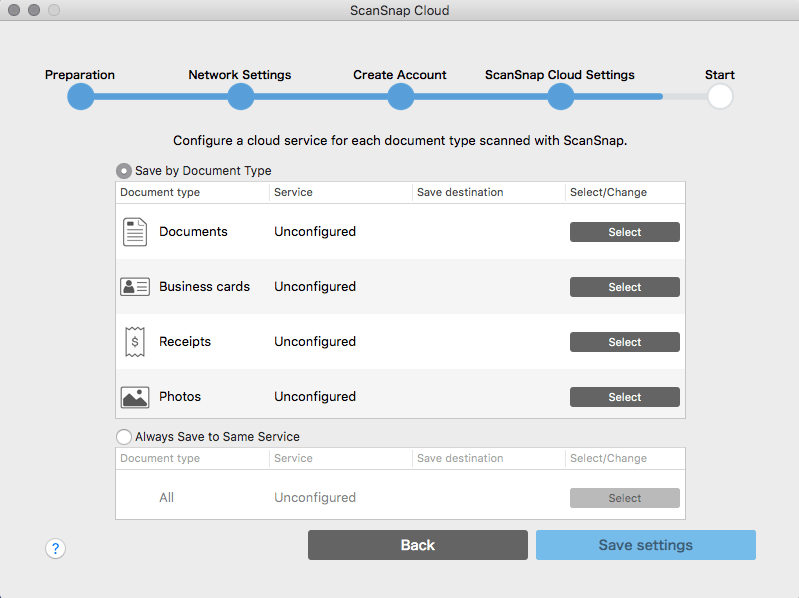
- After creating your user account, you specify a cloud service for each of the four categories — there’s an option to select one for all to make things easier, but you could, for example, select Dropbox for the Documents category, Google Photos for Photos, Expensify for Receipts and Evernote for Business Cards. Or some other combination.

- Once you select a cloud service for a category, a default folder is created called ScanSnap. Scans for the Documents category are stored in that folder, while the other three categories are stored in subfolders created automatically in the ScanSnap folder. But you can change the name and location of any or all of these default locations. For example, if you’d prefer your photo scans to go to a folder called Family Photos, this can be changed during the ScanSnap Cloud installation or afterwards by opening the ScanSnap Cloud app and logging in and changing them in your profile.

- Once your cloud service(s) is selected and the subfolders defined for the four categories, just place a document in the iX500 or iX100 and press the Scan button. The ScanSnap software automatically detects what you’re scanning — it’s pretty smart about distinguishing between photos, receipts and business cards… I tested a bunch of these and it got each and every one of them right.
The ScanSnap Cloud workflow solution is basically Scan and Forget. I do get a notification on my MacBook Air (where the app is installed) when a scan is sent to Dropbox (and this can be disabled) but I usually don’t WANT to be on my laptop when the scan is processing. I let the scanner deal with Dropbox and getting my scans into their proper folder. Should I wish to move documents into other folders, I can do this when I have time and the inclination… not at the time of the scan as with my previous workflow process.
While I thought that simply scanning and forgetting would be my favorite part, it actually turns out that the automatic detection and sorting of receipts has become my new favorite feature. I’m teaching five week-long camps this summer and I have a LOT of receipts to track for each class. Last summer, I turned in an envelope of receipts for one camp and it was lost. I learned my lesson after that and made scans of all my receipts. It’s become a habit now, and I even have a small box in my office where I drop receipts for scanning. Now, they go right into a Receipts subfolder that I know is backed up and available from my phone for a quick look.
Is that it for ScanSnap Cloud? Nope. During the scan, a number of checks are being made that include auto-color detection (a black-and-white scan of a page of just text will save on storage space, for example), auto-skew correction (making sure your final digital version isn’t angled funny), auto-orientation (you don’t want your scans upside down!), auto-blank page removal (again, saves on storage space), and a few more checks. Smart Naming is also enabled, allowing you to select a scan naming scheme or even define a custom one.

If you’re like me, you may find yourself wondering if the four basic categories (Documents, Receipts, Photos, Business Cards) are too limiting. They’re not. Because you can easily re-configure a primary folder as well as subfolders from within the ScanSnap Cloud app, you can create specialty folders. For example, if you plan on scanning in a year or more of bank statements, simply create a folder called Bank Statements 2016, login to ScanSnap Cloud and change the default folder for Documents to Bank Statements 2016. Scan your documents and know that they’ll be tucked away in that special folder. Just be sure to change the default folder back when done. This option should reduce the need to go into the ScanSnap folder, for example, and locate and pull out all the statements at a later date.
It’s hard to believe it’s been four years since I read David Sparks’ book, Paperless, and got started down this path. Without the iX500, I don’t think I would have ever gotten control of my paper clutter. I’ve scanned just about everything — magazine articles, bills, receipts, kids drawings, report cards, etc. It’s never really been a tedious activity with the ScanSnap scanner, but now with the ScanSnap Cloud service, my scanning will be faster… more efficient. The processing of my scans is done automatically, behind the scenes, and the scans are sent up to the cloud where I can always access them and where I know they are backed up and secure and waiting.
The ScanSnap Cloud software is a free application available for current iX100 and iX500 and will perform a firmware update when the app is first installed. You can download ScanSnap Cloud at http://scansnapcloud.com/.


I’m a new ScanSnap iX500 user, and you’ve glossed over what I consider an essential feature of ScanSnap Cloud – one that differentiates it from pre-ScanSnap Cloud functionality. After initial setup, ScanSnap Cloud doesn’t require any other device or software to be running on the network at the time you’re scanning. I’ve been doing this deviceless scanning for years with my Brother all-in-one, and it’s a feature I’m not willing to give up.
It’s useless if the ScanSnap doesn’t offer an OCR functionality before pushing to the Cloud…
IT is amazing that they would go to all this trouble to make something that is almost useful. Without OCR it is useless.
is it possible to scan alternatively to a folder on hard disk instead of cloud.
Given that you’re comfortable in both the Apple and Windows ecosystems, perhaps you can address an enormous problem that’s just developed for me.
My “main” computer is a brand new 16″ MacBook Pro running macOS 10.15.2 (no other choice). I LOVED this new laptop (not just because of the keyboard, which announces Apple’s admission that the “Butterfly” mechanism flew about as well as the 737Max), also because of the sound its speakers can produce, the screen, and (a surprise) how good its aircraft carrier deck-sized trackpad does palm rejection (no more hunting for where the cursor has wandered off to creating neologisms almost at random.
Then came the end of my two weeks of neglecting my Evernote Scanning. macOS 10.15 means the exorcism of all 32-bit software, and THAT means death to Scansnap manager and the “ascendancy” of Scansnap Home plus Scansnap Cloud. It seems the ONLY way to scan documents by default is to create a Scansnap Cloud account and send every scan first to Fujitsu and then to Evernote. Aside from the obvious potential security problems of an extra hop in the cloud, there’s the absolutely glacial speed with which this happens. If I put a 4 page document in the feeder for scanning into Evernote and press the scan button, that document doesn’t appear in my Evernote inbox for almost a MINUTE! I used to be able to scan multi-page documents almost as fast as I could stuff them in the feeder, then add my own names, tabs, and Notebook destinations to the scans perhaps two dozen at a time. Now it’s scan (just as fast) then wait, wait, WAIT for the results to appear on my computer.
This is intolerable.
Some are suggesting that WiFi is the issue (scanning used to be via a USB direct connection). I don’t know if I can somehow get documents directly into Evernote (with OCR) by direct to computer scanning. I’ve looked up the WiFi specs for the iX500 (802.11n, 2.4 GHz), but that’s supposed to max out at about 70 Mbps, which certainly should be adequate. I have a fiber-to-the-home internet connection and a hybrid 802.11ac (main router)/802.11n (extender), with the extender sitting just a few feet away from the laptop.
People are suggesting I try ExactScan or VueScan software, but I have no idea whether I can develop a scan-to-Evernote workflow that uses either of those two products, or whether the critical path through ABBY Finereader can be implemented for the document scans to be worth anything in Evernote.
Do you have any suggestions?
This is my first discovery of your website. Apologies for introducing myself with such a complete question