After running the first annual Disney Star Wars Dark Side Half Marathon this past weekend, how could I choose anyone other than the big bad himself, Darth Vader, for this week’s column? This turned out to be a thoroughly enjoyable paint. It wasn’t as difficult as some of the more colorful figures; but there was more complexity than last week’s Probe Droids.
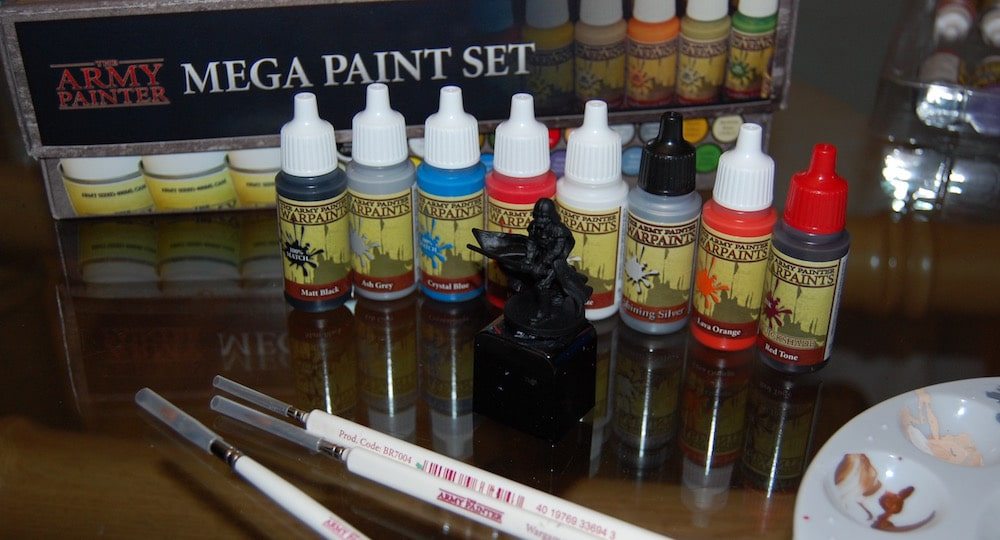
First off, I had to prime Vader from grey to black. A few of the GeekDads joked that I could say I was done at this point. And while that’s tempting, there are so many tiny details in this sculpt, it would criminal not to draw them back out. I gathered my paints; and since I was using Sorastro’s method, there were more than you would expect!
All the highlighting of the main figure relied on varying shades of grey. For the arms, gloves, and pants, I used a 1-1 mix of Matt Black and Ash Grey, mixing a little more grey in after each pass and going over the more prominently raised areas of the sculpt. I hit the knuckles with a bit of pure grey, then focused on the armor. For that, I mixed a bit of Shining Silver in with a roughly 1-3 black/grey mix. Then I highlighted the helmet and filled in the chest armor in-between the thin raised stripes, with two carefully placed dots of the mix on the lenses of Vader’s helmet to provide a focal point. Then I very carefully detailed the switches and lights on Vader’s chest panel with Crystal Blue, Dragon Red, and some pure Ash Grey.
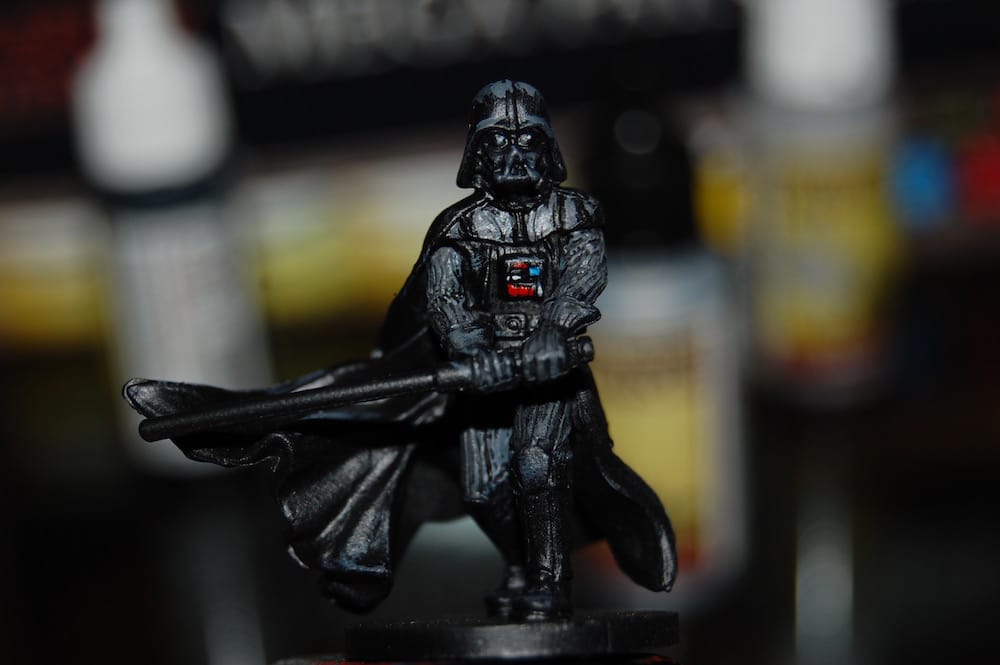
After painting the belt buckle, cape chain, and lightsaber hilt with some pure Shining Silver, I started on the lightsaber blade itself. Using a similar method to the one I used for Diala Passil, I started off by painting the saber Matt White. Then I added a couple of layers of Dragon Red, which looked great on its own; but I really wanted the saber to look dynamic. Again, using a tip from Sorastro, I mixed a bit of Lava Orange and Shining Silver into my red and did one last pass to lighten the color and give the whole lightsaber a sheen.
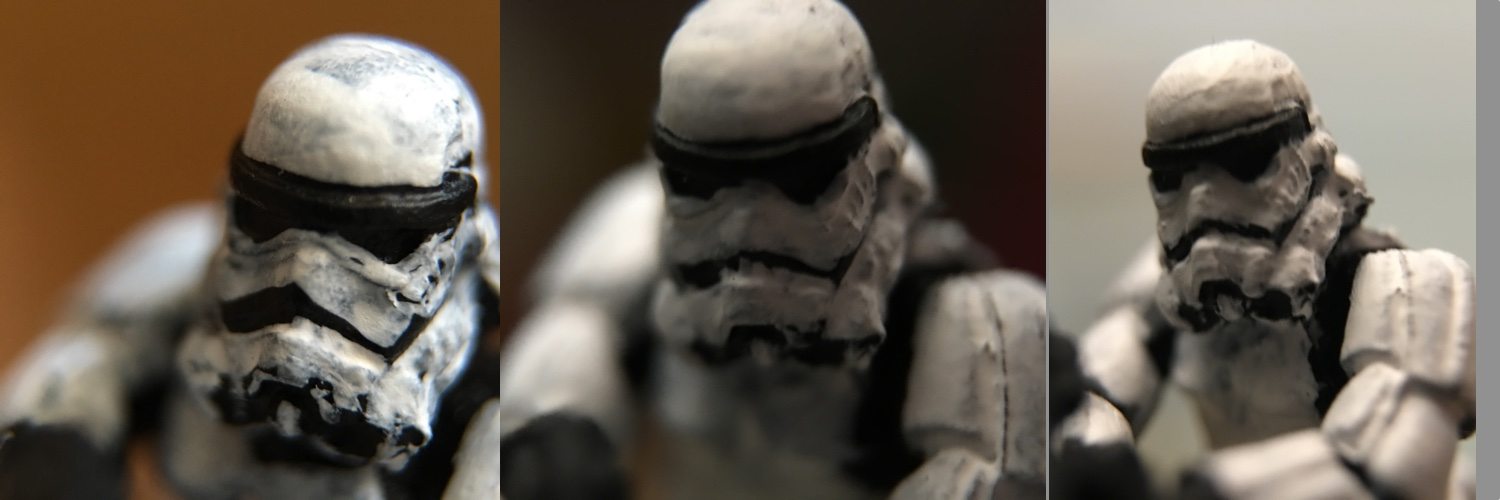
I grabbed the red wash from my Army Painter set at this point to highlight the parts of Vader that would be lit by his lightsaber. The effect was a little more subtle that I was hoping for, especially on the cape. It doesn’t really show in my pictures at all; but it’s definitely visible in person. I could have probably gotten a better effect by mixing my own glaze like I did with Diala, but I didn’t want to mess with things too much at this point, since I was generally pleased with how Vader turned out. I had some white leftover from the saber, so I mixed a little bit of medium in and did a first coat on another Stormtrooper as well.

I spent the next couple of days applying additional coats to the Stormtrooper (and waiting for the humidity to back off enough so that I could varnish Vader). While I was waiting, I took some fun shots with a macro lense. You can really see how rough the sculpt (and my painting) is close up!
After the Stormtrooper was detailed, all that was left was some base touch-up and a quick spray with Satin Varnish to retain a bit of the shine. The finished Vader looks so much better than the unpainted grey plastic. I’ll have to get Luke under the brush next so that the Dark Lord of the Sith has someone to face off against.
Thanks as always to Army Painter and Combatzone Scenery for supplying me with paints and scenery sets for this project. If you’d like to see the other entries in my Imperial Assault painting series, you can find them here.


Nice Vader!
I know we started painting Vader at roughly the same time… So far I have managed only the gloves. I’d probably also still be running that half marathon too.
Ha! I was really pleased with how quickly he came together. This is one of those figures that I think one’s desire to “not screw it up” can easily overwhelm you. Once I finished I was kind of shocked that it was that easy.
I’m painting Batman alongside him, thinking that they’d use similar techniques and colours. Which they do, but black on black on black isn’t terribly rewarding so far (I’m halfway through their cloaks).