
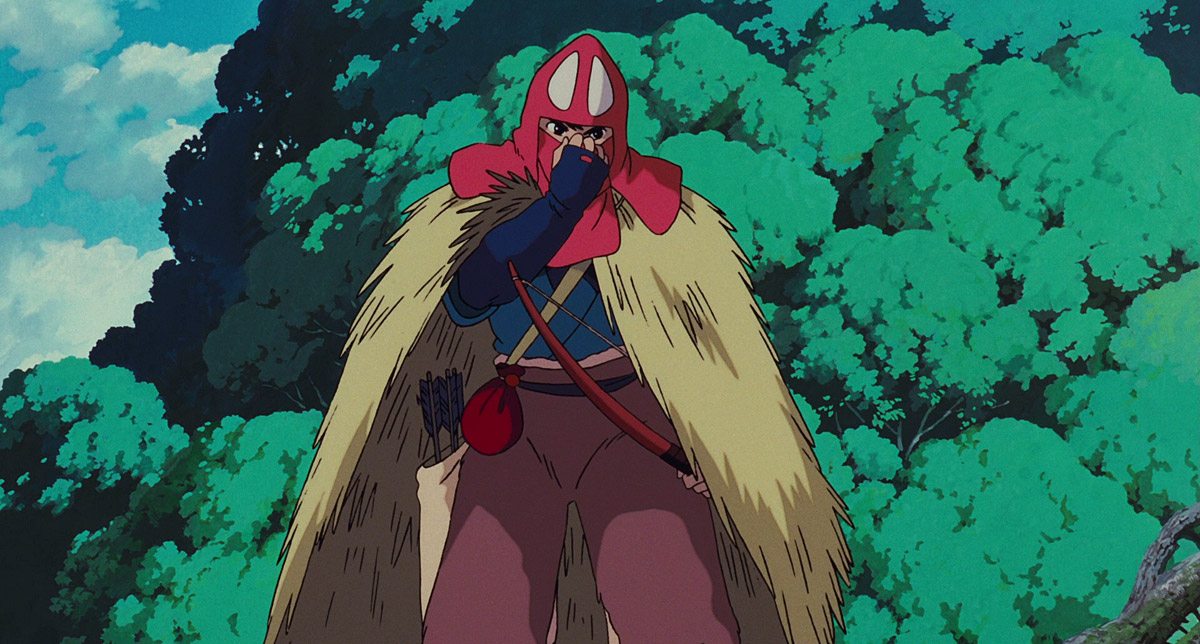
 Emerald City Comic Con and the Western Championships of Cosplay are fast approaching, and I am still plodding along on my planned cosplay–Ashitaka from Princess Mononoke.
As every cosplayer will tell you, there is always plenty of time to get everything ready. Until there is suddenly not enough time and you go into panic mode. With just about two months left (53 days but who’s counting?), I haven’t gone in to full panic mode yet, but I am realizing after being way ahead of the ball, I’m slipping behind.
That being said, I thought I’d take a few minutes to share some more of my progress so far (you can read the first part here). This will be the last update I make about my work in progress until the final reveal at ECCC.

As with any cosplay, lots and lots of fabric and supplies are needed. For my basic clothing fabric, I got some nice cotton/linen blends from fabric.com. I really like this fabric because its pretty thick, yet breathable, and has a nice texture to it that makes it look more realistic to the cosplay. I also picked up some faux sherpa fur, and some faux suede from Jo-Ann Fabrics. I then turned to the harder parts–which furs to use for my riding pants and what to use for the “raincoat.” After getting a bunch of fur samples from several different places, I ended up picking my favorites from fabric.com as well. For the coat, I ended up finding rolls of woven bamboo leaves! I’m not sure which will be harder–trying to make a cloak out of bamboo or working with faux fur for the first time.
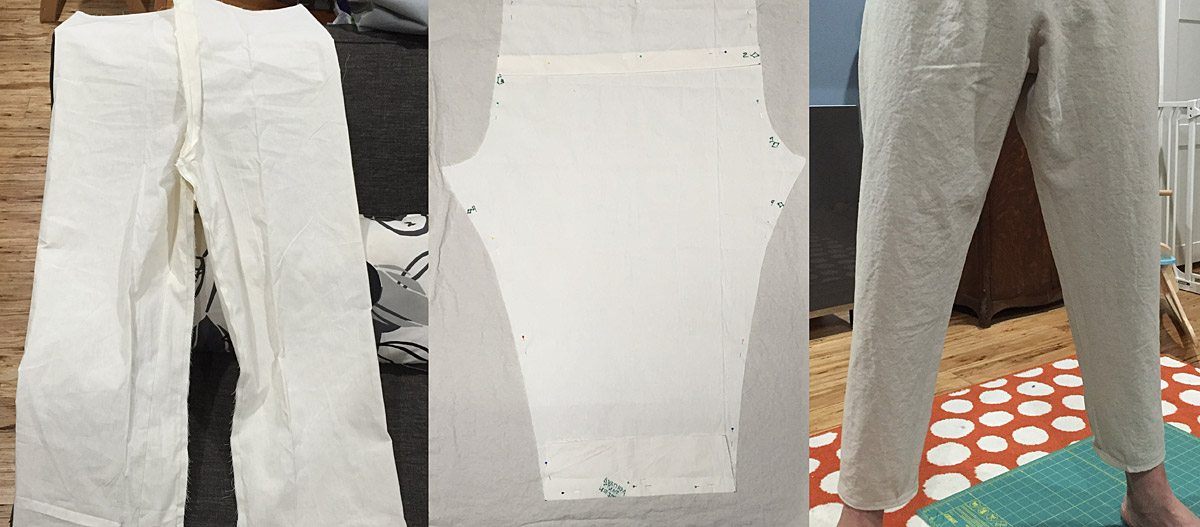
I decided to tackle the pants as my first piece of clothing. I started with a pattern for some simple pajama pants. I made the pants out of some cheap muslin (I bought a big roll of this to use for pattern making) and although the end result was a pair of pants, they were totally wrong for the cosplay (as expected). With a little help from my wife, I pinned up the prototype pants, sewed new seams into them to get the desired fit and then cut them apart and in to my own custom patterns. Armed with my new cosplay specific pattern, I set to work making a pair of lined, drawstring Ashitaka pants. I am very happy with how they came out. Not only do they look right, but they are comfortable too!

I then did essentially the same trick for the kimono. Using a 1970’s pattern I found on Etsy, I made a kimono out of muslin. I then manipulated it until it looked and felt right and then made my own, new pattern. The finished product is a nice, lined kimono that looks just right and, again, is very comfortable to wear. Comfort is almost as, if not more, important than look when it comes to something you’re going to be wearing for an entire con!

I then turned my attention to Ashitaka’s shoes. Since these are meant to look like they were made from animal, I decided to line the inside with the faux sherpa fur to make it look more realistic. Making somewhat form-fitting shoes from scratch was extremely challenging, but I just used the same technique–prototype and pattern using muslin before making the final thing.The shoes are now all done except for a little bit of detail work and the addition of soles. If I were only wearing these in the house, I’d skip adding soles but since I’ll be wearing these not only around a con for days on end but all over Seattle, they need to have soles and be a little weatherproof.
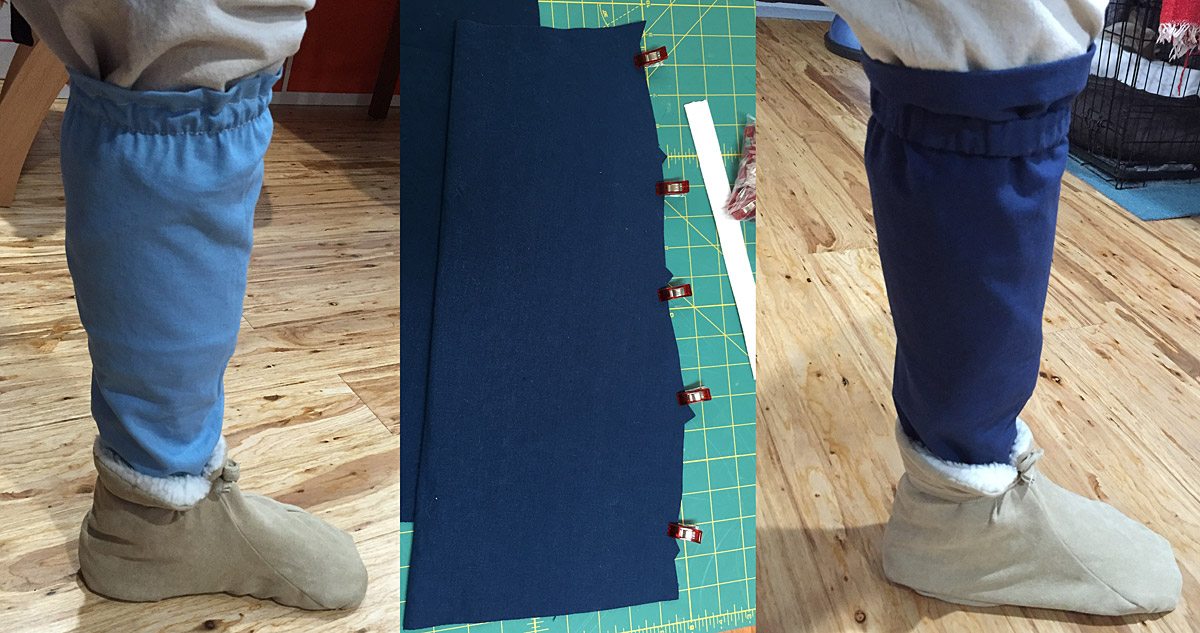
The last part of the clothing I’m going to share for now are the leggings. I once again did the same trick as before, but made a second prototype with some scrap fabric as I wanted to get a better test of the fit with the same kind of fabric before I made the final pieces. I ended up making elastic bands for around the top of the calves instead of ties to hold them up because I decided it would look more appropriate to the cosplay, and I didn’t want to have to worry about them untying and falling off when I was walking around.

As I mentioned in my previous post, I’m going to be building my first weapon from scratch for this cosplay–Ashitaka’s sword. After getting my hands on Dremel’s 3D Idea Builder, I decided to print the sword hilt instead of trying to cut it out of wood. While it will give my sword a potential weak point where I am joining the hilt and blade, I feel like the better detail I could get on the hilt from printing will be worth it. It also saves me from agonizing over screwing up the hilt and ruining the entire sword. I designed the hilt so that the blade will actually slide inside the hilt and then get epoxied together, so I’m really not worried about it breaking.
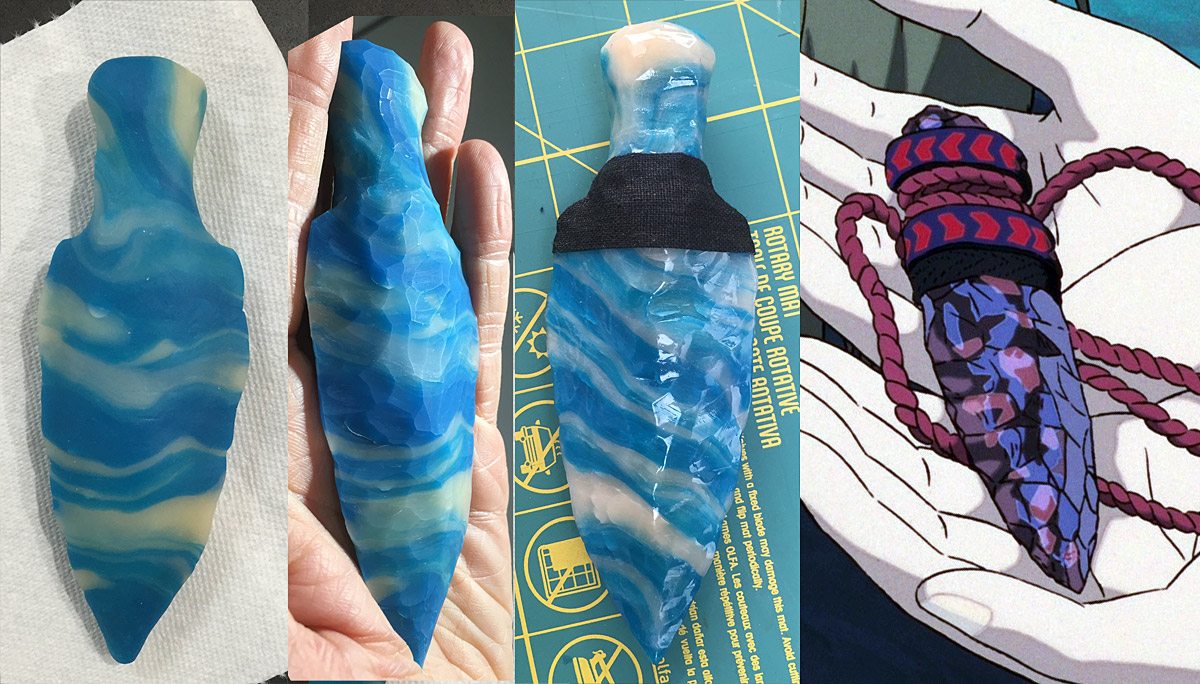
The last item I wanted to share is one of the accessories I’ve been working on–Ashitaka’s crystal dagger. As with a lot of anime, finding reference photos of the dagger has been somewhat difficult and from scene to scene, the size and shape varies quite a lot. I decided on doing my own sort of design by combining things from different photos and focusing on making it as realistic as possible. I purchased two blocks of FIMO Effect translucent clay. I swirled them together and then built the basic dagger shape. After I’d cooked the clay, I then took several sizes of X-Acto knives and carved it to make it look like it was actually chipped out of real clay. I then gave it a couple of coats of clear gloss to make it really shine. I’m really happy with how it turned out. I just need to finished up the details on the handle.
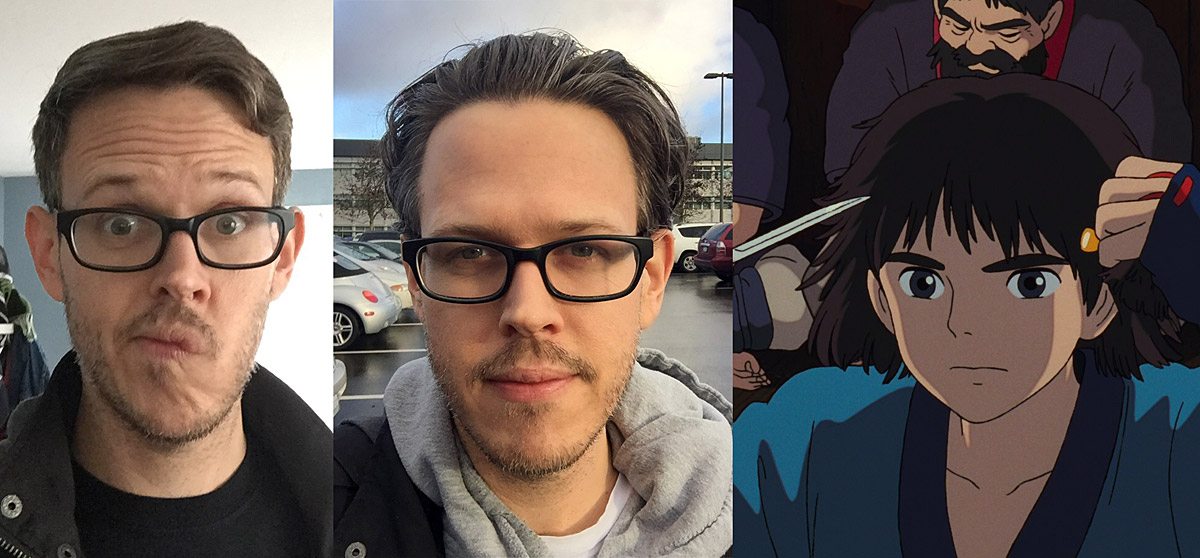
As anybody who has seen any of my previous cosplays knows, I’m pretty serious about making sure my hair fits the cosplay, and, at least so far, I’ve managed to do some pretty versatile things with advanced planning and hair dye so that I’ve not had to try wigs. Ashitaka will be no exception. I’ve been growing my hair since September, and it’s almost the right length. I’ll get it cut to the right style the week before ECCC and then dye it the right color. For some reason this seems way easier than wigs to me, and, thankfully, I work from home, so I can have crazy looking and colored hair.
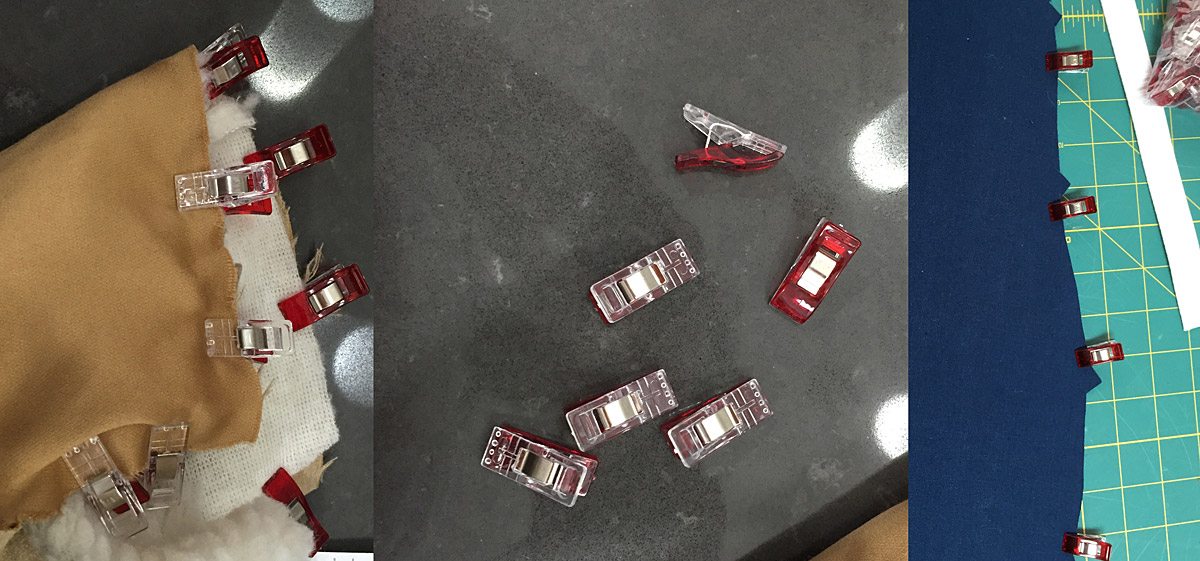
Lastly, I wanted to give a shout out to Wonder Clips. I’m pretty new to sewing, but I feel like these are an amazing power user tool. These little clips can hold all kinds of seams and are so much easier and more convenient to use than pins. They also have little marks on them for 1/4″ and 5/8″ seam allowances so you don’t have to guess or measure or anything. If you do any decent amount of sewing, these should be in your tool kit.
Are you doing any cosplay at ECCC? Planning on competing in the Western Championships of Cosplay? Let me know in the comments, and I’ll see you there!

You did a really great job at explaining your methods in this post. Looks like the dagger turned out really well! Interesting take on the “wig vs real hair” situation, but it does feel easier to manipulate real hair compared to wigs, and it’s really convenient that you’re able to work from home to really go all out for the hair.
Thanks, John! I am sure I’ll get to a cosplay I want to do where I have to go the wig or at least extensions route. As a matter of fact, my wife is ready for me to cut my hair so I may have to go that route sooner rather than later (but not for this con!) Thanks for reading!