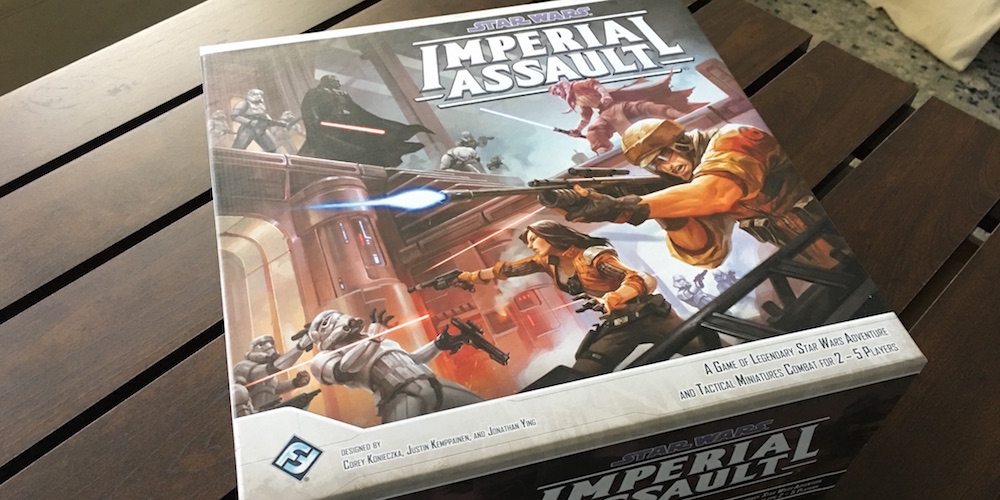
A few weeks back, I started on a journey to upgrade the insert for Imperial Assault and was pretty pleased with the results. But the fact still remained that, no matter how well organized the game was, it pains me whenever I play it because the figures are still unpainted.
Now, I’ve done a bit of miniature painting, but it’s not something I do often. So the first thing I did was Google. What I found right off the bat was the amazing tutorials by Sorastro. He’s a bit of a painting legend for Imperial Assault and it’s easy to see why. His subtly shaded and highlighted figures are absolutely perfect. Watching the videos, it also became apparent that he had infinitely more patience than I could ever hope to muster. So I reached out to the folks at Army Painter.
Army Painter has championed a method called Quickshade (known in some circles as “The Dip”) where you prime and get a base tone on your figures in the first step, then add a few blocks of colors, and dip the entire figure in a shaded varnish to do all the shading for you. Once it’s dry, you hit the figures with an anti-shine sealer and you’re good to go in (hopefully) half the time. The real appeal for me was that the figures look like you spent a lot longer on them. Perfect for someone like me who wants their figures to look good, but can’t spend hours adding layer after layer of slightly lighter colors.
A couple weeks after we spoke, I got an enormous couple of boxes at my front door. Inside was a Mega Paint Set, Strong Tone Quickshade, Anti-Shine Spray, and enough Base Color Primers to cover an entire army of figures (or, hopefully, at least a few Imperial Assault expansions).

The Army Painter paints all come in dropper bottles, which I quickly came to appreciate as superior for mixing colors (you’ll see in my next update). And the brushes supplied in the Mega Paint box are exactly what I needed for covering large areas, applying fine detail, and light drybrushing.
Not quite ready to take the plunge on one of the more complicated troops, I started with the Emperor’s Royal Guards and the Royal Guard Champion (who I reversed the color scheme on accidentally–oops).
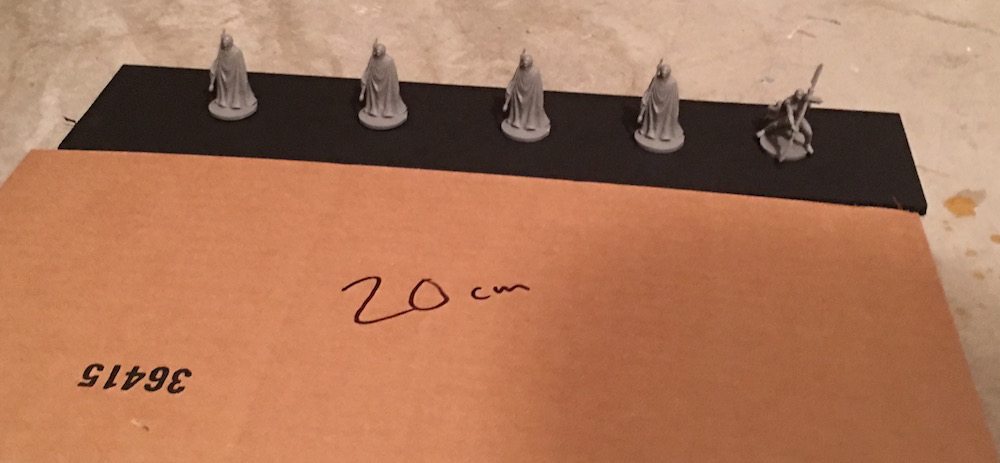
I affixed the figures with some sticky tack to a spare piece of foam core that I had left after making my insert. I also made a handy guide, since I have a tendency to get way too close while priming my figures.
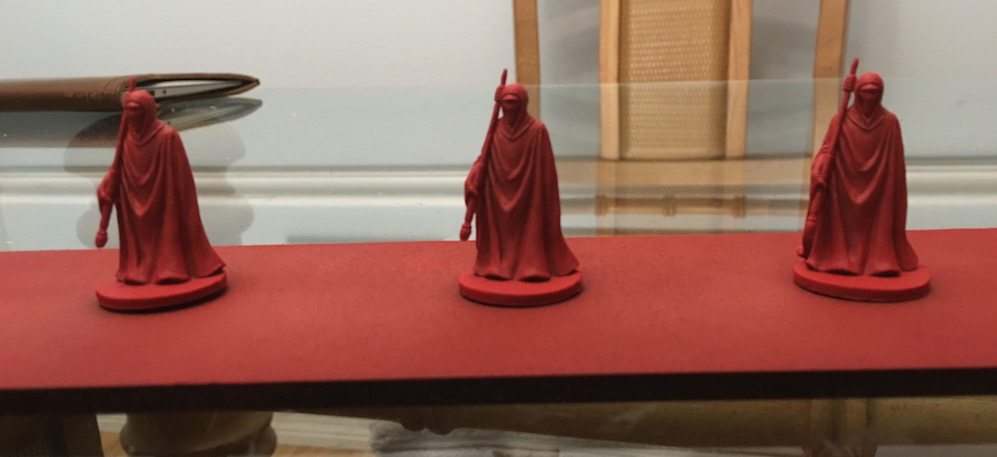
Once the Pure Red base primer was on, I looked to see if I needed to touch up any areas with the Pure Red paint in the Mega set (they match perfectly) and assembled the rest of my colors.
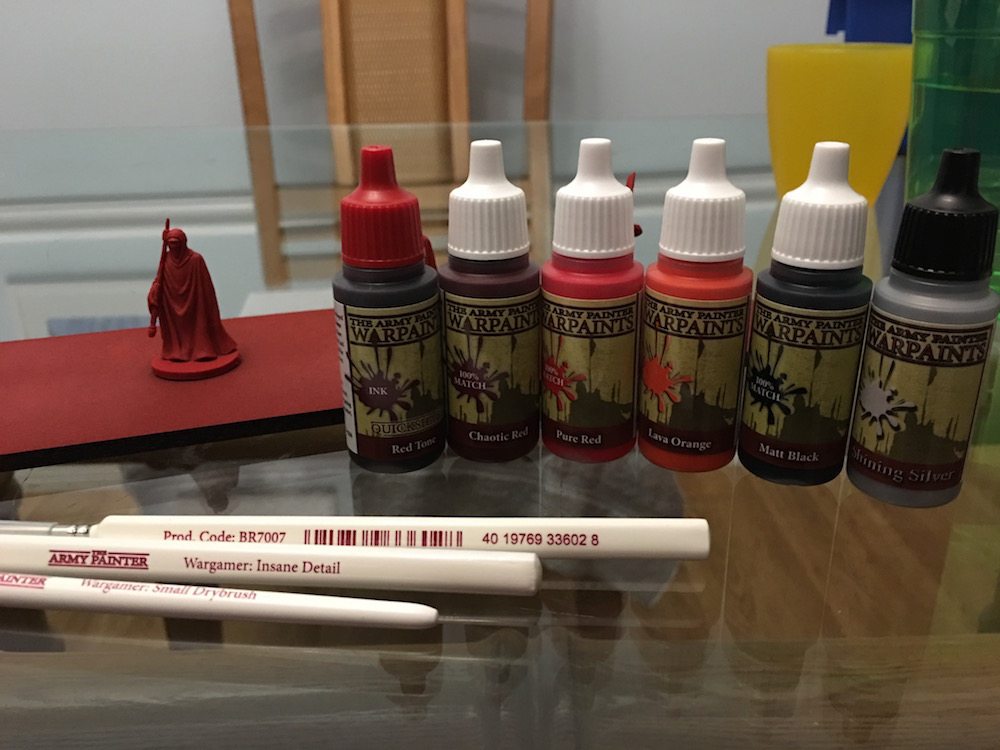
Obviously, red is the color of the day with the Royal Guards, but I needed to get some silver and black on their weapons, fill in the eye slit, and add a few lighter red and orange highlights. The paint went on really nicely and covered with what felt like very few applications. Starting with a shade-infused primer made the detailing stage go much quicker.
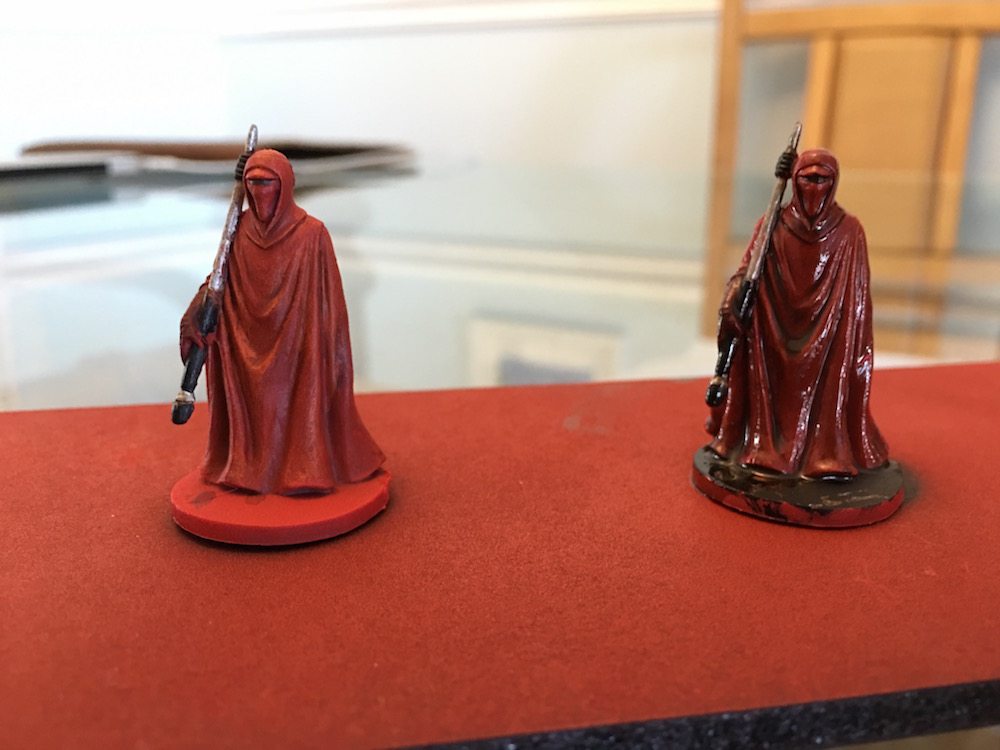
Once I was happy (actually, when I started to fall asleep because I’d been painting too long), I grabbed the Quickshade and dipped the figures! A few shakes and a swipe or two with an old brush to remove some pooled varnish and I was ready to wait the painfully long 24-48 hours.
Lucky for me, another package arrived while I was waiting! Combatzone Scenery makes Imperial Assault-compatible crates, doors, and scenery out of resin-reinforced plaster. They’re a great upgrade from the cardboard placeholders that come in the box. And even better upgrades for the line-of-sight blocking scenery that’s printed on the map tiles!
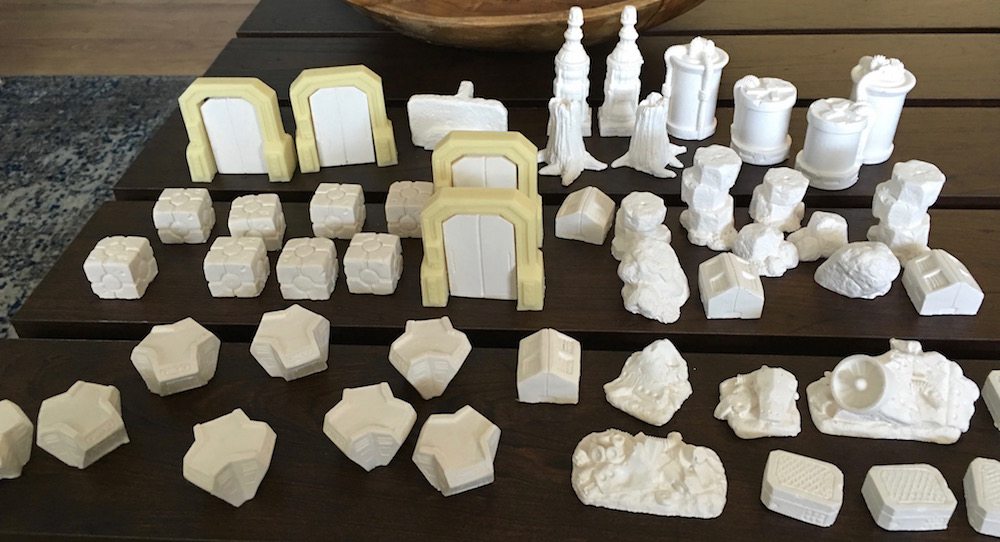
I grabbed a couple of crates and started playing with a few different paint schemes.

Finally, once the Royal Guards were dry, it was time to hit them with the Anti-Shine Spray. The difference is dramatic (and the highlights still come through!).
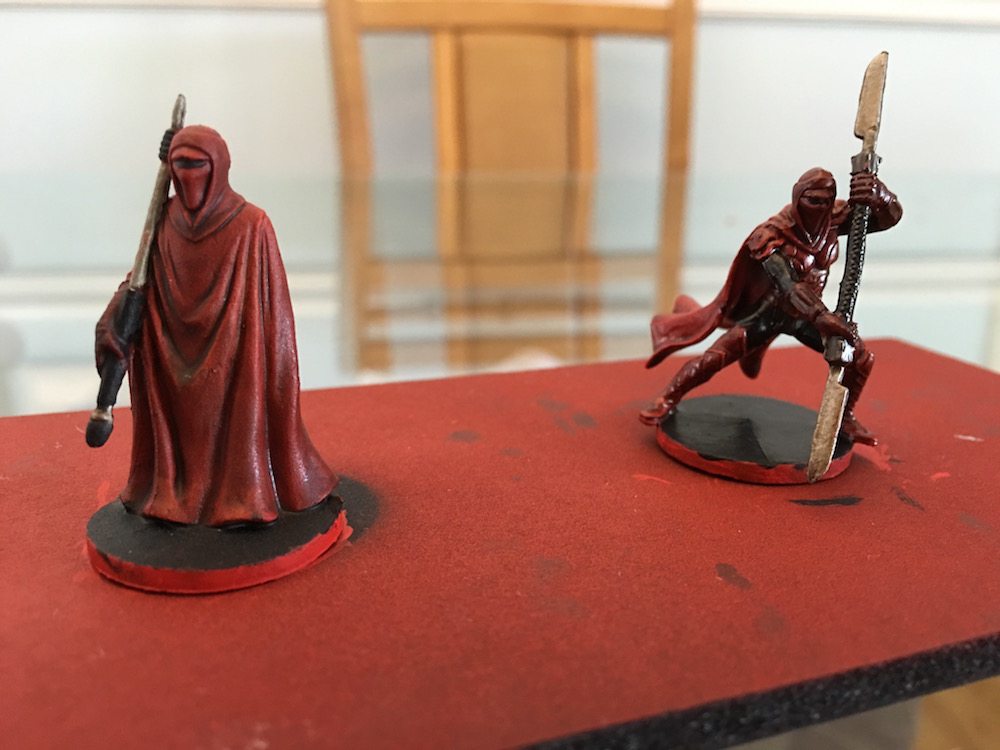
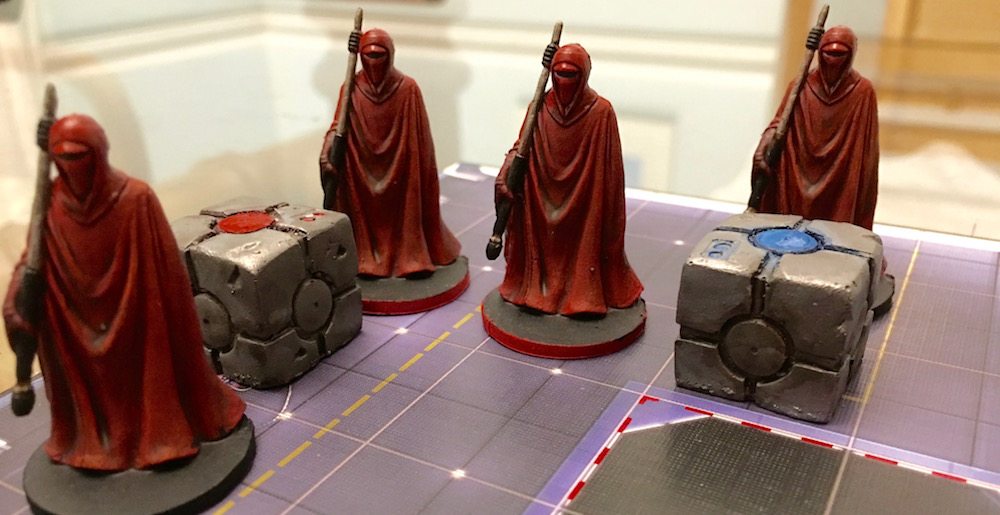
After that, I finished the bases (giving two of the Guards red rings to denote their elite squad status) and hit the armor with a bit of Citadel ‘Ard Coat to restore some of that plastic-y luster. Here they are in-situ, with a couple of the finished crates (the texture of the plaster really lends itself to drybrushing).
I can’t wait to dive into more figures and more scenery bits. I’ve got to finish up the Royal Guard Champion next. After that, I think I’ll take the plunge with my first humans, the Imperial Officers. Till next time!
Thanks to Army Painter and Combatzone Scenery for supplying me with paints and scenery sets for this project.


I’ve been considering purchasing this game since I first played at GenCon last year. I never liked the blinding white figurines, so this is great. Looking forward to Part 2.
Looking good! I used Sorastro’s for guidance too. Really great painting guides. I’m partway through my Stormtroopers just waiting for some ‘ard coat to arrive.
I’m impressed with the shine/anti shine approach, I’d not heard of that before.
What’s up with the Companion Cubes???
The cake is a lie.
🙂 They’re upgrades for the flat cardboard cube placeholders that come in the box.
Just my thought as I saw the crates!
Nice paintwork anyway 🙂
That’s it, I’m free handing a heart on the side of one of these suckers.