Some games are compact little bundles of gaming joy, put together by magical elves whose only raison d’être is to make sure setup is a breeze and that you don’t just start a game but erupt into it, like Athena from Zeus’ skull.
Then there are games that, once you get the box open, make you want to go see what’s on TV instead. This could be because they are intentionally complicated to set up. (Mage Knight’s introductory mission is designed mainly to teach you how to set up the game components!) Others are so poorly organized–if they’re organized at all–that setup is a Herculean chore.
I hate to say, Imperial Assault is the later.
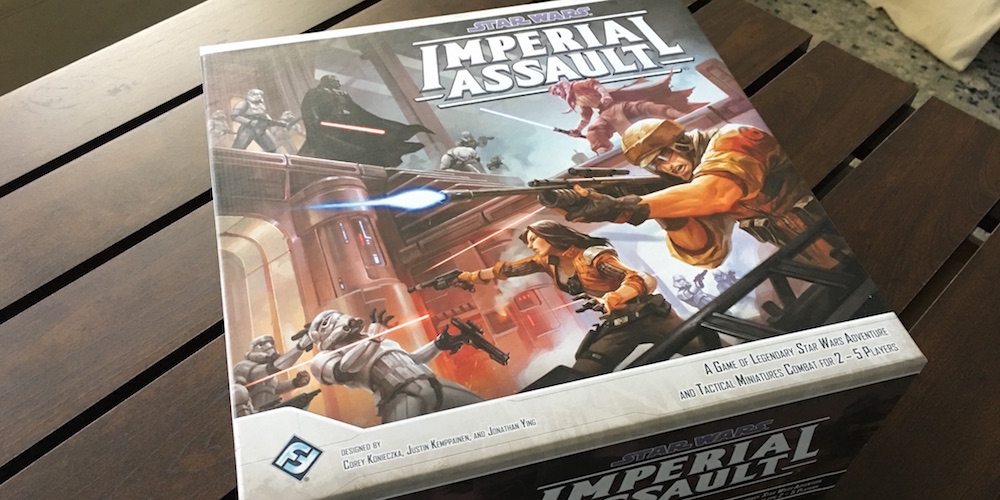
I got the game and most of the available add-on minis last year for Father’s Day and, while the unpainted figures were holding me back from playing, I’m working on that. Now it’s time to tackle the Bantha in the room. All the painted figures in the world aren’t going to convince me to play when I open the box and am greeted with this:

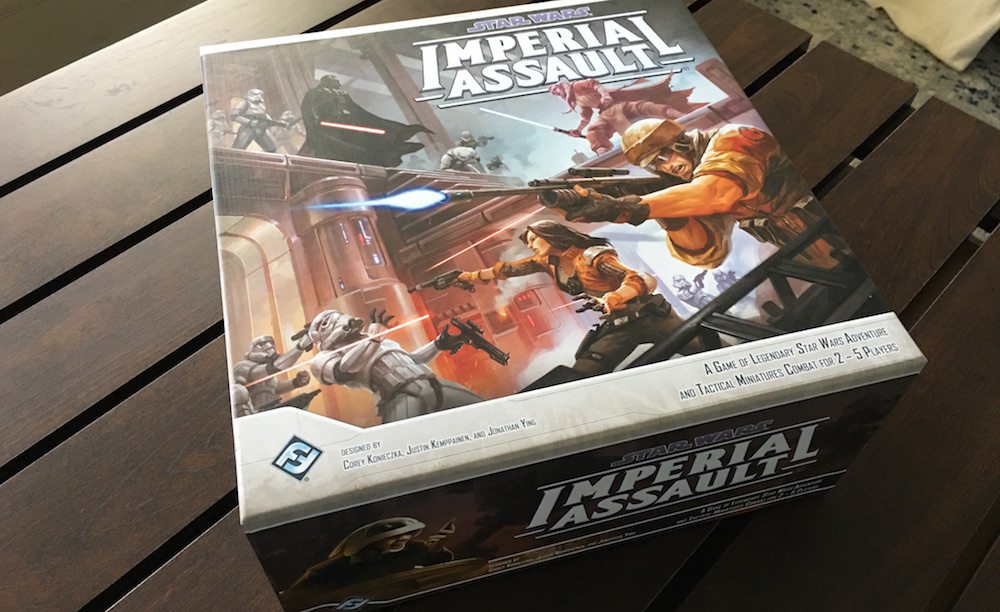
Fantasy Flight Games did provide a box insert, it was a pretty one that had the box art printed on it. You don’t see it here. You know why? It did absolutely nothing to keep the components and figures in place. Assemble the AT-ST and add in a few new figures and buh-bye flimsy insert. Lucky for me, there’s a vast gaming community out there, many of them with much more craft and architectural skill than I could ever hope to muster. With a quick Google search, I found the Esoteric Order of Gamers’ plans for an Imperial Assault insert that would not only house the components, but would keep everything neatly separated for quick setup.
I gathered my components:
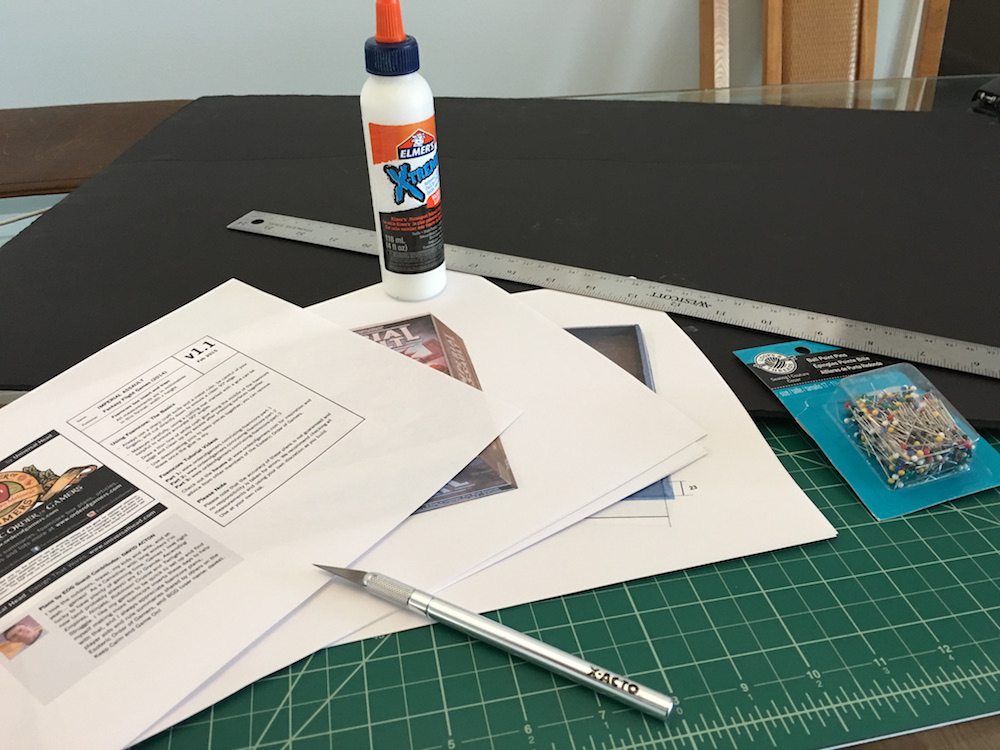
And failed miserably. Those two pieces of foam board? Chewed up like Hannibal Lecter’s last supper as a free man. While the plans were fine, I quickly discovered that doing the pieces as I went along left me with cuts that were rarely straight. I also had the wrong tool for the job. X-Acto makes great hobby knives, but your inclination with this blade is to jam the point in and pull it across. This results in jagged, uneven cuts. Once I started in on the smaller interior wall pieces, I was lucky if I got something that even remotely resembled the neat rectangle I was trying to excise from the foam.
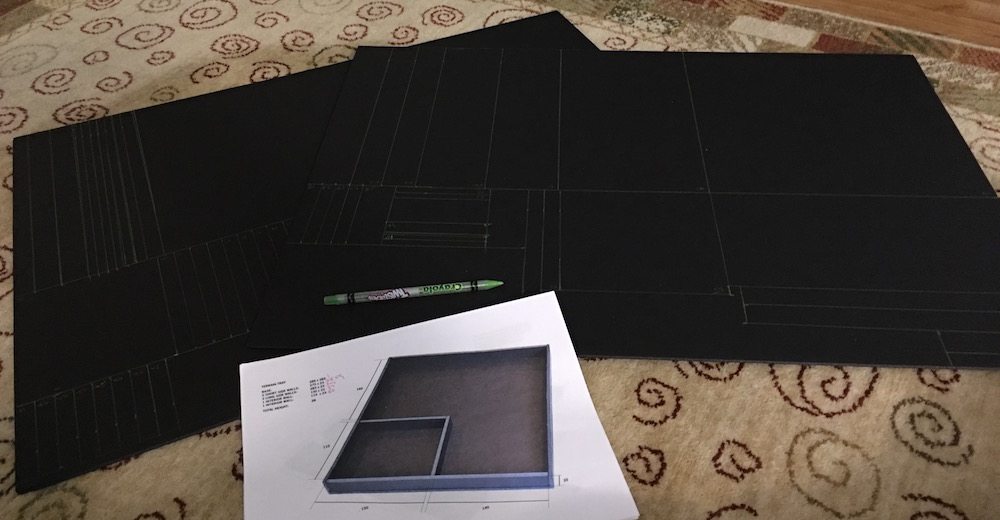
So it was back to the drawing board, literally. I grabbed a new knife (a utility knife like this one–it’s better at cutting long straight lines in cardboard, and the blade keeps you from cutting at an angle). And this time, instead of just hacking at the board willy-nilly, I mapped out the pieces I needed, numbering them as I went along. If you’re comfortable doing things on the fly, this step is probably unnecessary, but I knew this would be a multi-evening project for me, so I did this to maintain my sanity later.
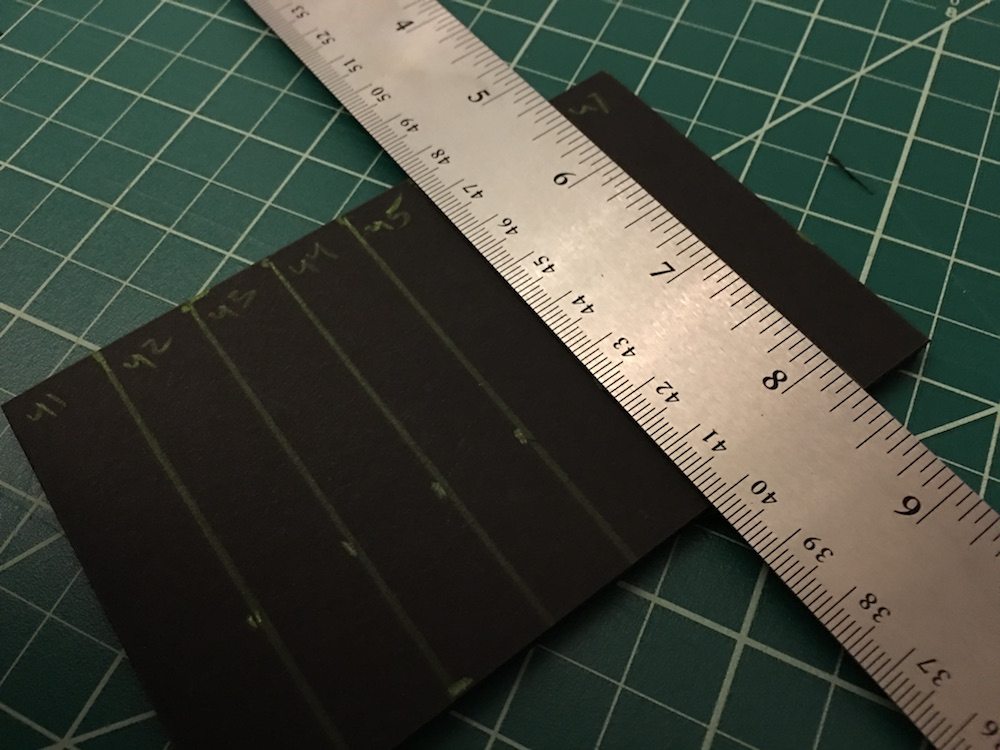
Now, the fun part, the cutting! This went pretty quickly and easily with the new blade. A couple of tips:
- Remember to use the metal ruler to ensure your knife cuts are straight.
- Make at least two cuts–one to break the top layer of the board, then another (or more) to cut all the way through to your mat. If it’s taking more than three cuts, or you’re having to apply a lot of pressure, snap off your blade to get a fresh, sharp edge.
- Cut. Slow. The mangled tip of my left thumb can attest to how important this is. Especially when you’re halfway through the project, it’s easy to forget how sharp that utility knife really is. Respect your tools or you’re going to bleed.
At the end, you’ll have a little pile of clean-cut parts, all ready for assembly.

Then it’s just a matter of following your plans, glueing and pinning the pieces together, and trimming where you need to trim. Sometimes even the best plans go awry and pieces will be too long or too short. Luckily, I had a lot of foam board left over from my failed first attempt! You’ll want the cards handy when you get ready to finalize a few of the trays; being able to ensure your spacing is correct with the actual components before you start glueing is invaluable. Speaking of glue, the Elmer’s Extreme Glue I used turned out to be fantastic. My son, in his infinite wisdom, was tossing the football around the house the next morning and managed to connect solidly with my pinned together insert–there wasn’t a piece broken or out of place.
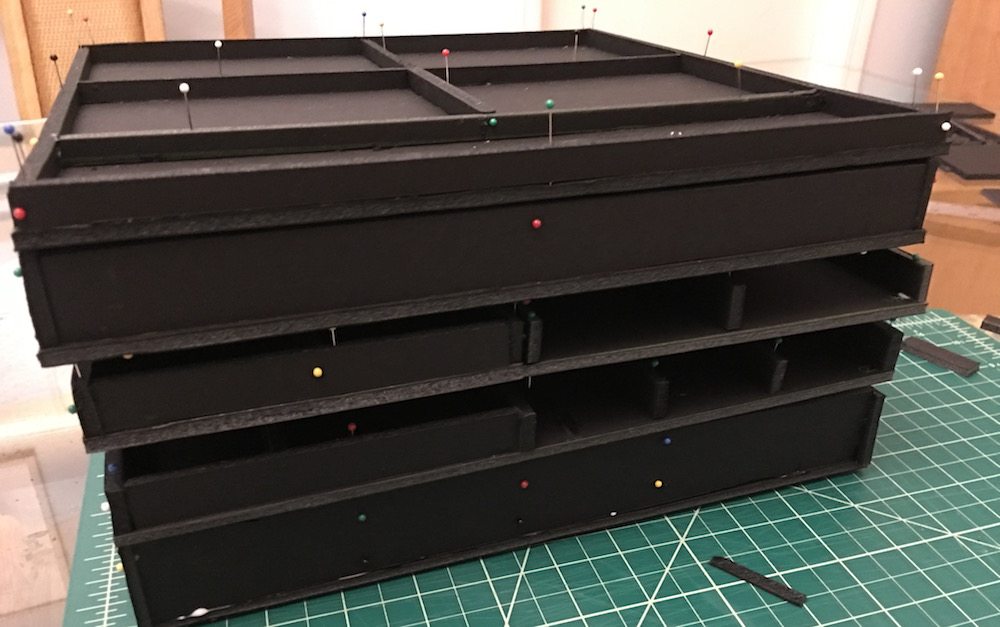
Then you just need to place everything in its spot and sit back and wait patiently for your next play session!
Incidentally, this easily housed the entire first wave of expansion figures, minus the extra cards and scenario inserts. I’ll have to come up with another way to store those. While I could definitely fit more regular-sized minis in the box, if I get the Twin Shadows or Return to Hoth expansions, I’ll create inserts for those boxes to house their oversized figures.
The next step to upgrading the game will be finally getting some paint on the minis. But for a novice like me, getting this many figures painted is a daunting task. Luckily, I’ve got some friends at Army Painter that are going to help me with that. Stay tuned!


I used foam to make an insert for Mansions of Madness recently. I found using a hot glue gun worked very well, and provided almost instant results. Made the project move along much quicker.
If I start making this a regular thing, I’ll definitely look into upgrading to hot glue! Though it was nice, the couple of times I grabbed the wrong piece, or needed to move a piece that I’d already placed, to have the leeway to pull it off and move or replace it.
You said that the utility knife “keeps you from cutting at an angle.” Could you explain that a bit more?
It’s more in how you hold the utility knife, as opposed to the X-Acto. With the X-Acto, your tendency is to stab down and drag through the foam board, at an angle perpendicular to the board. The utility knife is essentially a box cutter, so it’s better for long, straight cuts like this. The blade is designed in a way that you have to cut at a shallower angle (unless you extend the blade out so far that it would be ridiculously wobbly). I’m glad I have both, but the X-Acto will be put back to its original purpose as my mold line and flash trimmer for my minis.
That’s awesome! Adding this to the list of things to do for all my games. My main experience with hot glue guns is that it’s really… well hot… and painful.
OK I have the same kobalt “snap” blade but have yet to come up with a safe and consistent way to get a clean break on the blade. How do you snap your blades? Thanks for the write up, this and the dad paints following have been great reads as I am in the same Imperial Assault mess and needs.
I make sure the only the part of the blade I want to snap off is showing, then use a pair of needle nose pliers to give that section of the blade a good, hard bend (away from me, of course). Works every time.
I’m so glad you’re enjoying the series, Brad! I’m having fun writing it.
I was using snub nose pliers along the width in alignment with the snap line. I will have to try the needle nose along the line. Now to go put the warpainter kits on the wishlist.
I know I am a little late to the party but would these plans work with sleeved cards? I have both the standard and mini cards sleeved and of course it makes them quite a bit more bulky.
It’s been a couple of years since I looked at the plans, but I think he created them with sleeved cards in mind. There’s definitely a bit of wiggle room.