
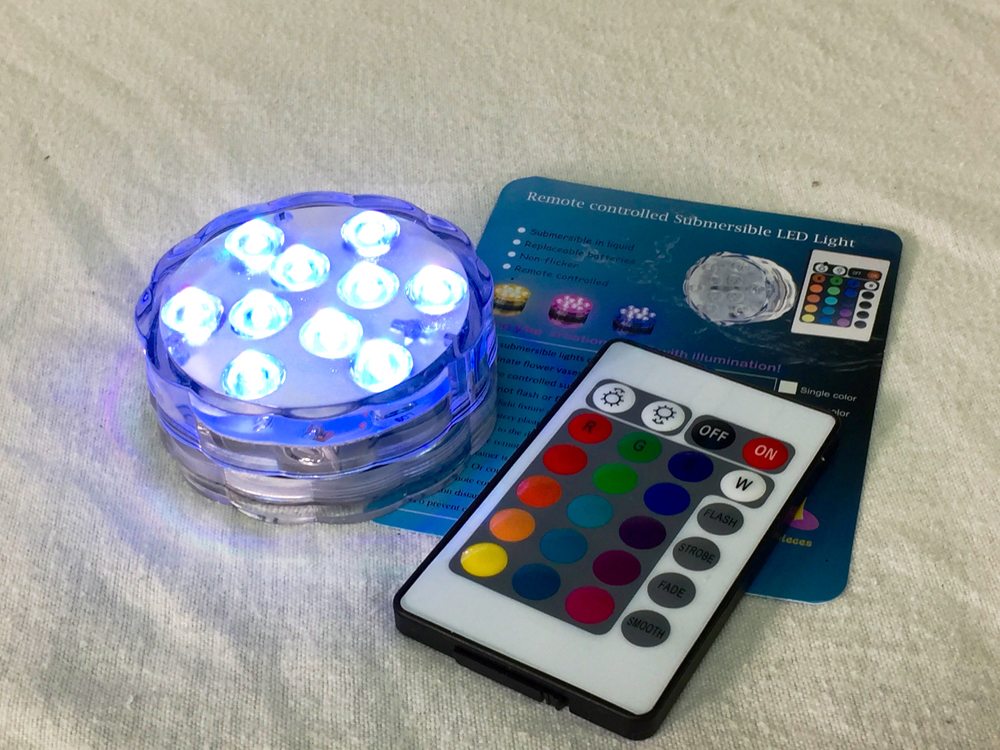
 Like I didn’t have enough to do before Christmas, one of the projects I decided to add to my plate was lighting up the Oversized Borg Cube that is a Christmas gift for my oldest son. A gargantuan figure for Star Trek Attack Wing the piece is impressive as is, but I thought lighting it up was a must. I read online how various people purchased LEDs and powered them, and was beginning to look into that when I remembered I had purchased a remote controlled submersible LED unit for another project that has not yet come to fruition. This unit solves the powered LED need as well as allowing us to turn it off and on without opening the Borg Cube. It has four selectable colors, and changes modes for solid color, flashing, fading from color to color, and the like, all from the remote.
With the lighting solution in hand, all that was left were the tasks of opening the cube and providing a method to seal it back up again. All sides of the Oversized Borg Cube are the same. The base can be mounted to any of them, so I just searched for a seam that had an existing gap, and using the knife of my Leatherman started working the edge. I proceeded to split the case apart with great care, but when I hit the corners where the cube is held most securely I switched to the short flat head screwdriver attachment on my Leatherman and pried with quite a bit of force until the corner gave way.


Having removed a panel of the cube I now just had to find a way to get the panel to connect securely while still allowing access later for replacing batteries in the LED. Note that I found that when the pegs on the panel were in place resealing the cube was too difficult, so I broke those off.

I purchased some magnets at Michaels Craft Store. It was easy enough to fix one to the removed-panel side, but I needed a platform for the magnets inside the cube. Anything would work really, a 4×4 LEGO cube or wood block. You just need a platform to mount the magnet facing down. I used some plaster cast blocks left over from earlier projects simply because they were there. Using a little Aleene’s Tacky Glue I assembled the blocks into platforms, and used some superglue to put it all together. Pay attention to how you place the magnets to ensure the strongest hold.
At first I was going to make the removable panel be the bottom of the cube, but the magnets would not support the panel and the attached stand, so I got smart and flipped it making the top of the cube be the removable panel. Really, in this configuration you would not even need the magnets, but they do help ensure the panel won’t fall off when you are moving the cube around.
Finally, I placed some tacky putty on the bottom of the cube to hold the LED in place, and the project was done!


It’s awesome! And only 80 bucks =)
It’s also a good container for your other pieces!