We just had our son’s second birthday party. He’s a geek-in-the-making, and the theme we decided on for him was Robots and Rocketships. He already loves both thanks to a bounty of robot and rocketship toys he’s received in the past two years, plus my own collection of both that I willfully share with him (yes, I’ve even let him play with vintage Transformers).
We didn’t want to break the bank on a two-year-old’s party, so we decided to handle the decorations and games ourselves. We also tend to stay away from really commercial and branded stuff anyway, so both goals went hand-in-hand.
We have several cardboard boxes lying around at any point in time because it is, as we all know, one of the 5 best toys of all time. I grabbed one that was about the right size for a kid to sit in along with a box cutter and some packing tape and started fashioning a rocket ship.
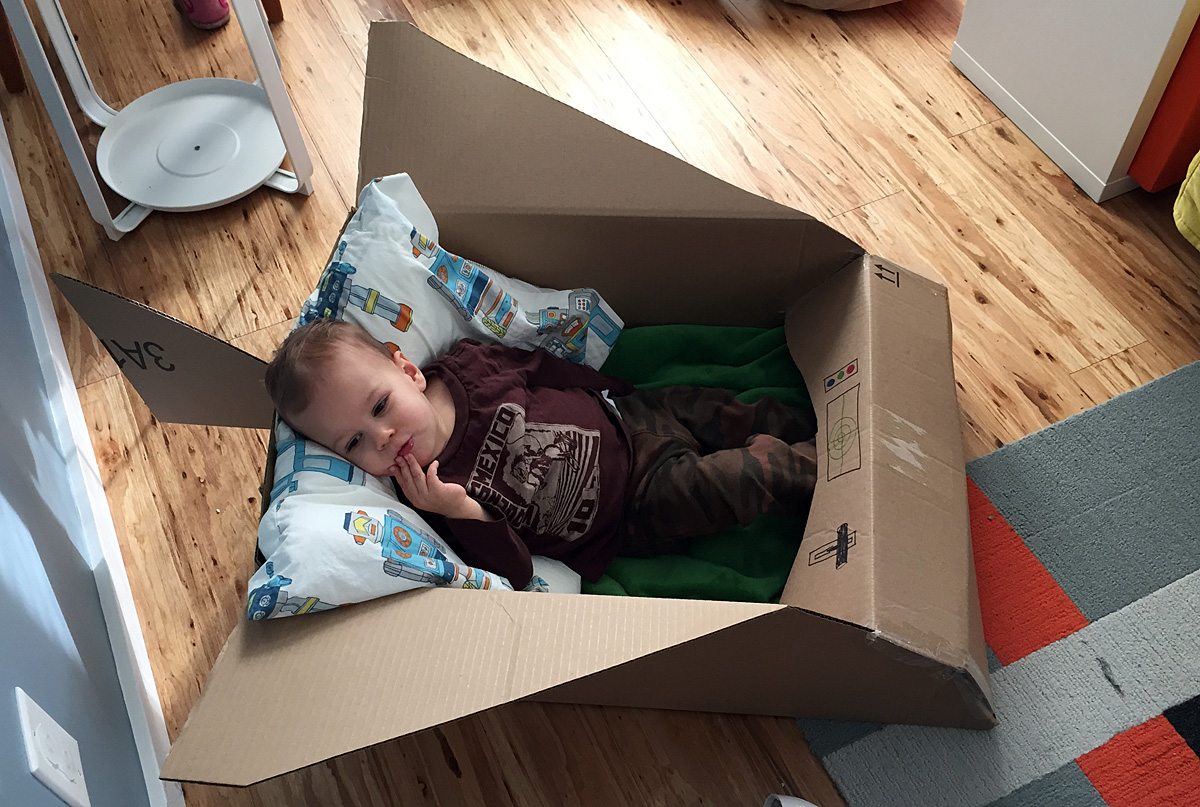
I cut a tail fin, then some wings, and then a swept back nose cone. I grabbed the Sharpies and drew on some buttons, a throttle, and a radar. To finish it off I threw a blanket and pillow in it for comfort. This was my first time trying to make something other than a differently shaped box out of a box so, after a quick ride in it, my son quickly broke his rocket ship. Who knew a toddler was stronger than packing tape?
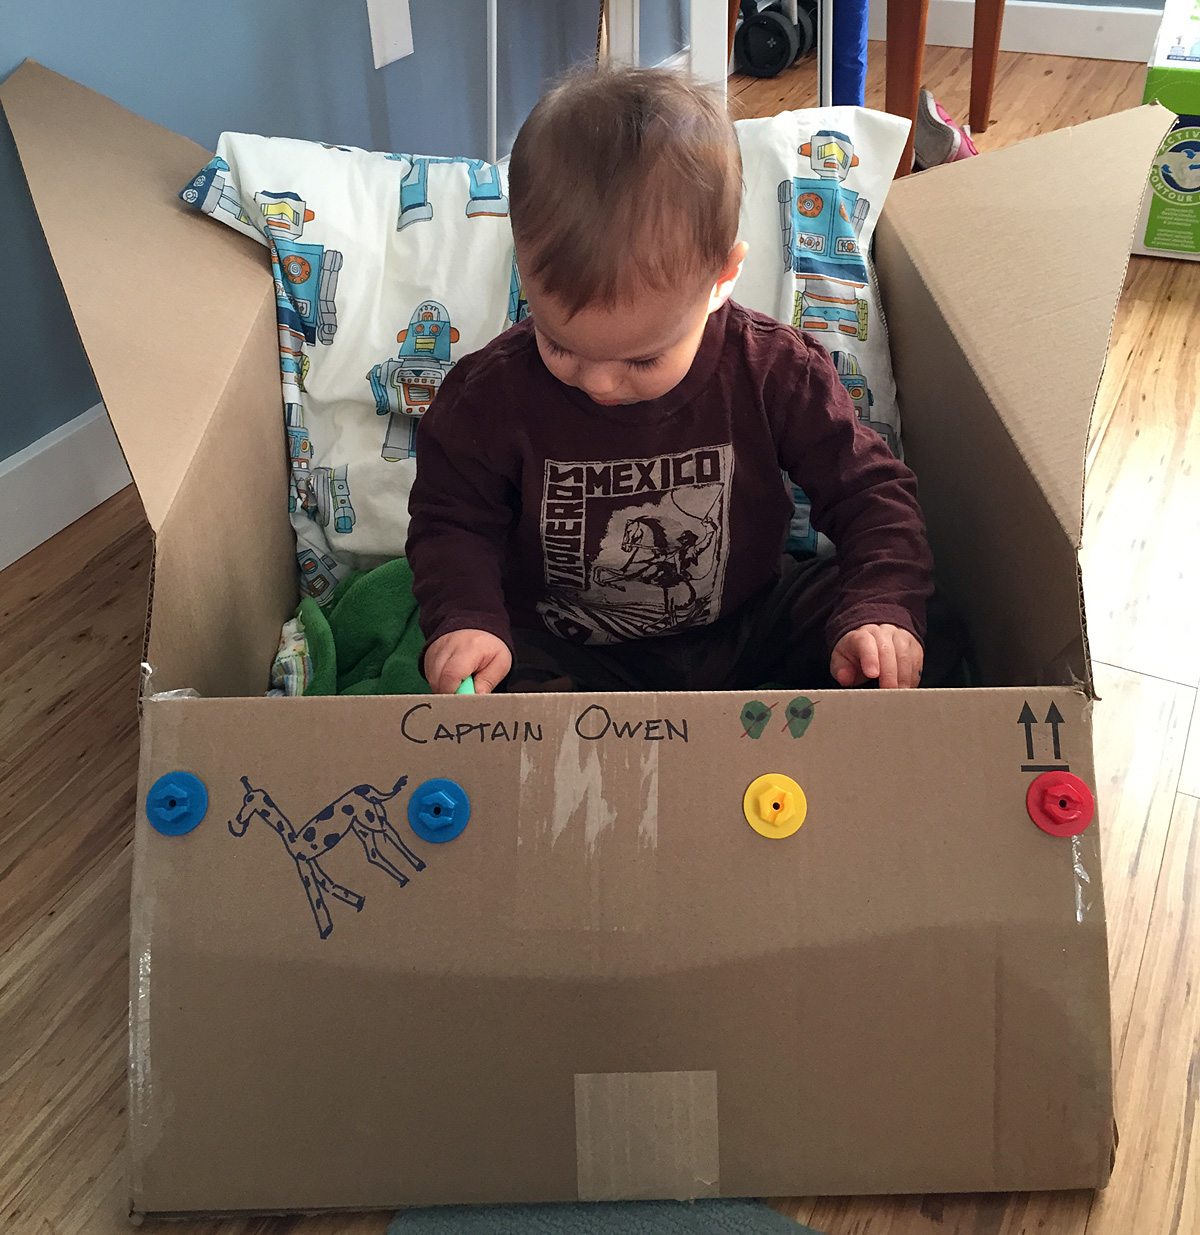
Not to be deterred, I went looking for something stronger to hold the ship together. For Christmas, we got our son a pretty cool workbench which, among other things, includes several plastic nuts and bolts. I cut some holes with my box cutter and pushed the bolts through and suddenly we had a fairly stable and sturdy rocket ship. I also added his name, some alien “counters,” and, by request, a blue giraffe to the rocket ship.
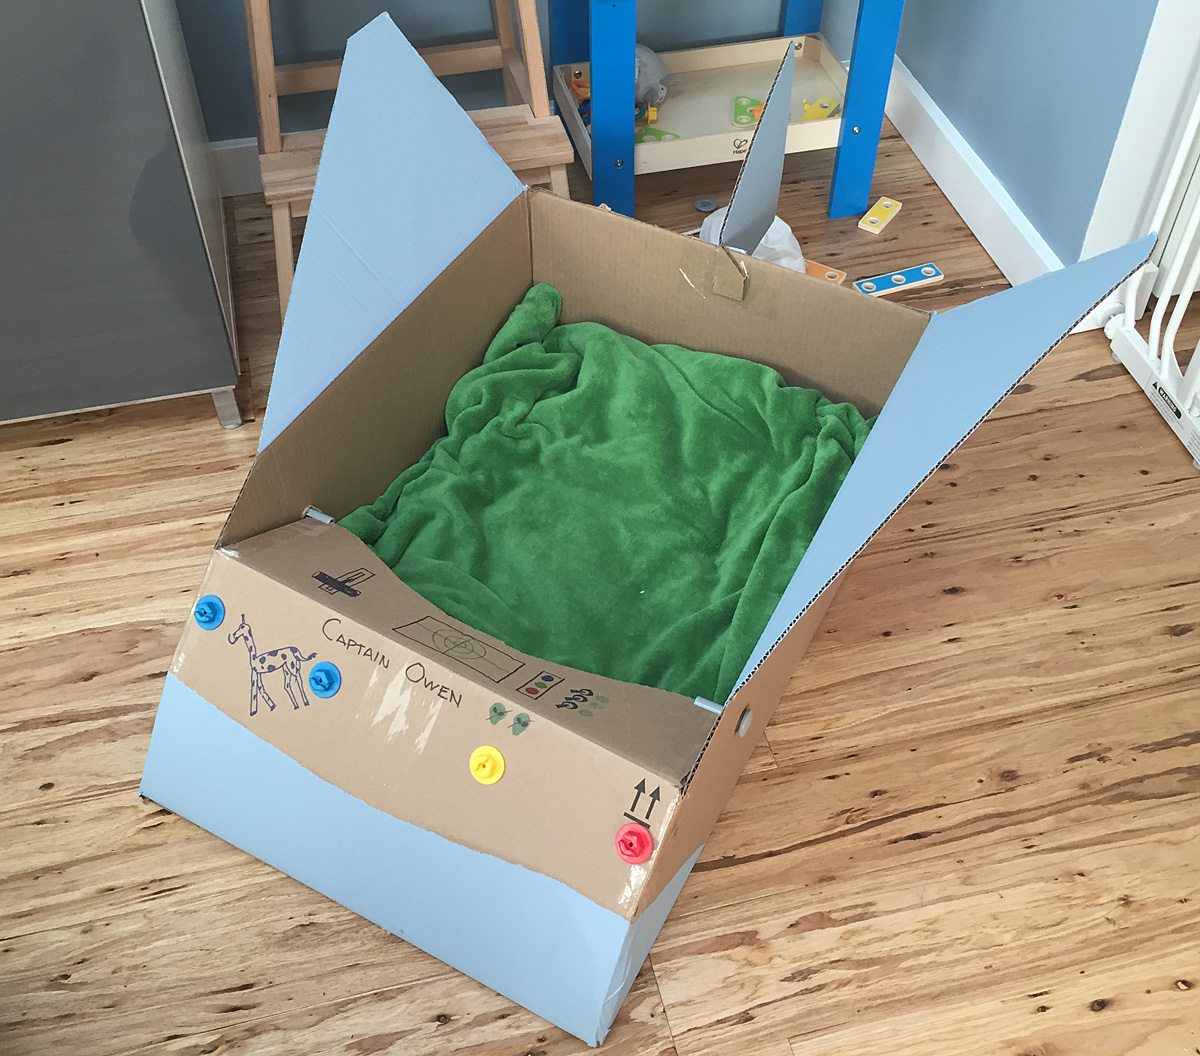
To polish off the rocket ship, I took 2 plastic nails from his workbench and used them to hold the control panel in place, drew some switches on the control panel, and used some left over paint to paint the tail, wings, and nose cone. I’m pretty happy with the final results, and my son loves it!
The second project I was assigned for the party was a robot decoration that was also a game! My wife found this blog post on making a punch game as an alternative to a piñata. Using this as the base for the project, I set out to build a robot version of the punch game.

Most of the supplies we had around the house.
- 3 differently sized cardboard boxes for the head and body and feet
- Construction paper to cut out bits and bobs
- 2 canning jar lids for eyes
- a leftover can of metallic spray paint
- a leftover metal-braided water house
- 2 differently sized leftover metal hoses for arms and legs
- Glue stick and tape
The only two items we had to purchase for building this were the tissue paper, for punching through, and the lunch bags, for holding the goodies in place. Not to overstate the obvious, but we did also purchase the goodies to go IN the bags.
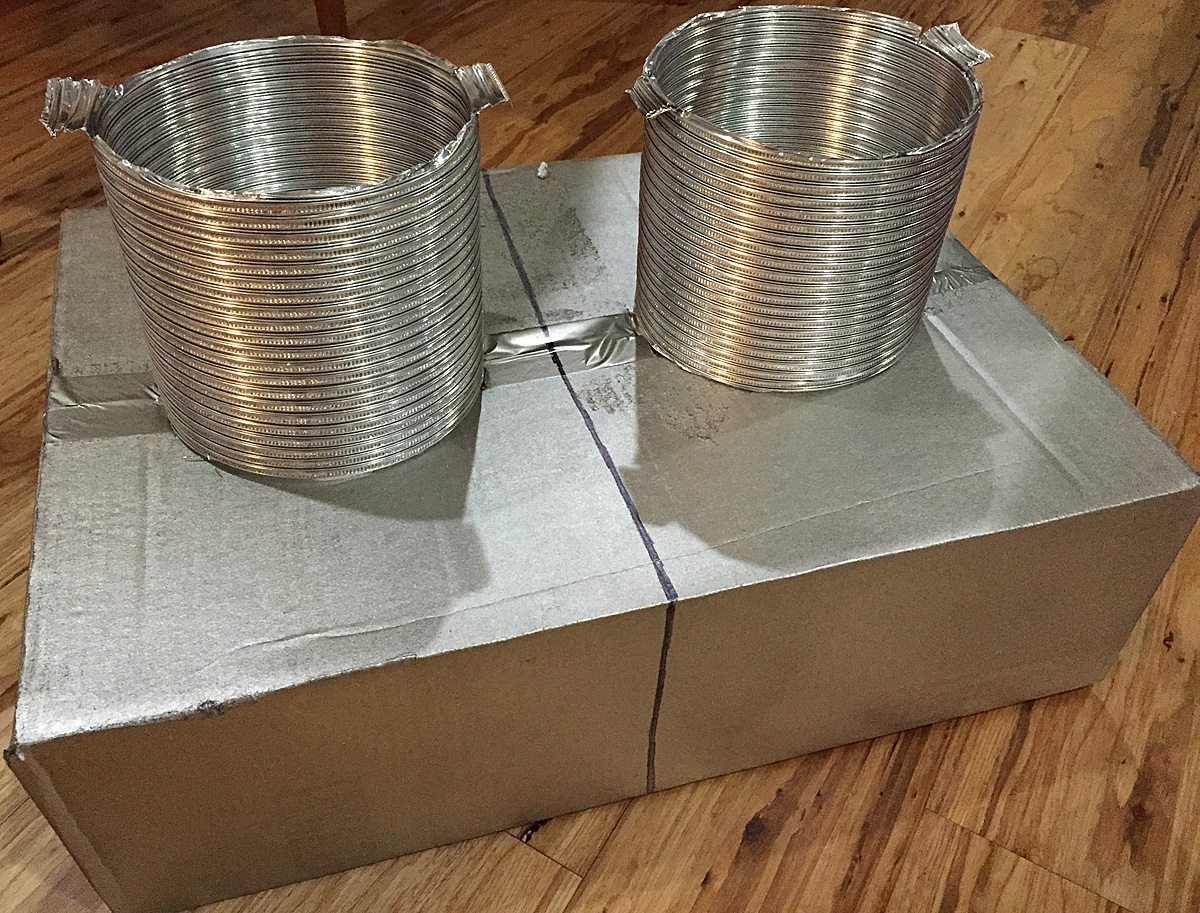
After spray painting my three boxes, I started on the feet and legs. I didn’t want to make the feet independent as I wanted this as sturdy as possible. I drew a line to show a division between the two feet and then cut two very short legs from the wider 6-inch vent hose. I cut tabs in both ends of the hose to attach it to the feet and the body.

Next, I built the head. I stuck the braided metal hose into the top of the head. Then I cut two green circles out of construction paper along with a blue mouth. I stuck the circles inside the jar lids and glued them onto the box. I drew some “teeth” on the mouth and glued it on as well. The final touch was adding a plastic nut and bolt to the bottom of the head so I could attach it to the body and allow the head to be turned.

Next was placing and cutting out the 16 holes on the robot body that would serve as the punch holes.
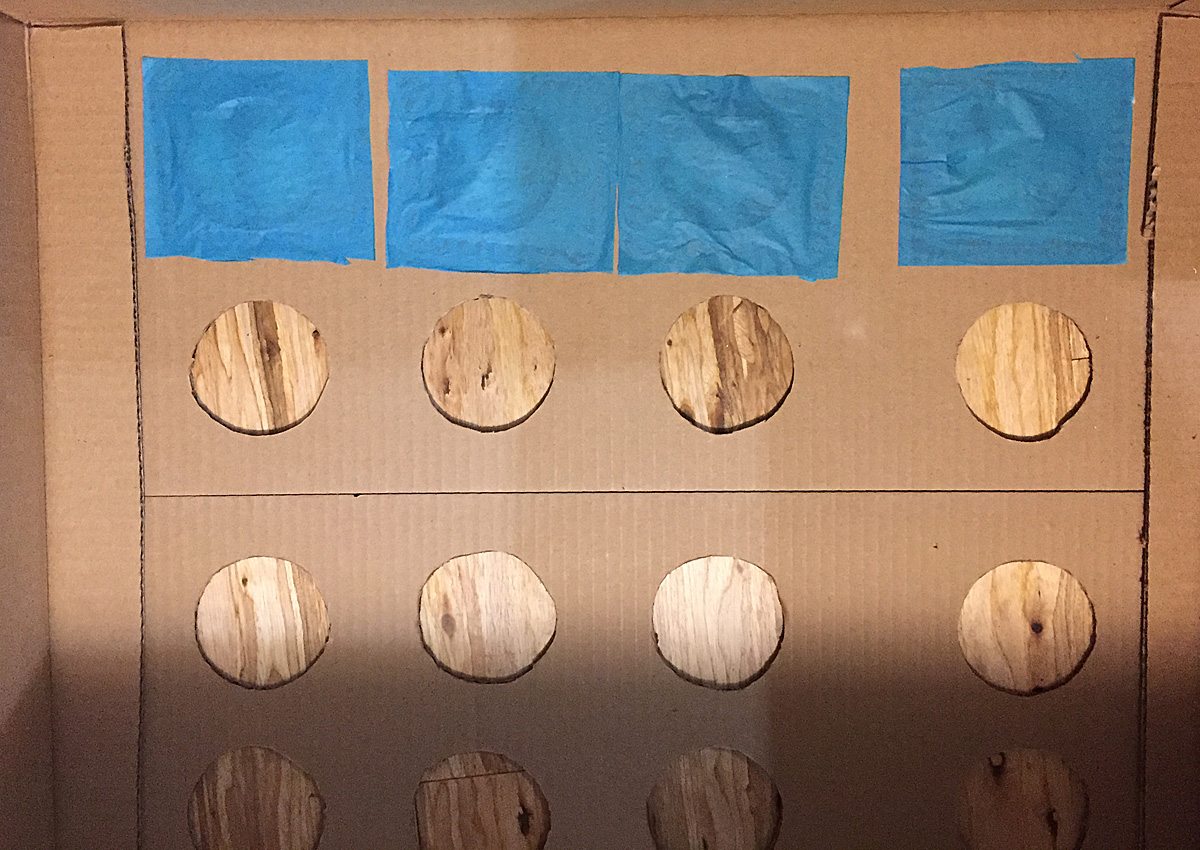
Then I cut 16 squares of tissue paper in four different colors. These were glued inside the box over the hole cut outs.
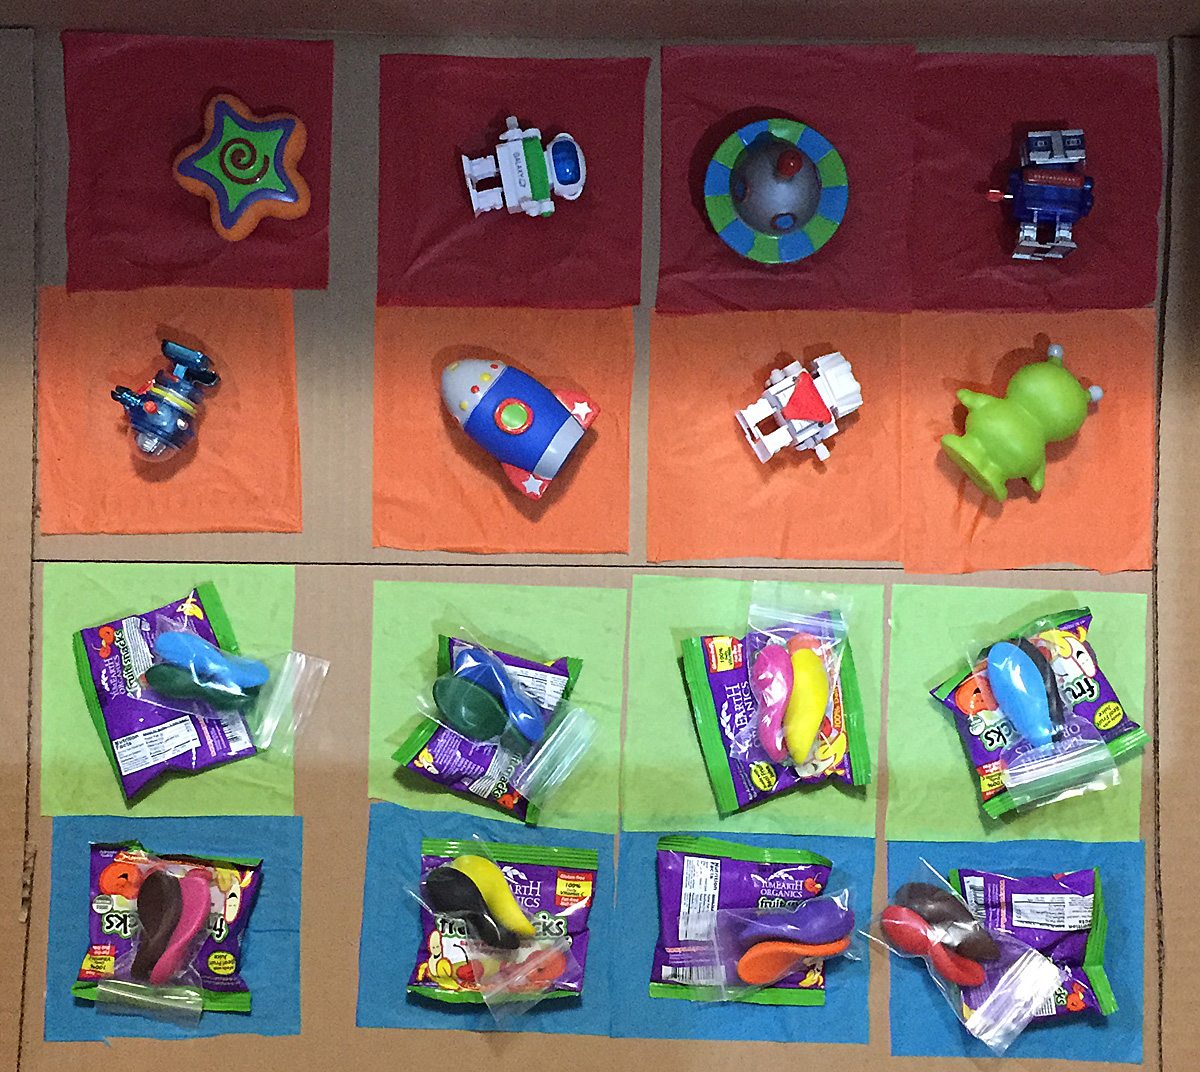
Once all of the tissue paper squares were glued down, all of the prizes were placed out over the holes.
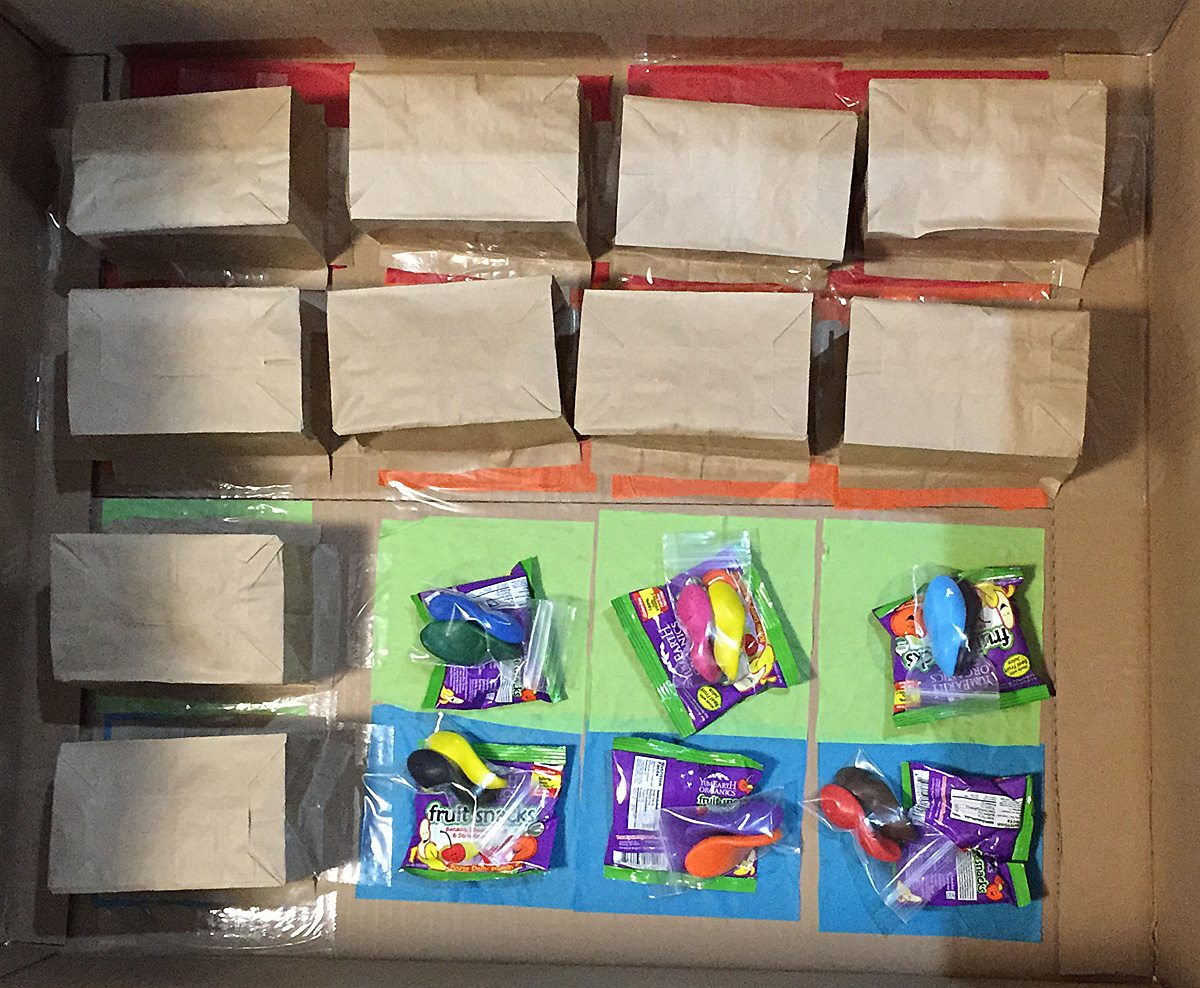
Then a lunch box cut down to about 3 inches high was taped over each prize. The bag holds the prizes behind the hole until a toddler hand punches through and grabs it.

Once all the bags were taped down, I assembled the body, head, and feet. I finished him off by cutting two armholes in the side of the main box and using two lengths of the four-inch metal tubing.
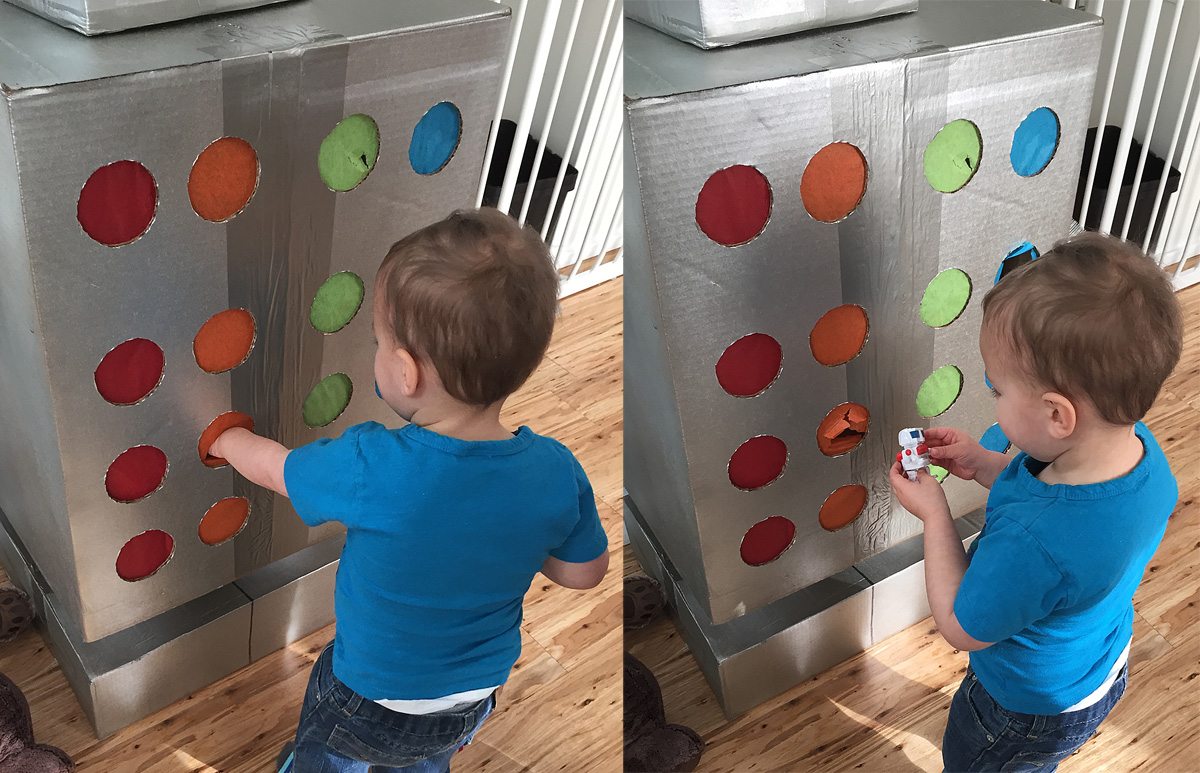
All of the kids loved taking a spin in the rocket ship, and they loved the robot punch box and their prizes. Although it took several hours of labor, the joy they got out of it was definitely worth the effort!
All photos by Will James.

This is so cute!