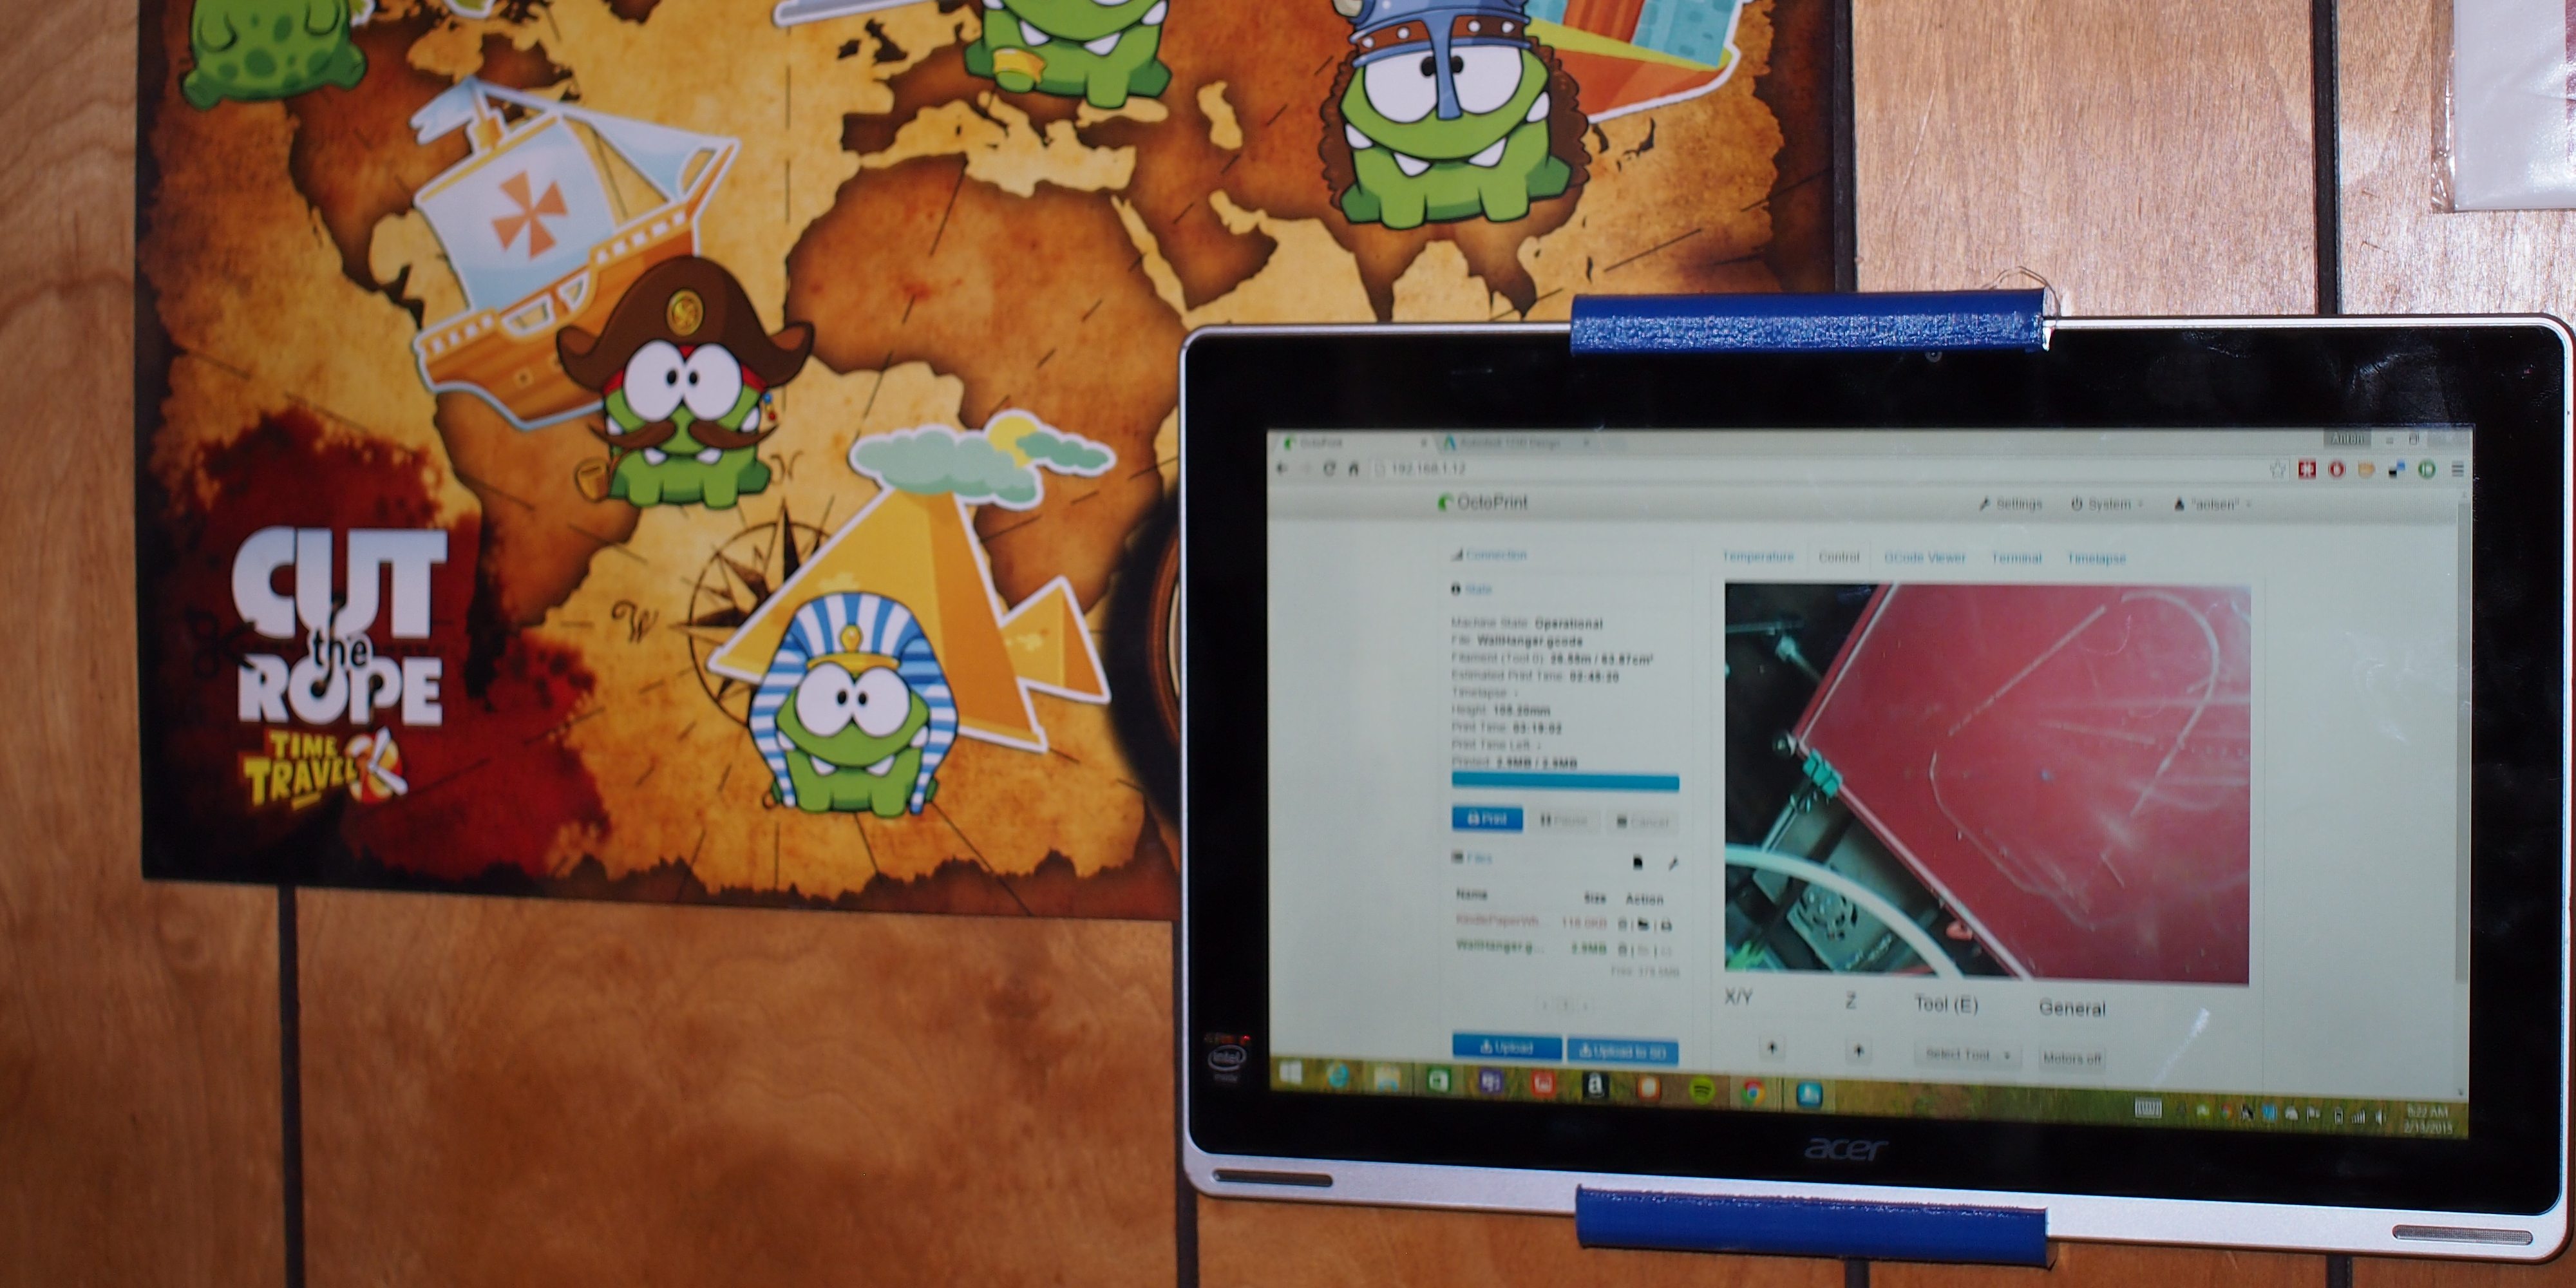
As part of Acer’s Seize The Idea contest I’ve continued looking around the house for a good project, and my eyes once again came back to my 3D printer table. It is cluttered, messy, and much too small for the number of things I use it for. Soon after printing the stand for the Switch 11 and changing to Octoprint for printer control a new soldering station arrived. With its placement on the table here is little room left to actually solder anything, so something else has to go. I eventually plan to fix this space issue by building a workbench/desk, but in the mean time I’ll just mount the tablet on the wall and give myself just a little more elbow-room.

Back to OpenSCAD it is. This time the model is not as complex as the pentagonal stand, but it still requires a similar number of lines. Mostly because I wanted rounded corners and the code to produce them is a little wordy. OpenSCAD has a cool function called minkowski. This function combines a cube and a cylinder to make rounded corners. When run the cylinder does not need to be placed anywhere in particular, just that it is oriented parallel to the sides you wish to be rounded. I’ve turned the model on its side for printing so there won’t be any risk of the layers separating and dropping the tablet on the floor.

If you’d like the OpenSCAD source code, I keep it in my Github repository. I have also updated the pentagonal stand and moved it into a new directory, Parametric Stand. It is fully parametric so any size stand can be generated just by plugging in the dimensions of the tablet.
Printing this model was a challenge on my printer because of the size. After a little trial and error, a few adjustments to the model and the print job, I made it small enough to print. If you’re making this for a tablet larger than the Switch 11 or if you have a printer that struggles with a 200mm print bed, then you may need to print it in two chunks and glue them together. When you are setting up the print job consider moving the perimeter close to the model or remove it entirely, and turn everything 45 degrees.
Now that the tablet is mounted securely to the wall, it seems a waste to let it just idle. I’ll turn it into a digital picture frame when I’m not using it for the printer. There are a ton of free slideshow apps for Windows, but I decided to use the Flickr slideshow. All of my photos are already stored in Flickr, and space on the tablet is limited so this makes perfect sense. Just be sure to change your power settings and disable the screensaver when on AC power.

My next project will be a new workbench/desk for the 3D printers with enough extra space for my soldering station, laptop, storage, and more. I’m already using Autodesk 123D on the tablet to model the workbench. I’d considered using OpenSCAD, but this project seems be too complex to keep straight in code.
Don’t forget about the Acer Seize The Idea contest. You can enter to win some cool prizes and have fun doing so. There are a few great ideas already listed on the contest site. Check them out and if you think you have a better one, post it for a chance to win!
Acer did provide me with the Switch 11 for the purpose of these blog posts.


