
Long before Netflix or VCRs, a famous filmmaker once compared writing for television to building elaborate sandcastles – despite all your effort, after the broadcast, your masterpiece was lost to time. Sometimes I feel that way about breadboarding too.
Three years ago, a friend gave me my first Arduino. I’d never soldered anything or even made an LED blink, but after breadboarding the 15 circuits in the SparkFun Inventors’ Kit, I was hooked on hobby electronics. The problem was that once I got a circuit working, I’d want to keep it around to show friends or family, but also to clear the breadboard and start the next project. I ended up buying several more breadboards.
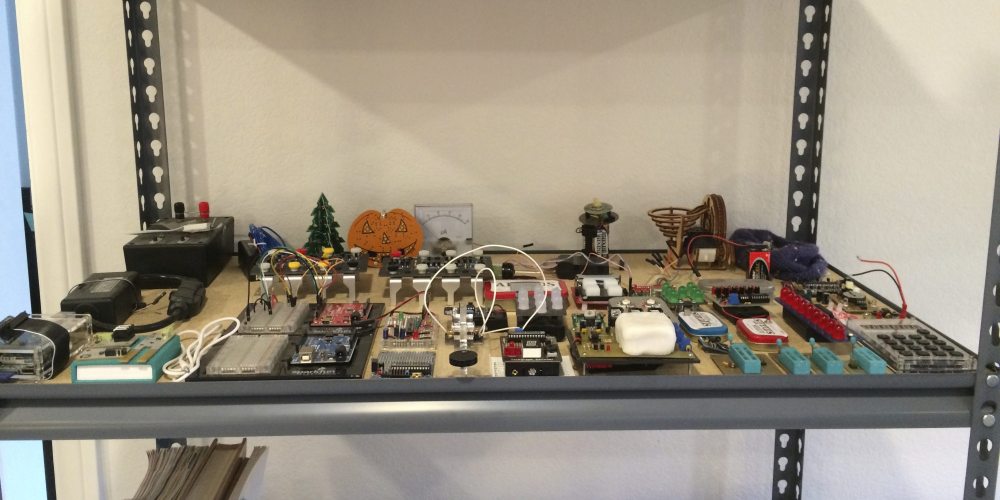
I recently wanted to learn more about microphones, so I breadboarded this simple volume meter circuit.

My 3-year-old daughter loves alternating between whispering and shouting and watching the LED bar move in response. When I finally took the circuit apart, she wanted to know where her toy had gone. Luckily, in the past few years, I’ve also learned how to make my own circuit boards and build more lasting projects.
The simplest option is to order an existing kit and solder that together. I’ve made dozens of these and love doing so, but it doesn’t compare to the satisfaction of designing your own circuit.
The first permanent circuit I made was Project 14 in Charles Platt’s Make: Electronics, built on plain perf board where the component leads are simply soldered to each other. I found this technique maddening.

A big step up for my next circuit was to use copper-clad ProtoBoard. Now I could solder each component to the board and then route the connections together. A definite improvement, but still a bit messy with inadvertent solder bridges.

I realized it was time to learn how to make a printed circuit board.
There are dozens of fab houses that will make these for you, and I tried SparkFun’s BatchPCB when it existed and last year switched to OSH Park, famous for their purple boards. But a 2″ PCB costs about $30 and takes over a week, often too much and too long for something I’m building just for the fun of it.
 My first experience with etching my own PCBs was inspired by Collin Cunningham’s excellent Circuit Skills video for Make and Jameco. I bought a desk lamp, pre-sensitized copper boards, transparency paper, a heavy glass frame, Datak developer, and ferric chloride. Unfortunately, converting our condo’s only bathroom into a chemical dark room was a long and messy process, and the results were inconsistent. The first two boards I made turned out fine, and it was extremely rewarding to make PCBs from scratch. But follow-up attempts never worked as well. I’d try five or six in a row that were either overexposed or underexposed or over-etched and in several hours I’d ruined $40 worth of boards. At that rate I should keep ordering professional PCBs.


The Zenworks CNC at Makershed is “only” $1,000. Half of what you say, so worth noting. But still not exactly cheap. Haven’t put mine together yet, so cannot say how good it is.
I have seen discussions of the Volterra which say that silver paint tends to have poor resistance and high cost.
There is also a way to etch using an ironed laserprint & a mixture of hydfogen peroxide, vinegar and salt if i’m not mistaken. You need to wait a bit longer, but no mess with the ferric chloride and cheaper.
Thanks, Jacob. I came close to ordering a Zen Toolworks 7×12 about a year ago, although a friend told me they weren’t great for PCBs. He said they are excellent for making enclosures and all kinds of other fun stuff, just not great for PCBs at that point. But he may have had a bad experience or things may have improved. I do want to own a mill for plenty of non-circuit board reasons.
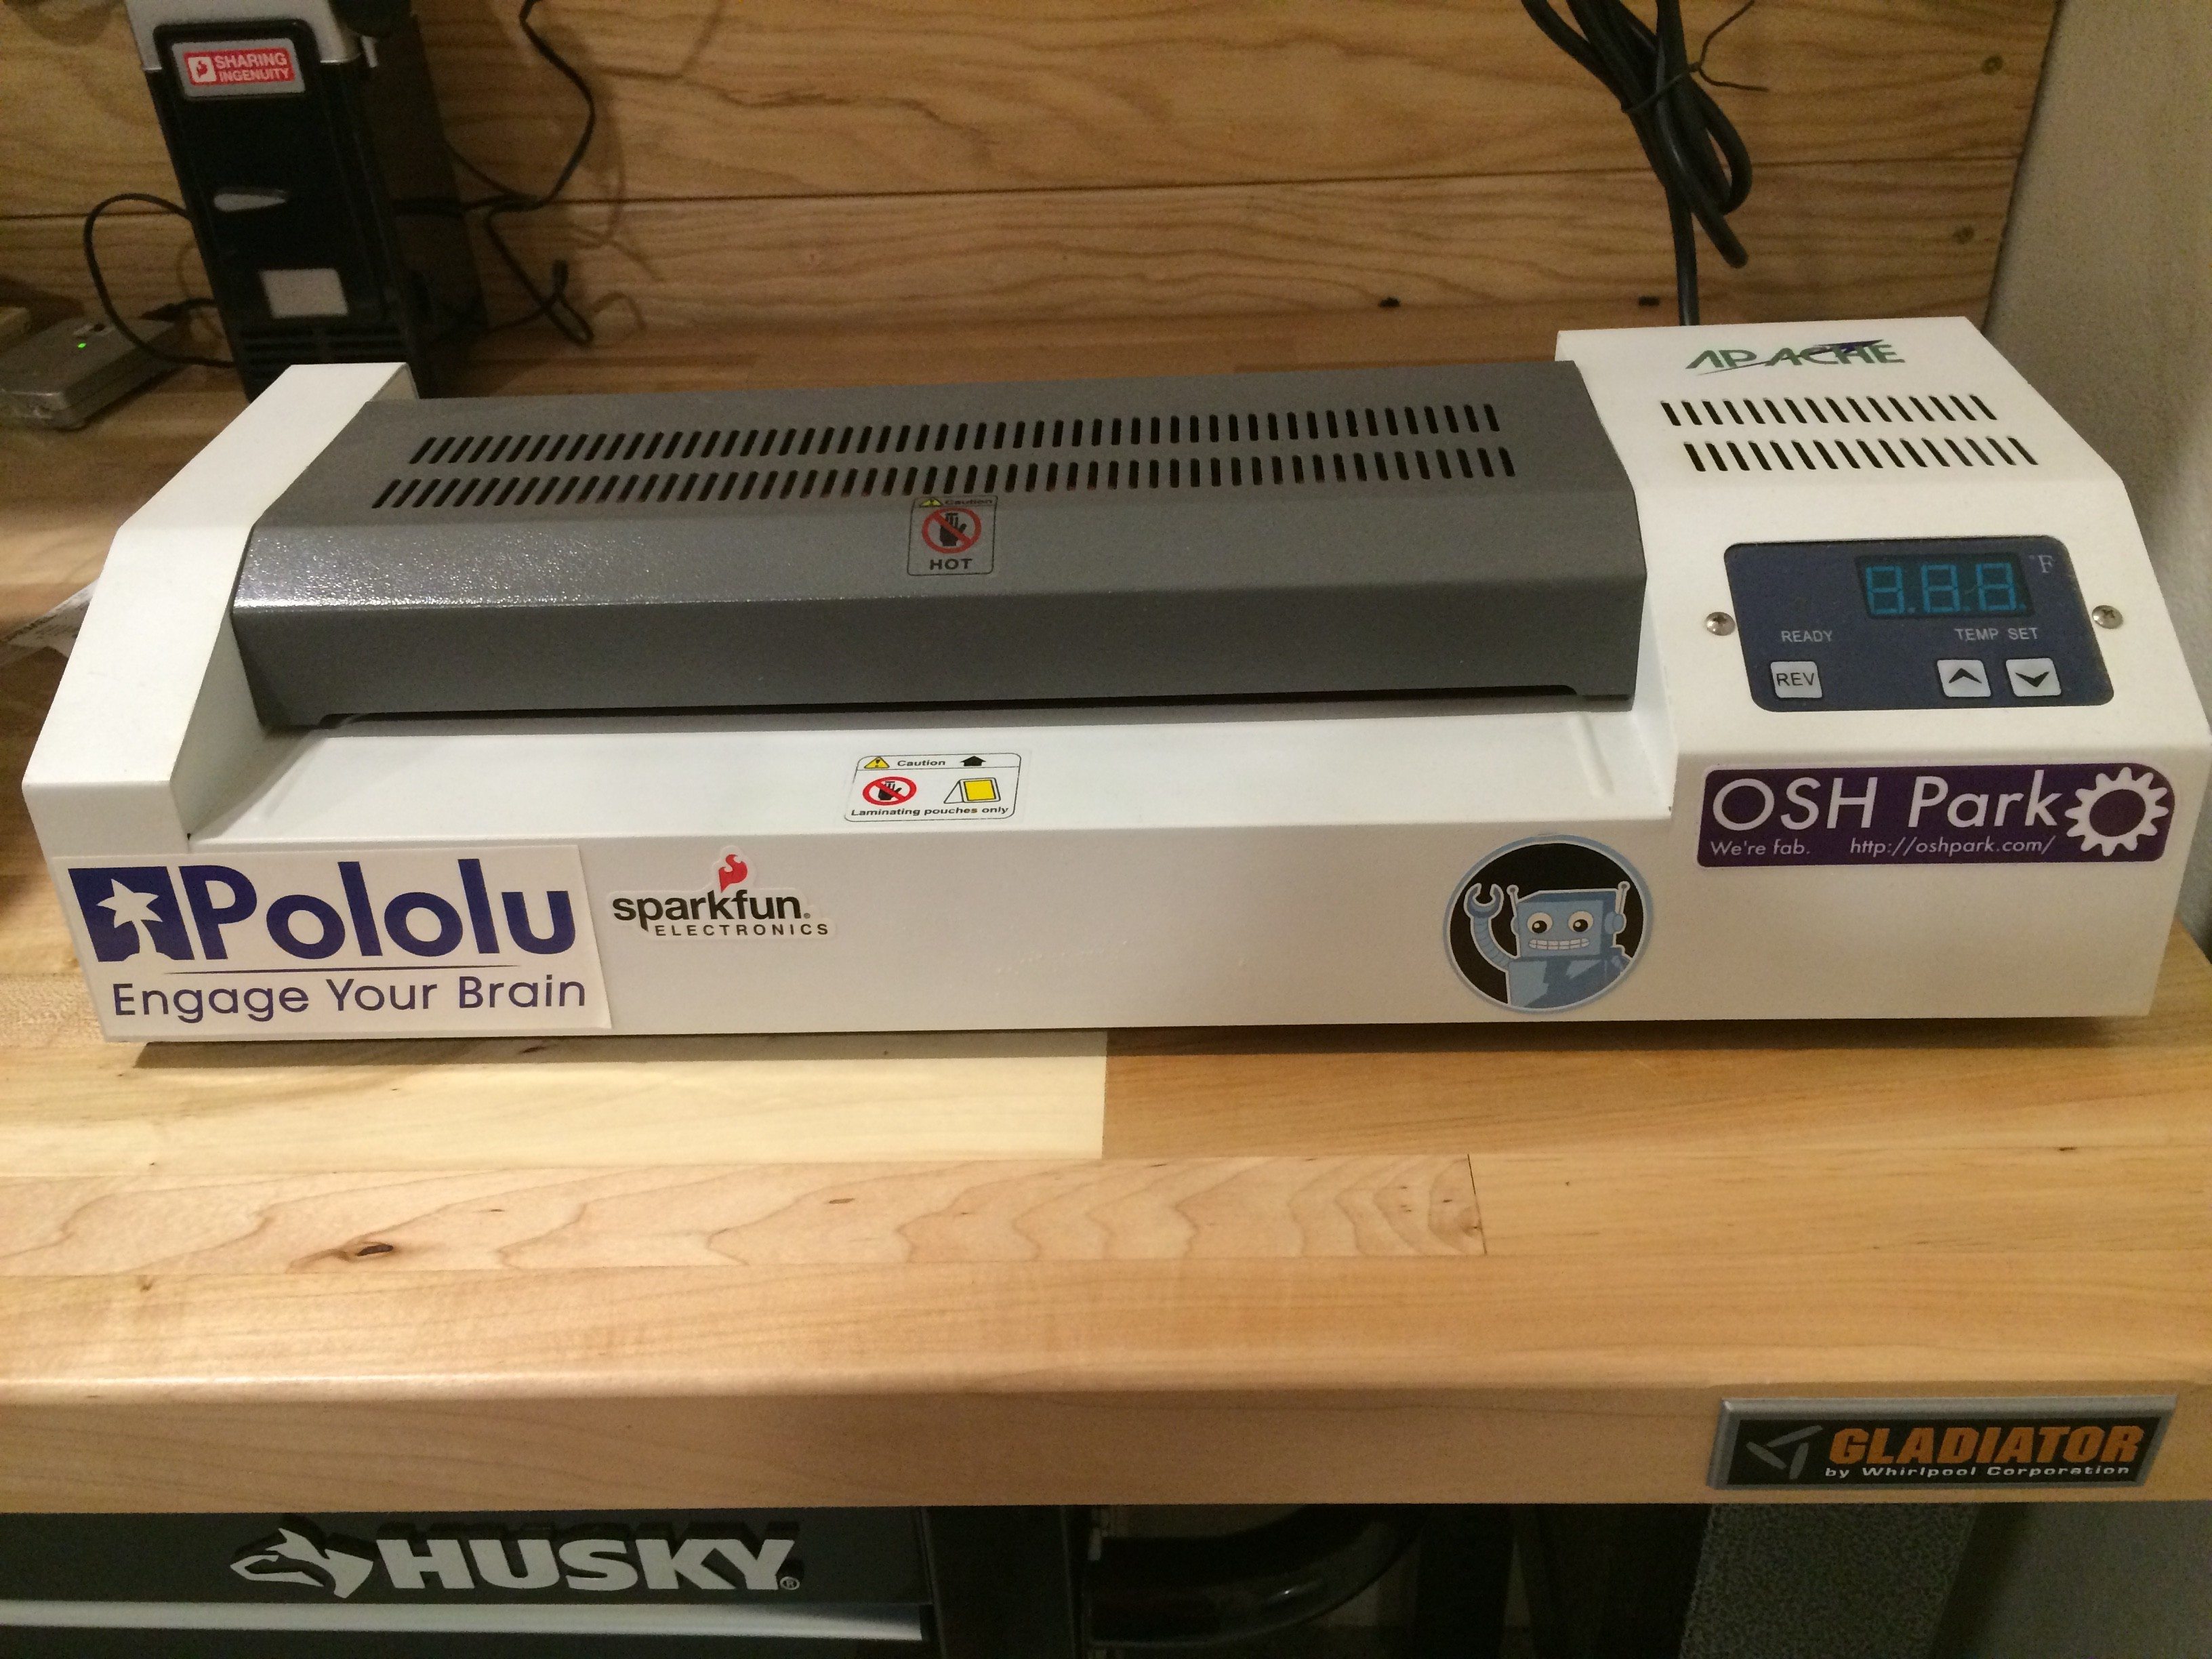
Thanks, Cedric. I didn’t have much luck ironing, and even running the Press N Peel blue sheets through the Apache laminator (at 379 degrees F and with the rollers’ tension adjusted as high as possible), I only had some success getting the images to transfer cleanly to the copper. I’ve read some people just Laser print onto glossy magazine paper and iron it right on with no issues, but they must have a better iron than I do!
As for using vinegar and hydrogen peroxide, I don’t make enough home circuits to really worry about the cost. My 33oz bottle of MG Ferric Chloride was under $15 and will probably last me years. I do have to be careful about stains as I’ve ruined two t-shirts and a pair of shorts, but now I work on a towel and have gotten much better. I have the same problem handling regular household bleach, so I probably shouldn’t touch any staining substances. 🙂