
Sometimes, a project looks too easy to be true. These were my first thoughts with this clever wand tutorial circulating on Pinterest. As it turned out, it was as easy as it promised.

Image by Lisa Kay Tate
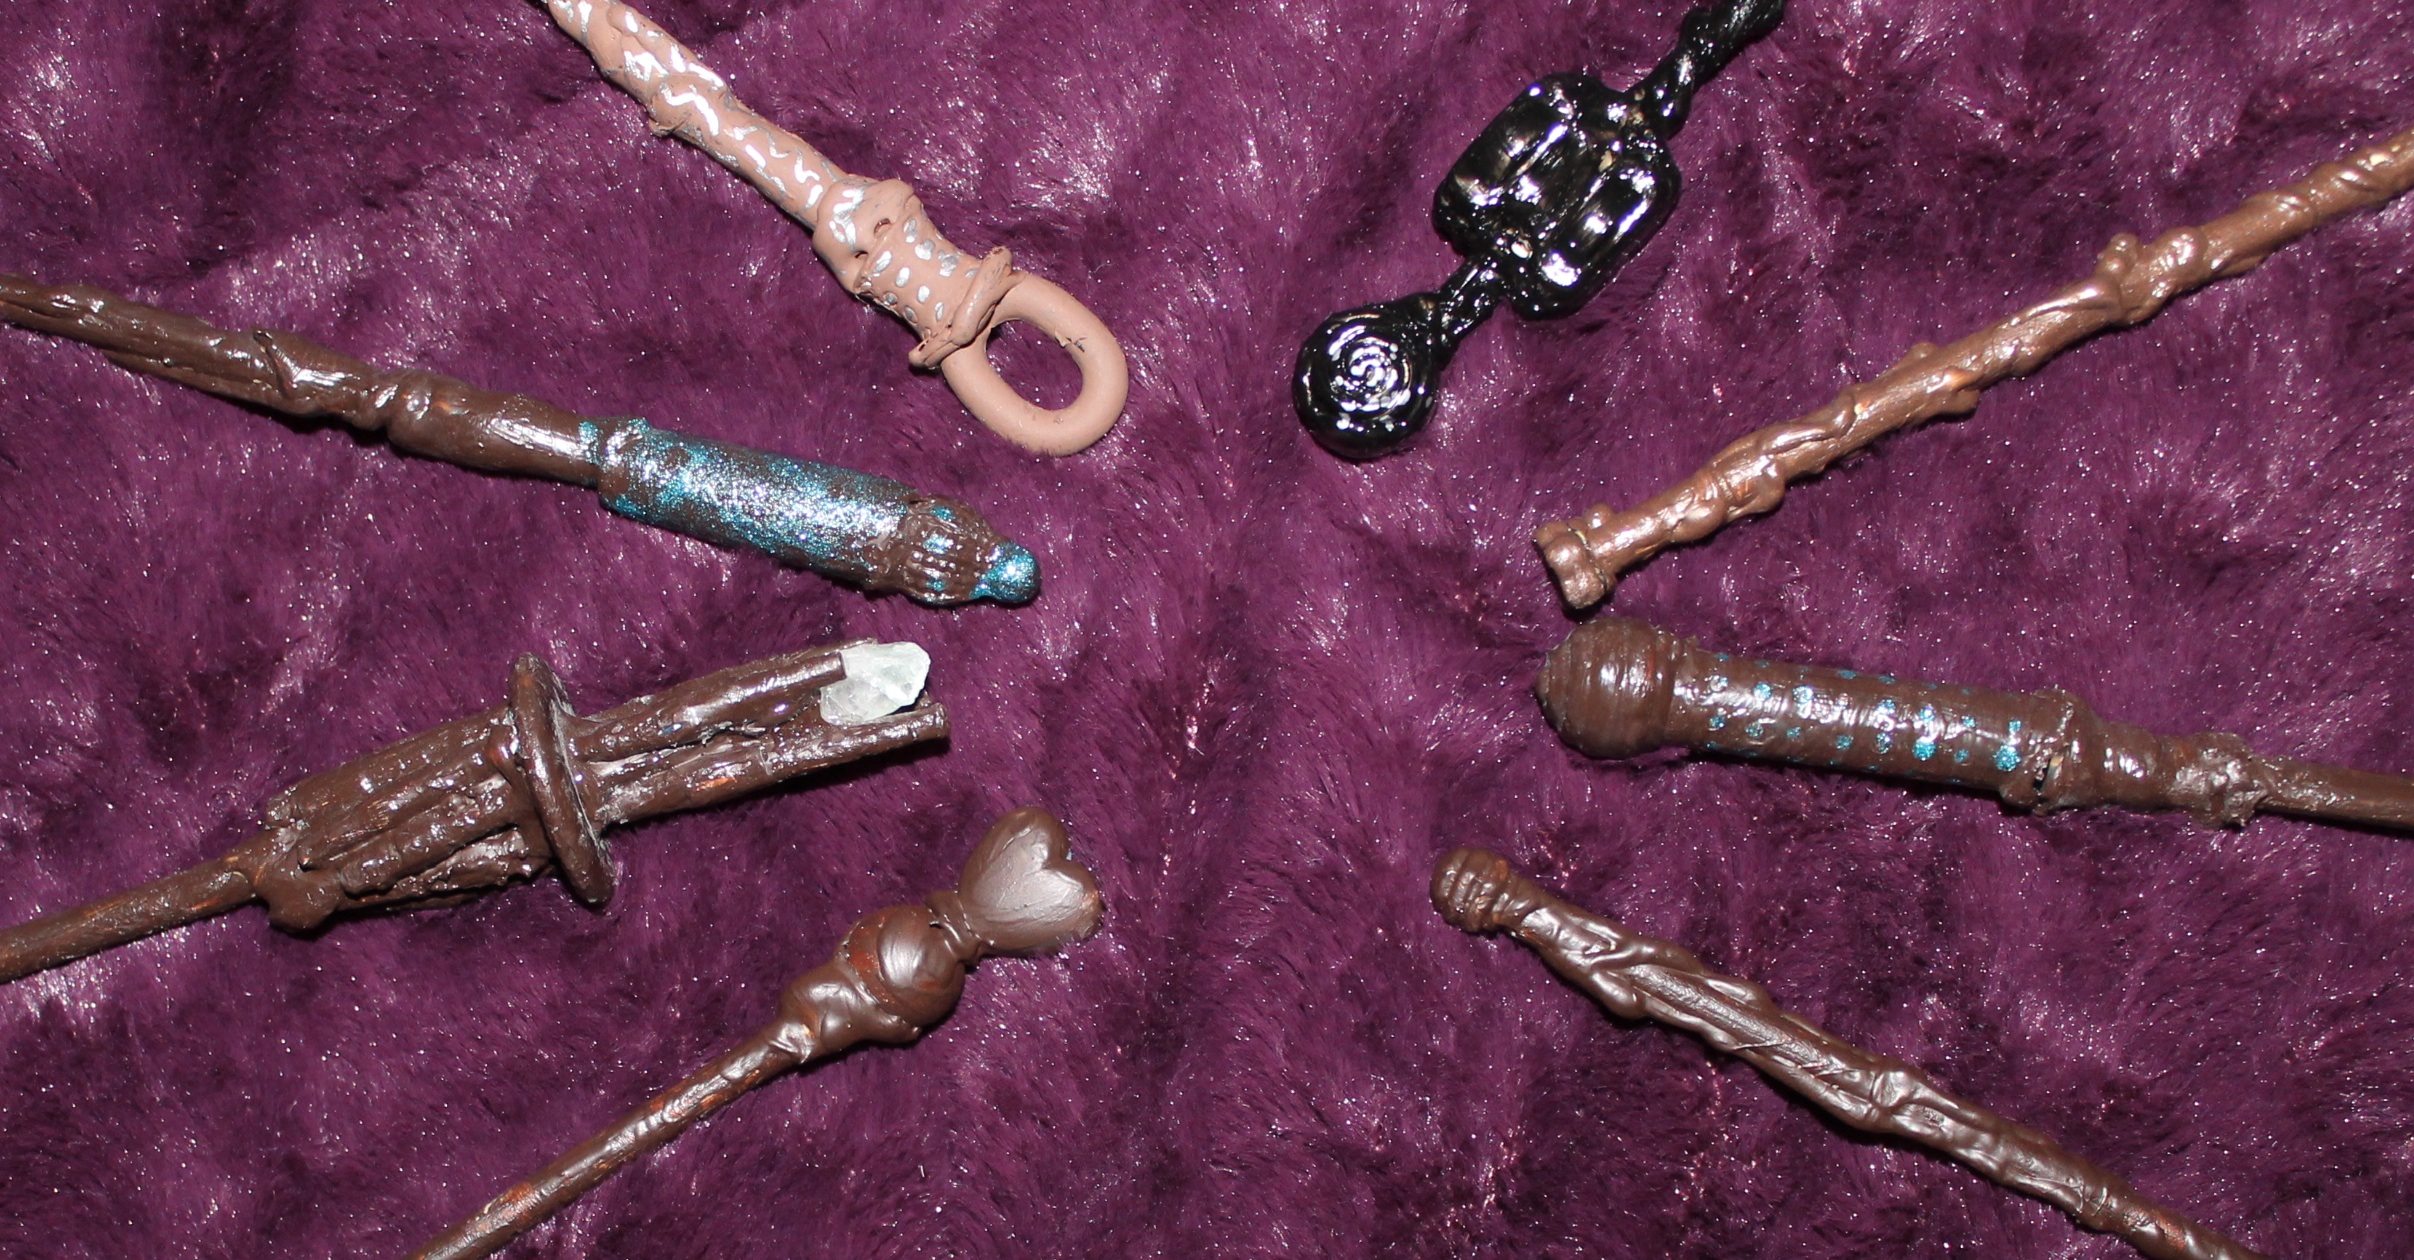
This idea met my first criteria when looking for a family project, in that, I could use materials I already have in the home. All these took were small wooden sticks (like chopsticks), a glue gun, beads or any other small items for embellishing, and craft paint (glossy acrylic works well).
The construction was straightforward and simple. Use a glue gun to create the pattern and design of the wand, adding beads or small baubles, or other items to embellish it. We even used the shell of an old pen on a couple of wands. Once the glue hardens and cools, which takes just a few minutes, paint the entire wand the desired color with acrylic craft paint. I added a few highlights in other colors on some of the wands, but they look really good in just a solid, brown or black.

Images by Lisa Kay Tate
This is what I refer to as a “potato chip” craft: it’s impossible to just make one. Between my daughter and me, we worked on about six of these at a time, and had an entire arsenal of little wands ready to arm Dumbledore’s Army. They would be an ideal party favor for a Halloween bash, Harry Potter-themed birthday party, or even a kid’s book club or school craft project.

However, since I’m unable to leave anything alone, I had to see how this project would work in a larger scale — a Gandalf-style wizard’s staff. I found a dead yucca branch (although an old wooden broom stick would work just as well) and constructed a simple, rustic looking headpiece with duct tape and craft wires. I used the same method as the wand and glue-gunned the head piece on the end of the stick, and then added some texture. I then painted the entire staff dark brown, and added a piece of calcite-like rock at the end. It turned out pretty nice, too, although I did go through a significantly larger amount of paint and an entire glue stick.

Image by Lisa Kay Tate
A definite plus is how cheap they are compared to some of the wands available in stores or theme parks. They are much smaller than the commercial wands, but they are also much lighter and easier to handle with littler hands. I compared my homemade wand with the one I purchased from a prop replica company, and it wasn’t a bad substitute as a toy or costume prop. Especially since my commercial wand set me back $30, the homemade wand cost around $5 in materials and took 15 minutes of my time. Likewise, a commercial replica of a wizard’s staff like Gandalf’s or Radagast’s can run well over $100.
My one word of caution is being careful with the glue gun if working with younger kids. Not only does the gun itself get extremely hot, but we’re dealing with the hot glue itself as a medium, not just an adhesive. I wouldn’t recommend younger kids mess with this part of the craft, although my four-year-old loved painting the wands once the glue had settled.
Final analysis, Give these a go. They are easy and inexpensive, and very fun to make. My tip of the wizard’s hat to the one who came up with this idea.
Find the original wand tutorial for this craft on my “Creative Inspirations” board on Pinterest.

Image by Lisa Kay Tate