I don’t know what it is about the idea of illuminating a small glass vessel that is so popular in the craft world right now, but I can only venture a guess the simplicity and coziness of a little light in hand or home is a welcome sight any time of year.
If I was exceptionally industrious (and wanted to take up more space than necessary), I could list a different “jar candle” technique for every day of the year.
Instead, I think it would be easier to give a sort of “candle of the month” selection of twelve of the more easy-to-do ideas I’ve found.

Some of these are incredibly simple, and will take less than an hour’s time to complete. For the more complicated ones, I’ve included a link to instructions listed by the crafts creators.
Witch Jars. I’ve seen several methods of making this, but they all follow the same basic recipe: Give a quick spray of black or brown spray paint to the bottom of a jar, add some watered-down school glue; green, red or yellow acrylic paint; and a little dirt or twigs. These look great during the fall “haunting season,” but they also make a nice rustic-looking candle for a porch or windowsill. One method can be found at http://beautifulhalloween.blogspot.com/2010/09/strublay-style-witch-jars-tips.htmlbeautifulhalloween.blogspot.com/2010/09/strublay-style-witch-jars-tips.html
Rope Wraps. Lightly wrap a strand of rope or yarn around a glass jar, securing the ends with a small amount of craft glue. Spray the jar with white or light-colored spray paint, and gently remove the rope. The resulting pattern is quite pretty.
Glitter Jars. Brush a water/school glue wash over the inside of a jar, then dust with glitter (silver or gold looks best). These look elegant at Christmas, weddings, summer night pool parties, or anytime.
Sun-melted crayon candles. Tie a candlewick around a pencil, and set it over the opening of a jar so it hangs down the center. Fill the jar with broken crayon pieces, wrappers removed. Leave the jar out in the sun for a few hours for it to melt into a candle. I suggest using only a couple of layered colors at a time, as the crayons might have the potential to melt together in blackish glob.
Nature-inspired votives. Fill jars about 1/3 of the way uncooked beans, lentils, small rocks, or sand to rest a tea candle on. These are almost too easy, but they look so cool I couldn’t exclude them.

Lace patterns. Wrap a paper doily or wide piece of lace around a jar, and coat the entire thing with dark paint. Remove the doily for a patterned jar that will reflect beautiful shadows on the walls and table when lit.
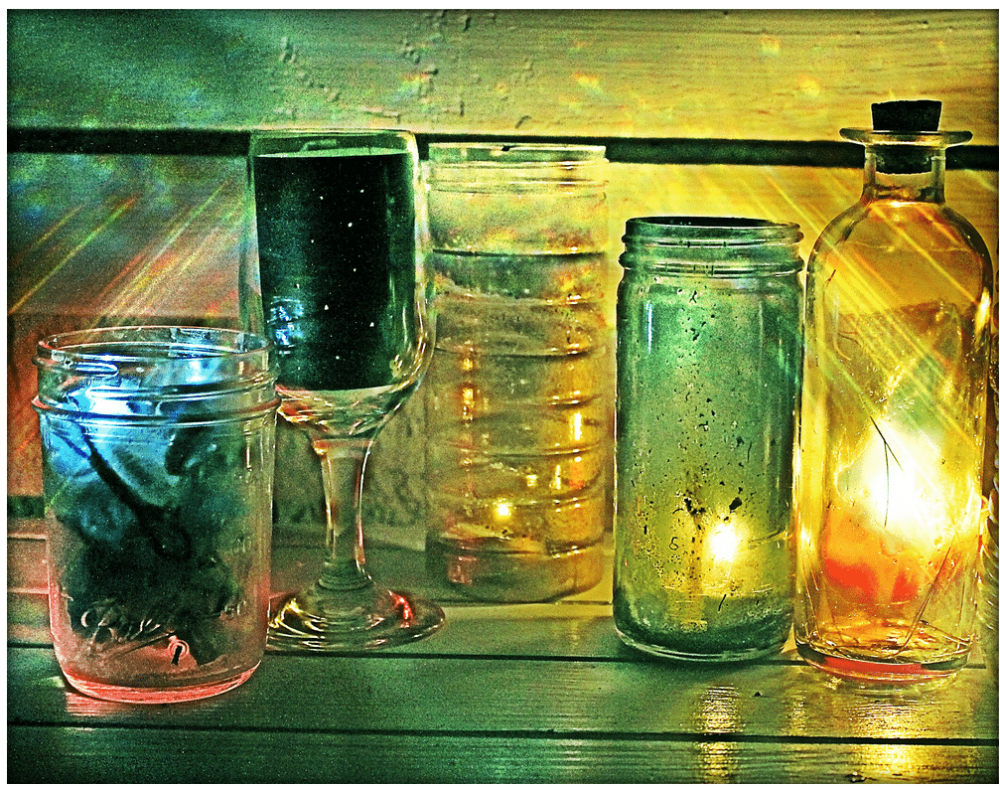
That Mountain Dew method. I’ve discovered this well-shared method actually works, at least for a while. Add three caps of peroxide and a little bit of baking soda to bottle filled about one-fourth of the way with Mountain Dew. Works for both camping and science fairs. Here‘s an interesting version with Mountain Dew and Mentos to try as well. http://science.wonderhowto.com/how-to/create-light-with-mentos-and-mountain-dew-278072/.
Night Sky. Poke several pinhole lights in a black piece of paper, and place inside a jar or glass, to create a little mini-planetarium. Use a “flameless” votive or LED light to prevent this from going up in flames.
Jars of Glass. Mix a small strand of LED lights with pieces of broken glass. These look exceptionally nice if you have access to sea glass or safety window glass.

Steampunk lights. Punch a hole in the lid of a large mason jar to hang over a single exposed light bulb. This is the ideal way to make use of those “Edison-style” antique light bulbs found at most home or hardware stores. There’s a basic method at http://wikihow.com/Make-Mason-Jar-Lights.
Stars in Jars. Splatter the inside of a jar with glow-in-the-dark paint and keep in a direct light most of the day. These will create a little glowing “jar of stars” that doesn’t even need a candle.
Wisps in a Jar. Float an image of a will-o-the-wisp, ala Pixar’s Brave, or other fairy in a jar before adding the light. I’m not above a little self-promotion, here, so I’ll include my own link to this craft at http://lisathegeekmom.wordpress.com/2012/07/11/wisps-in-jar/.
These should be more than enough to get you started, or at least encourage you to take a trip down the illuminated rabbit hole in search of creative lighting.

