What do you get when you take the finest in inexpensive Swedish furniture, some lumber, hardware, paint, and a little Geekdad (and Geekfamily) imagination? A fun, efficient space for brothers living in the same room together.
[This post was my first on GeekDad, and originally ran three years ago in May, 2007]
When we moved into our stereotypical three-bedroom, 1960s-built California ranch-style house eight years ago, every single room in the house needed some kind of updating. Because both my wife and I have jobs where we need to spend some time working at home (meaning one bedroom became a home office), and because the boys are still young enough not to demand individual personal space, we stuck them in the third bedroom together, with an Ikea bunk-bed and a couple other simple pieces of furniture to hold them over until our remodeling frenzy was finished.
When we got to their room, the mission was clear: do something on a limited budget that would be unique, space-saving, and fun. If we were to buy new beds for them, most of the budget would be gone right away, so we decided to do our best to recycle what we had:

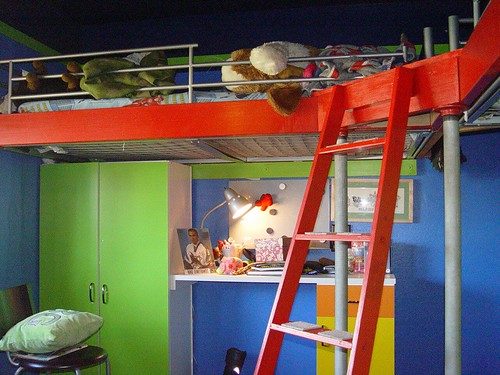
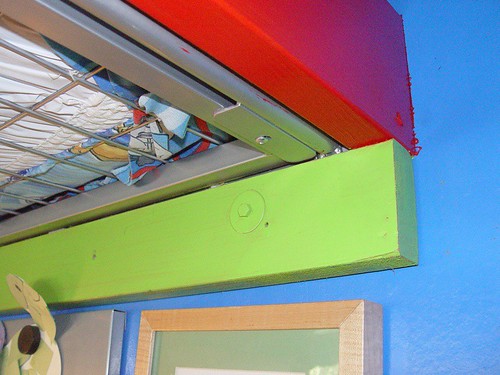
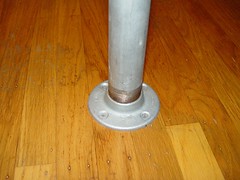
Once we started taking the sturdy, metal-framed bed apart, we realized it was quite hackable. In fact, we literally hacked it – with a hacksaw! What is excellent about this bed is that the frames that the mattresses rest on are simple rectangular pallets, separate from the structure that makes it a bunk-bed. To save space in the room, we decided to make both bunks into top-bunks by building wood structures around the bed-frames, and elevating them 5 feet off the floor with a combination of 4″x6″ ledgers bolted into the studs of the walls, and 3″ galvanized and threaded steel pipe legs, screwed into the wood floor with the appropriate flanges. This allowed us to put desk and closet units underneath the beds, maximizing space.
The hacking part came in when we cut through the bunk-bed frame (nice, easy-to-hacksaw aluminum), and re-used both side-railings of the upper bunk, and three of the end-railings for safety.
The best thing that happened during the planning stage, though, was what became the best part of the setup. As we played with designs on paper, moving around scale cutouts to plan the layout, we realized we had two choices for positioning the beds. Either they would form an L-shape, with the head or foot of one bed in the corner of the room where the two longest walls met, or they would meet in a way that made a square open-space in the corner. At first consideration, that second option seemed to be a bigger waste of space, but then we started thinking about what we could do with that space that would make things more fun for the boys. And it hit us:
Fireman’s Pole!!
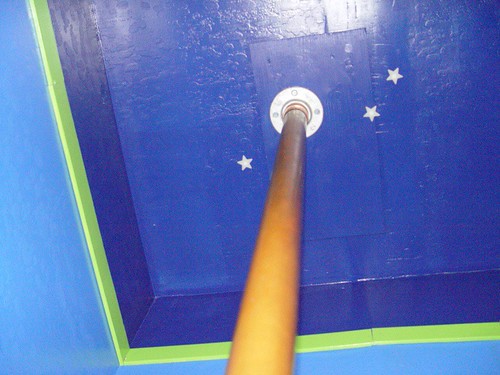
For this, instead of the coarser galvanized pipe, we used a nice smooth length of copper pipe, anchored securely at the floor and ceiling. We finished the whole structure off with a wooden stepladder and a shared landing for access to the beds. From demolition (including taking off multiple layers of bad Laura Ashley wallpaper) and refinishing the floors, to painting and construction, the project took two to four adults two weekends, and has given these boys a space they’ll enjoy for a long time (and hopefully remember forever).